Building the QAV-S 2 JB SE 5”
Building the Joshua Bardwell QAV-S2 HD edition drone.
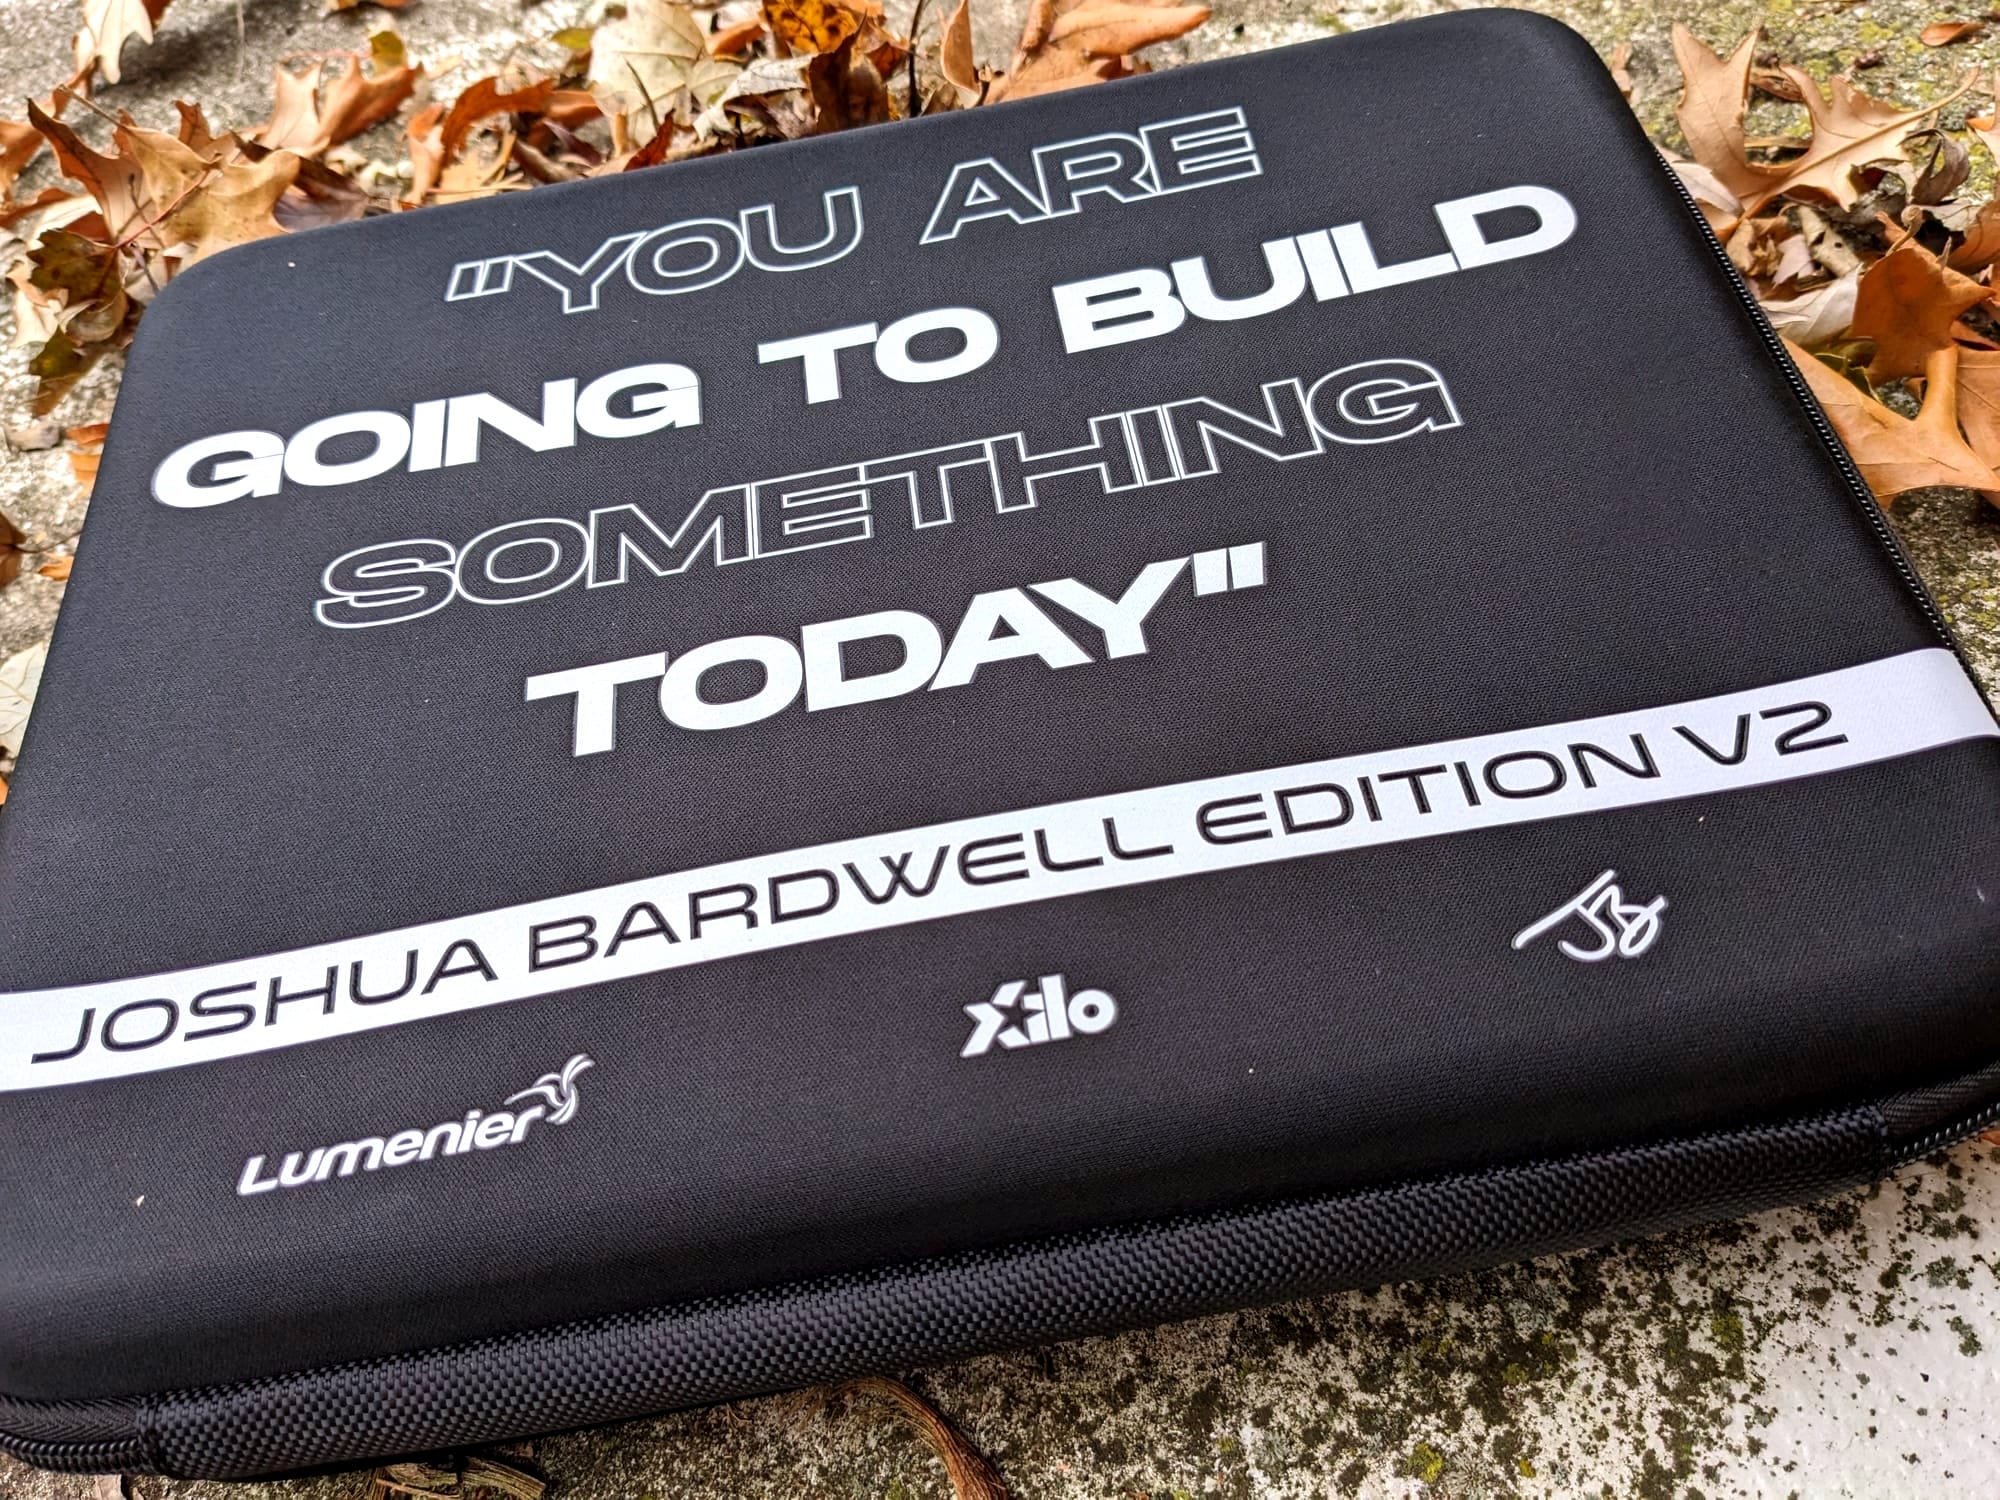
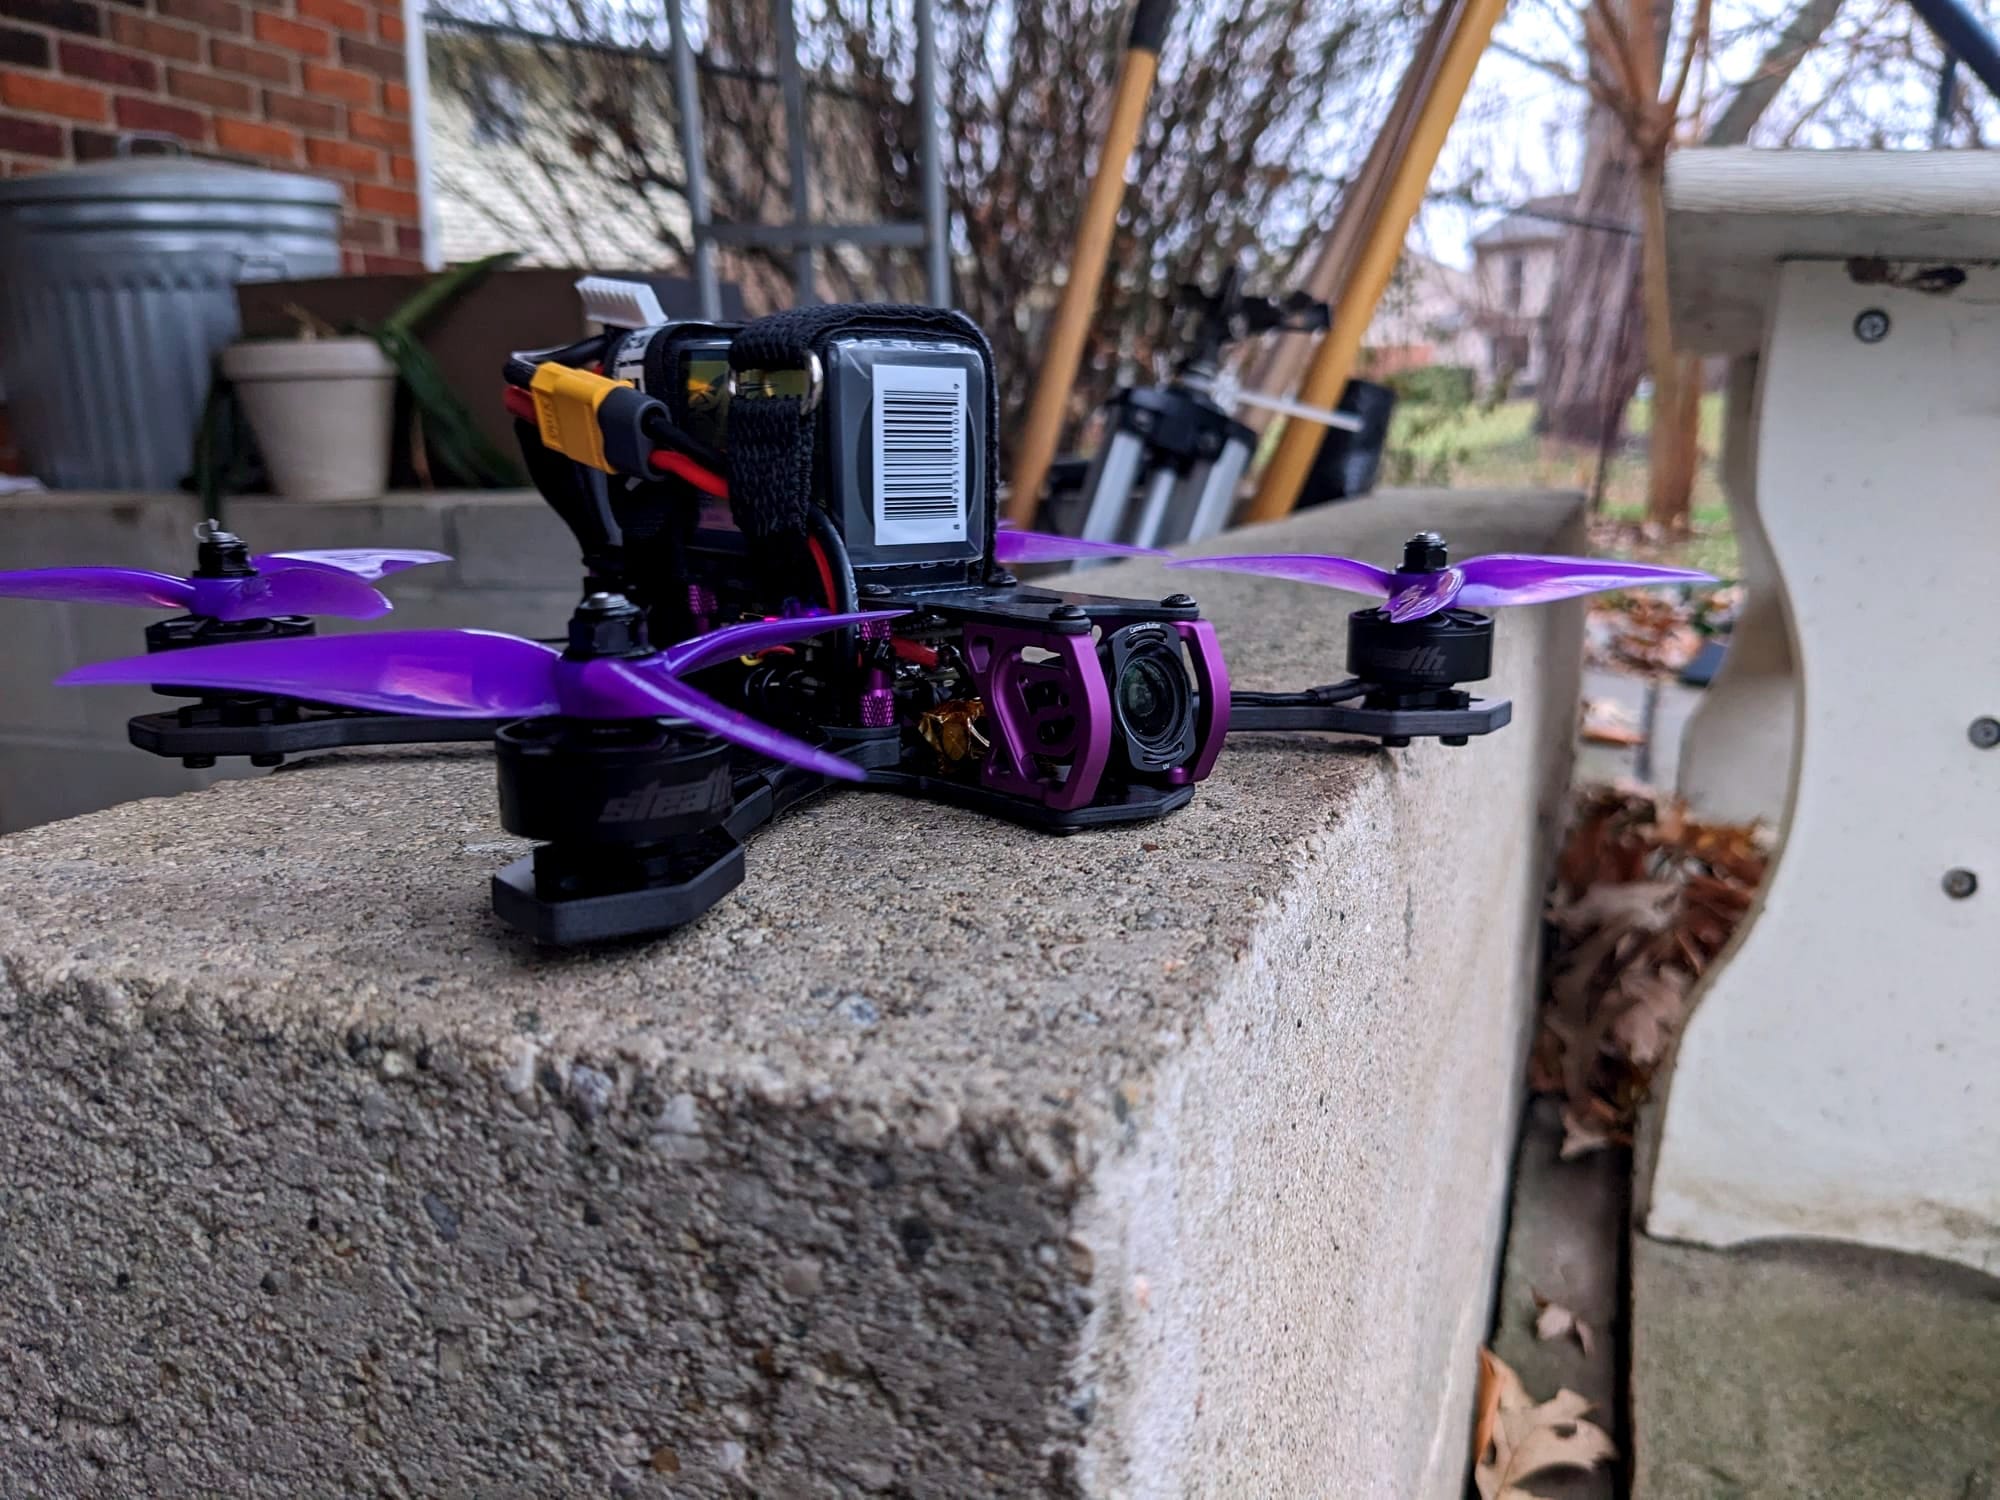
In this post I will cover my experience building the Lumenier QAV-S 2 Joshua Bardwell SE 5" I haven't thought of a name for this build.

The build tutorial
This will not be a step by step walk through, that's what the video series above is for. Here I will simply be logging my build along with any impressions I have along the way.
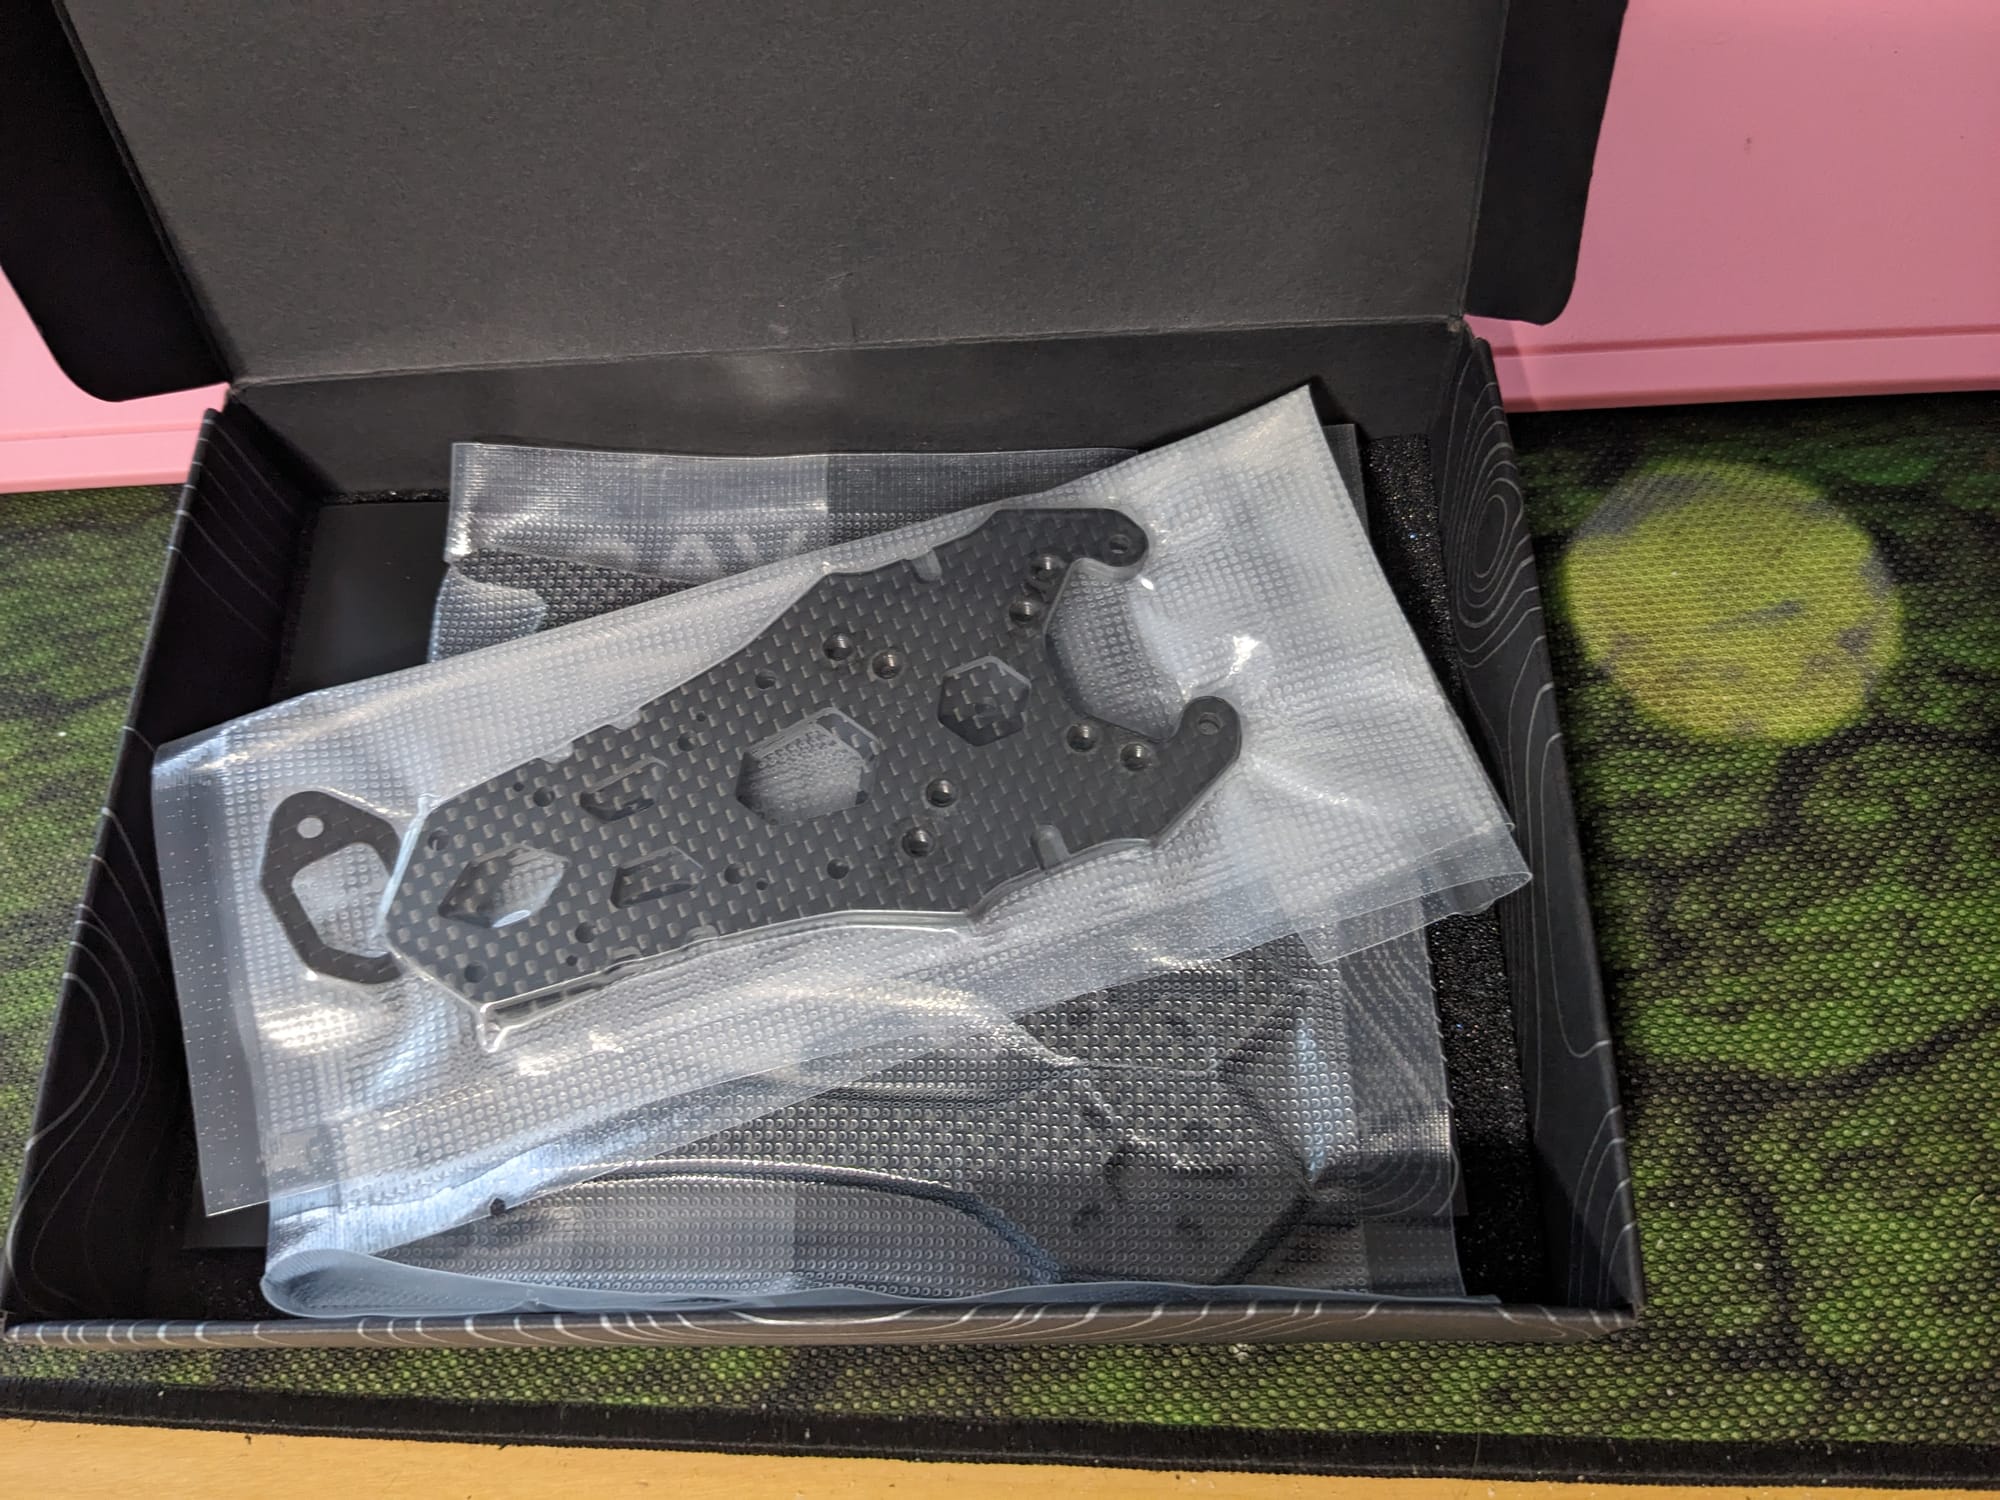
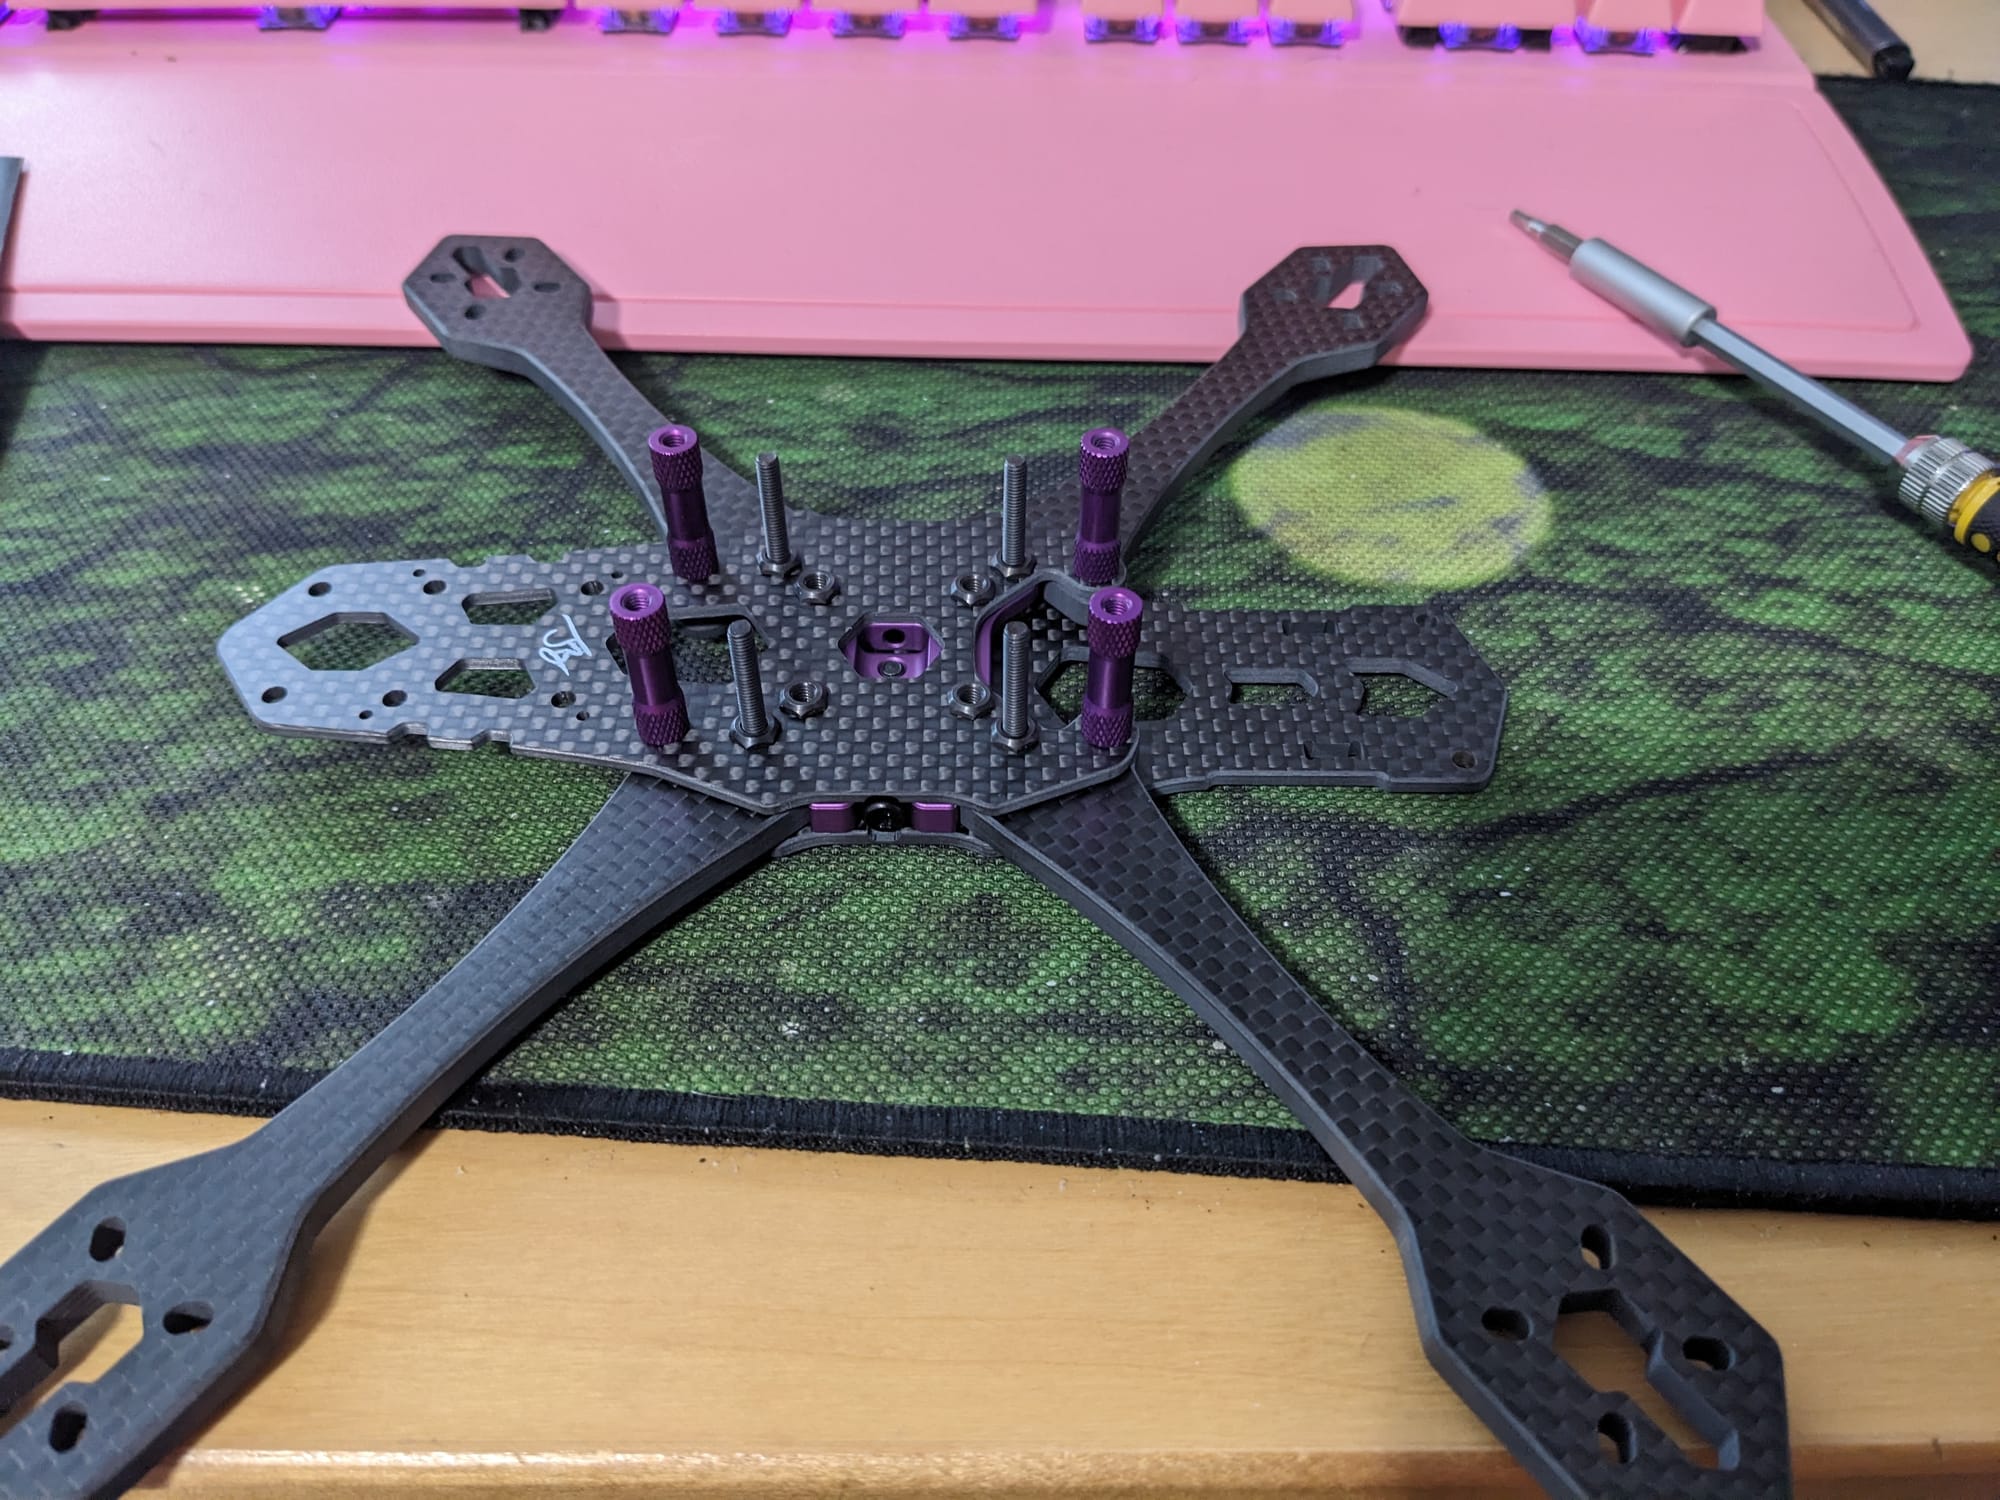
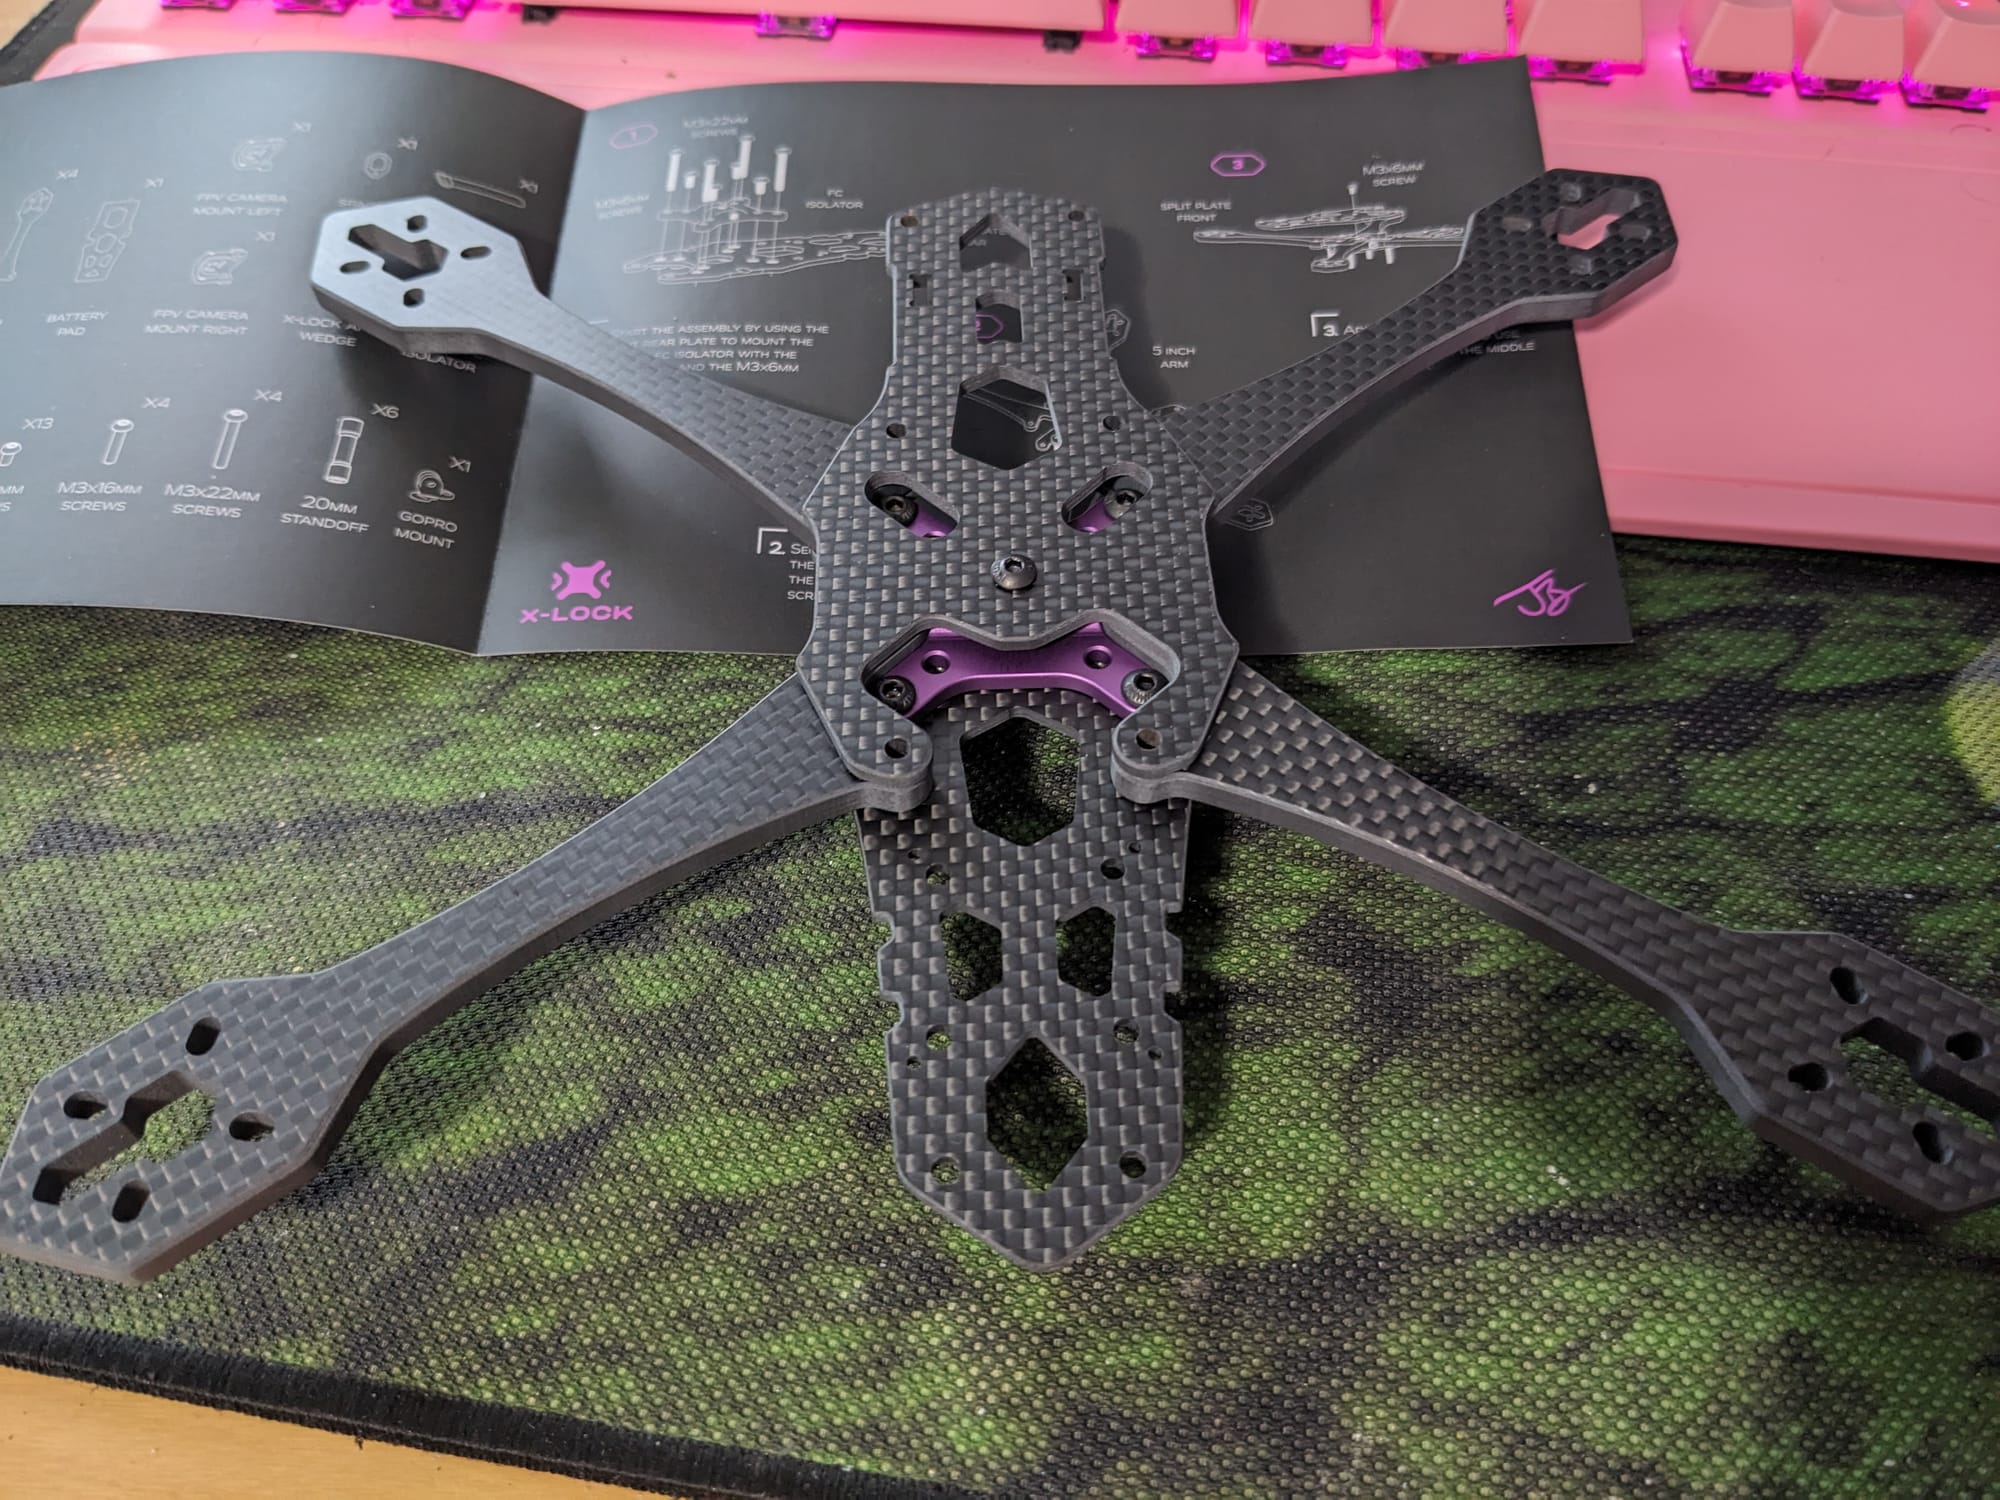
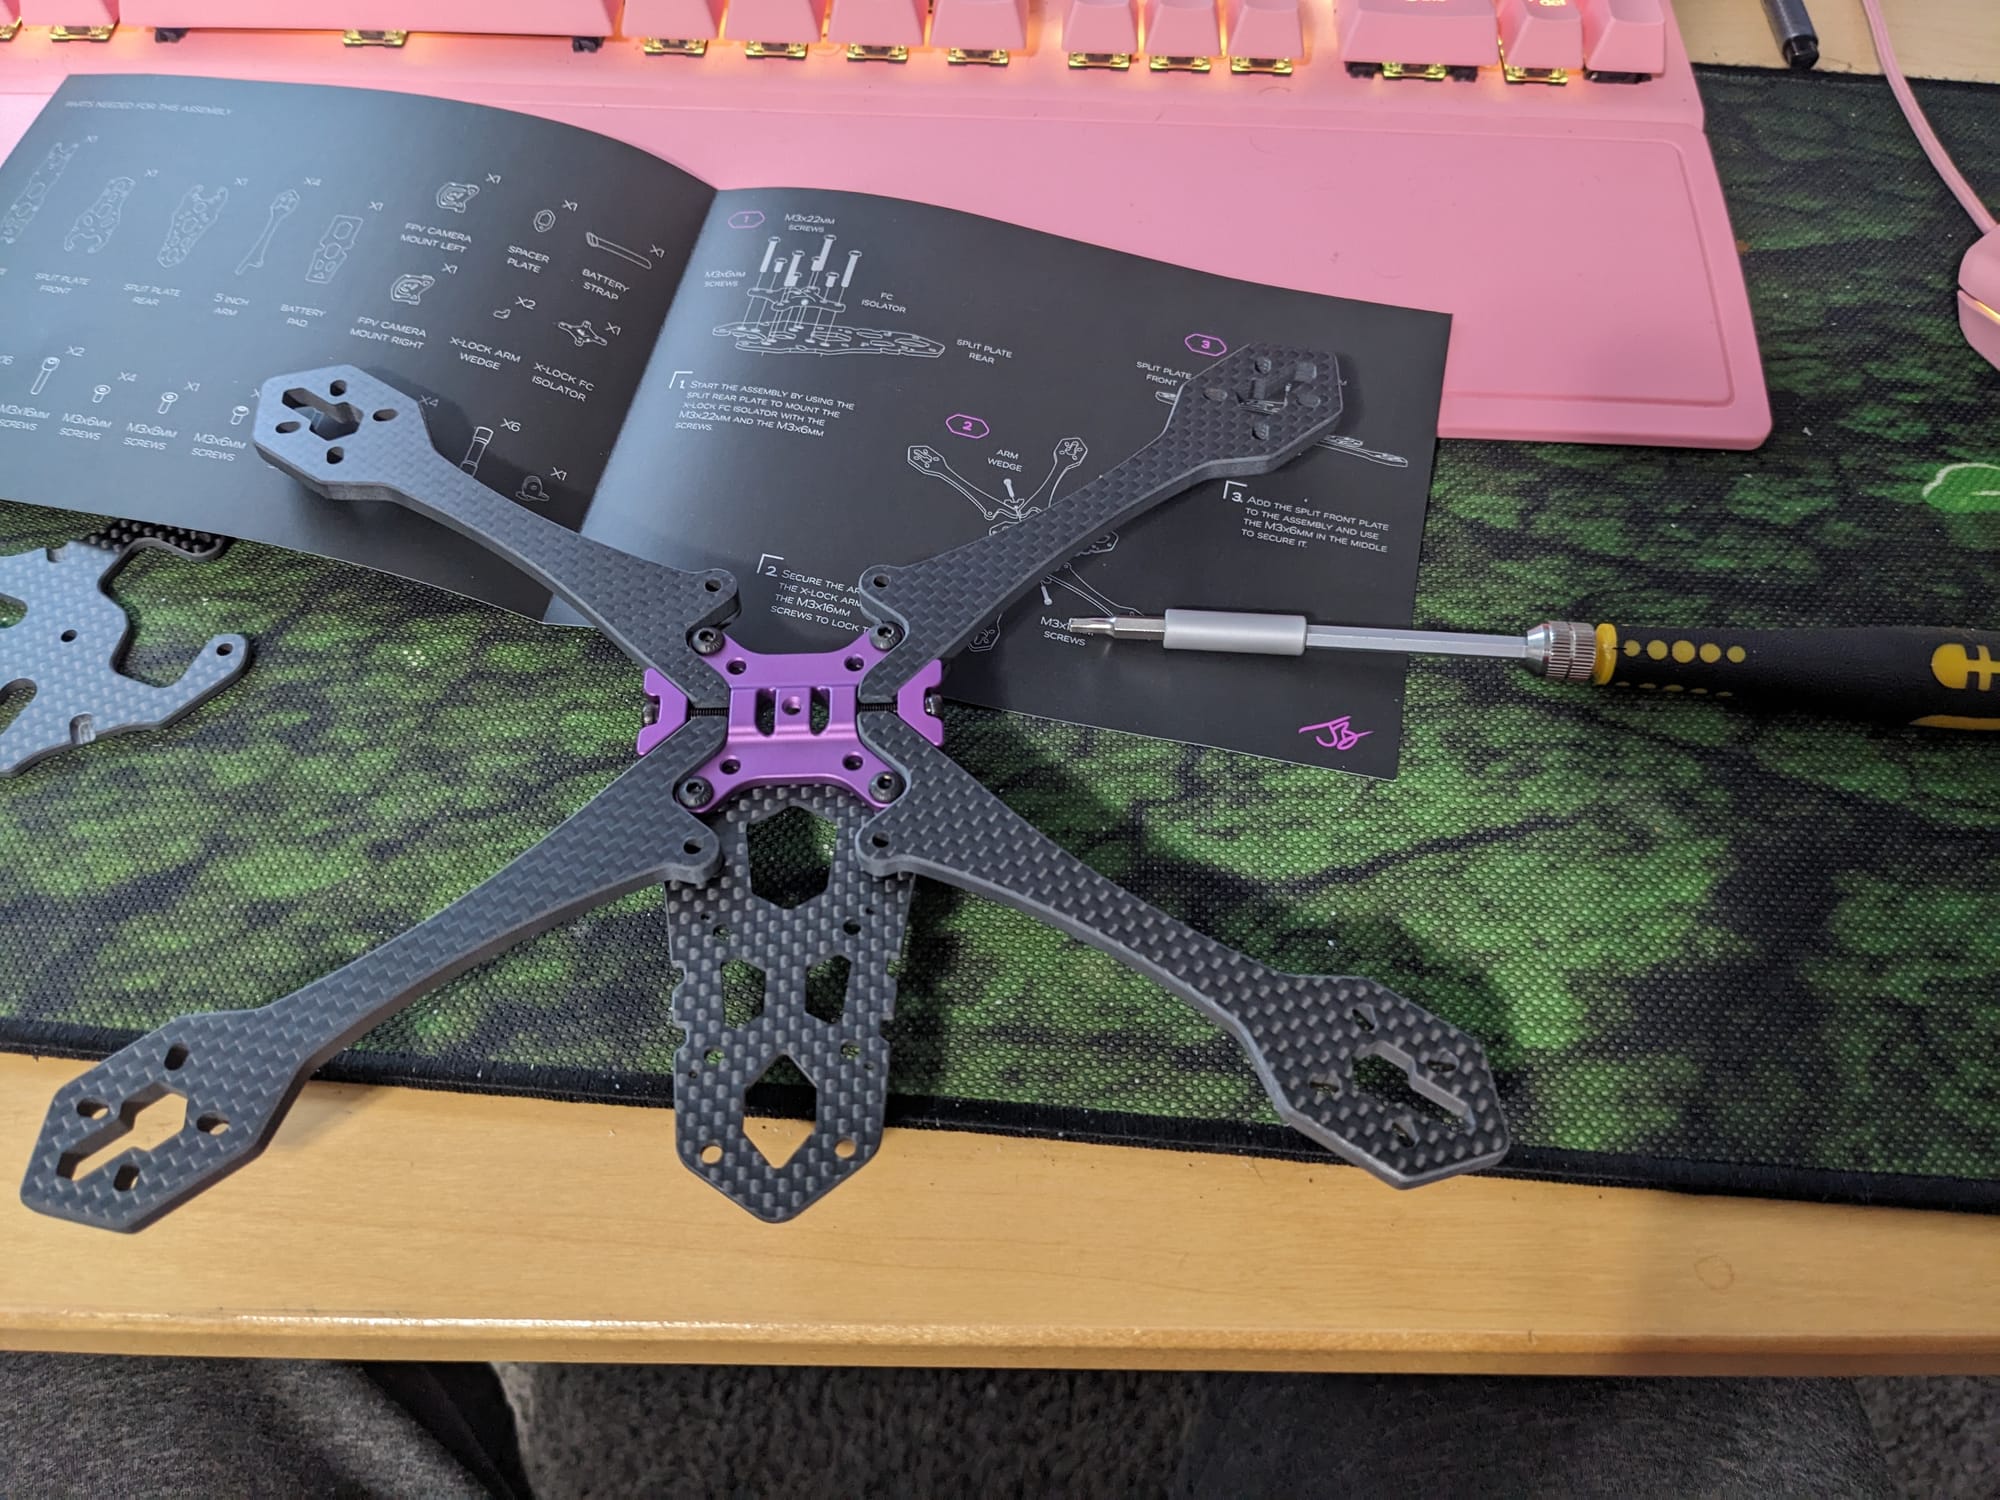
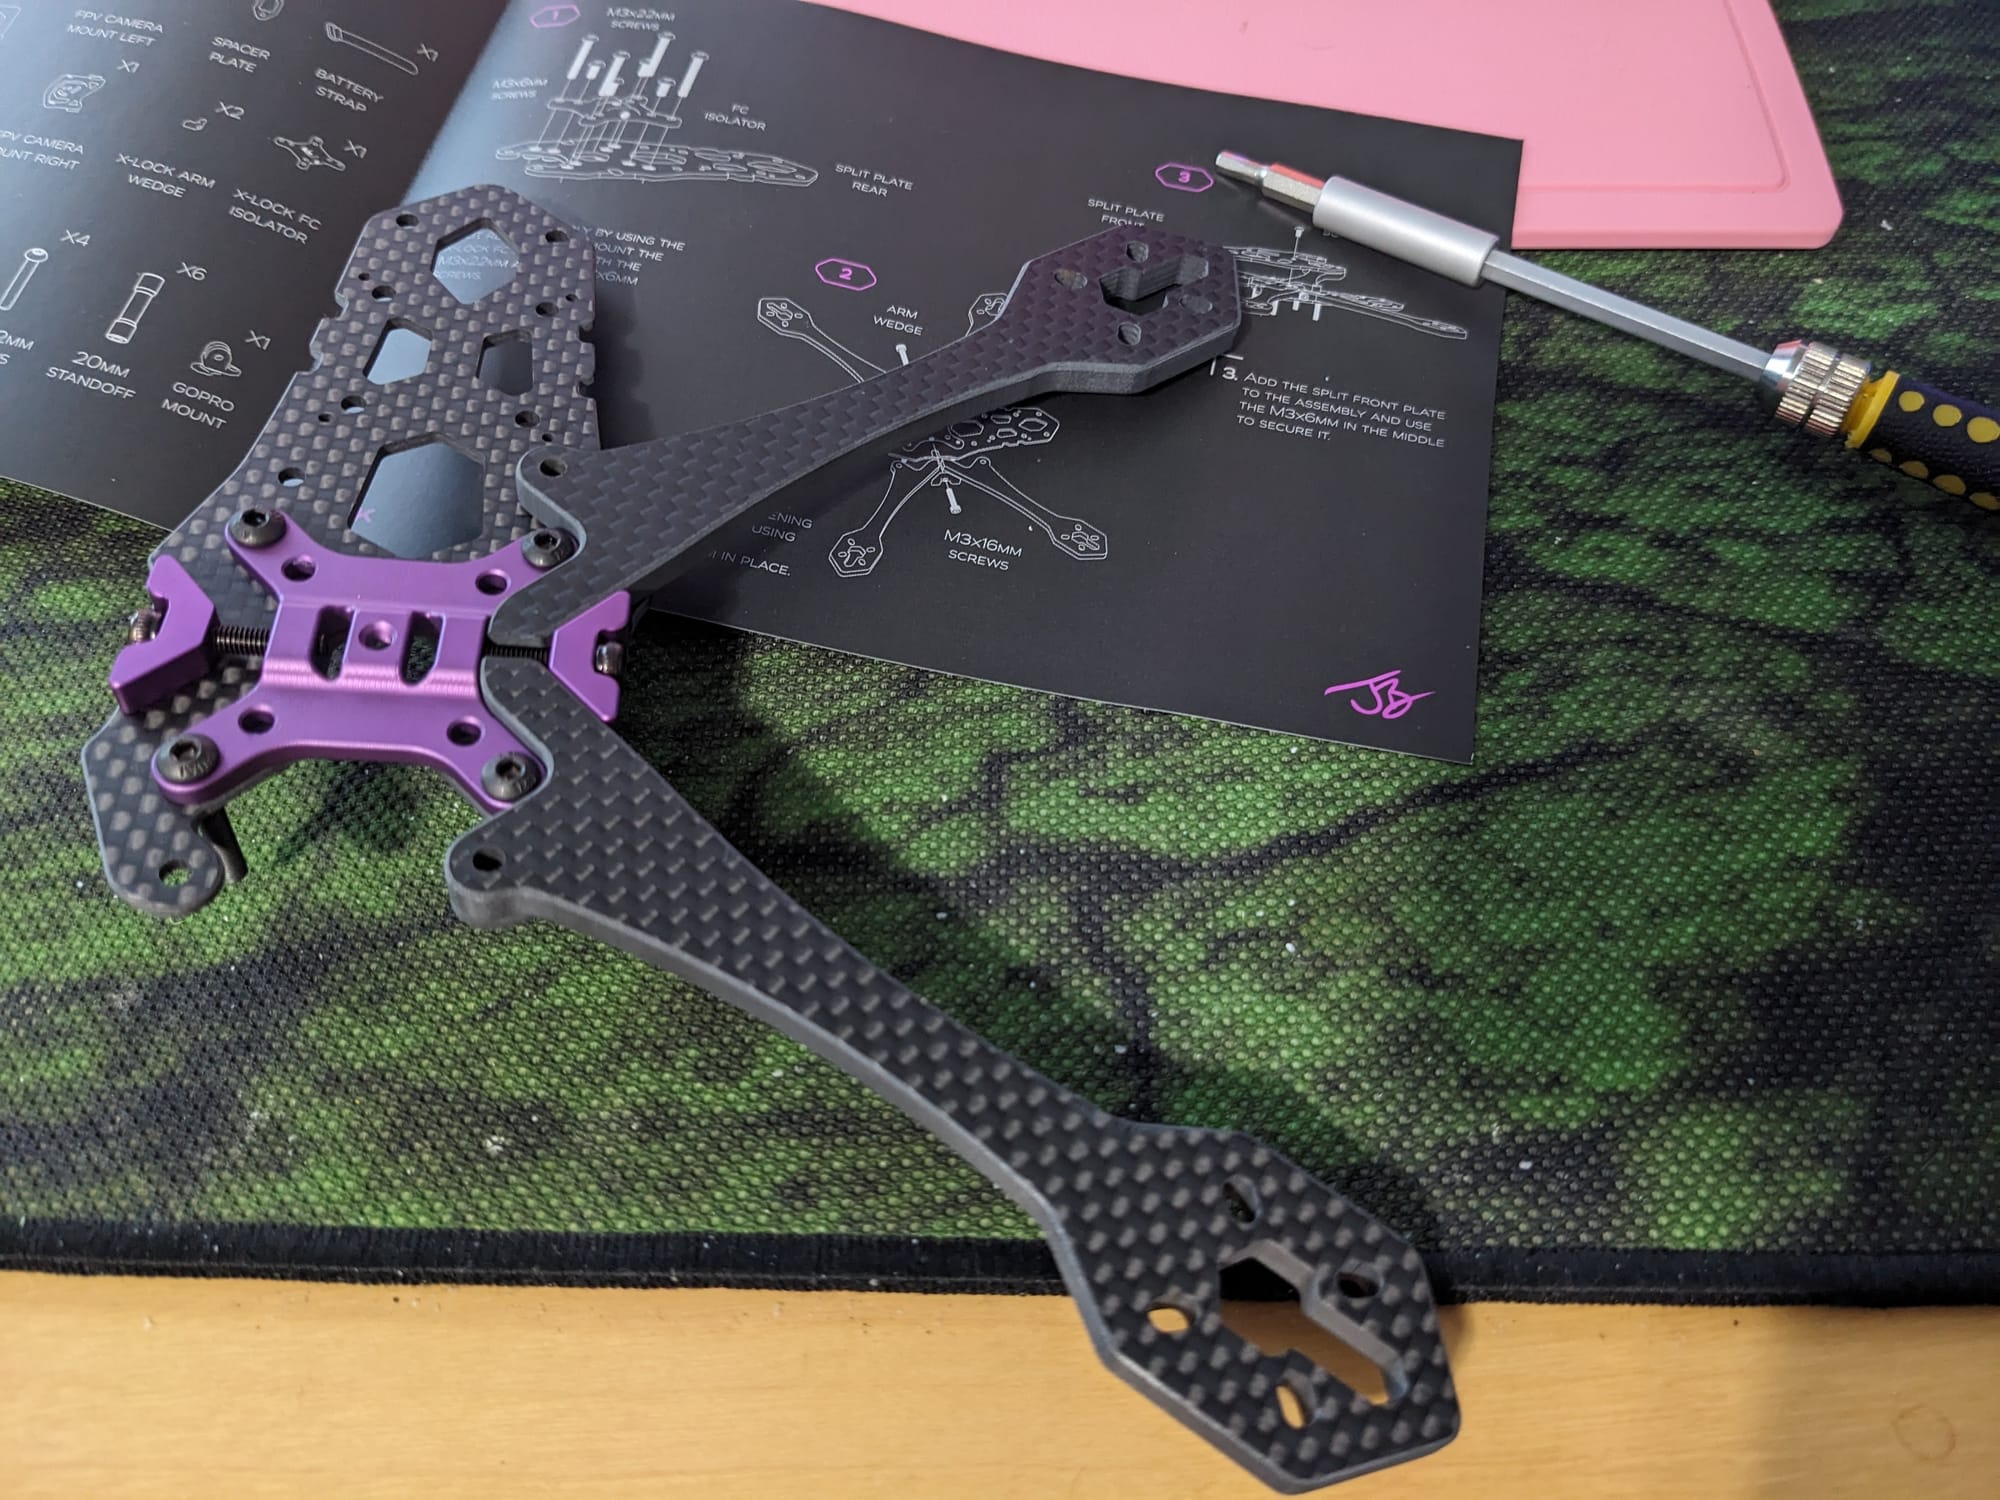
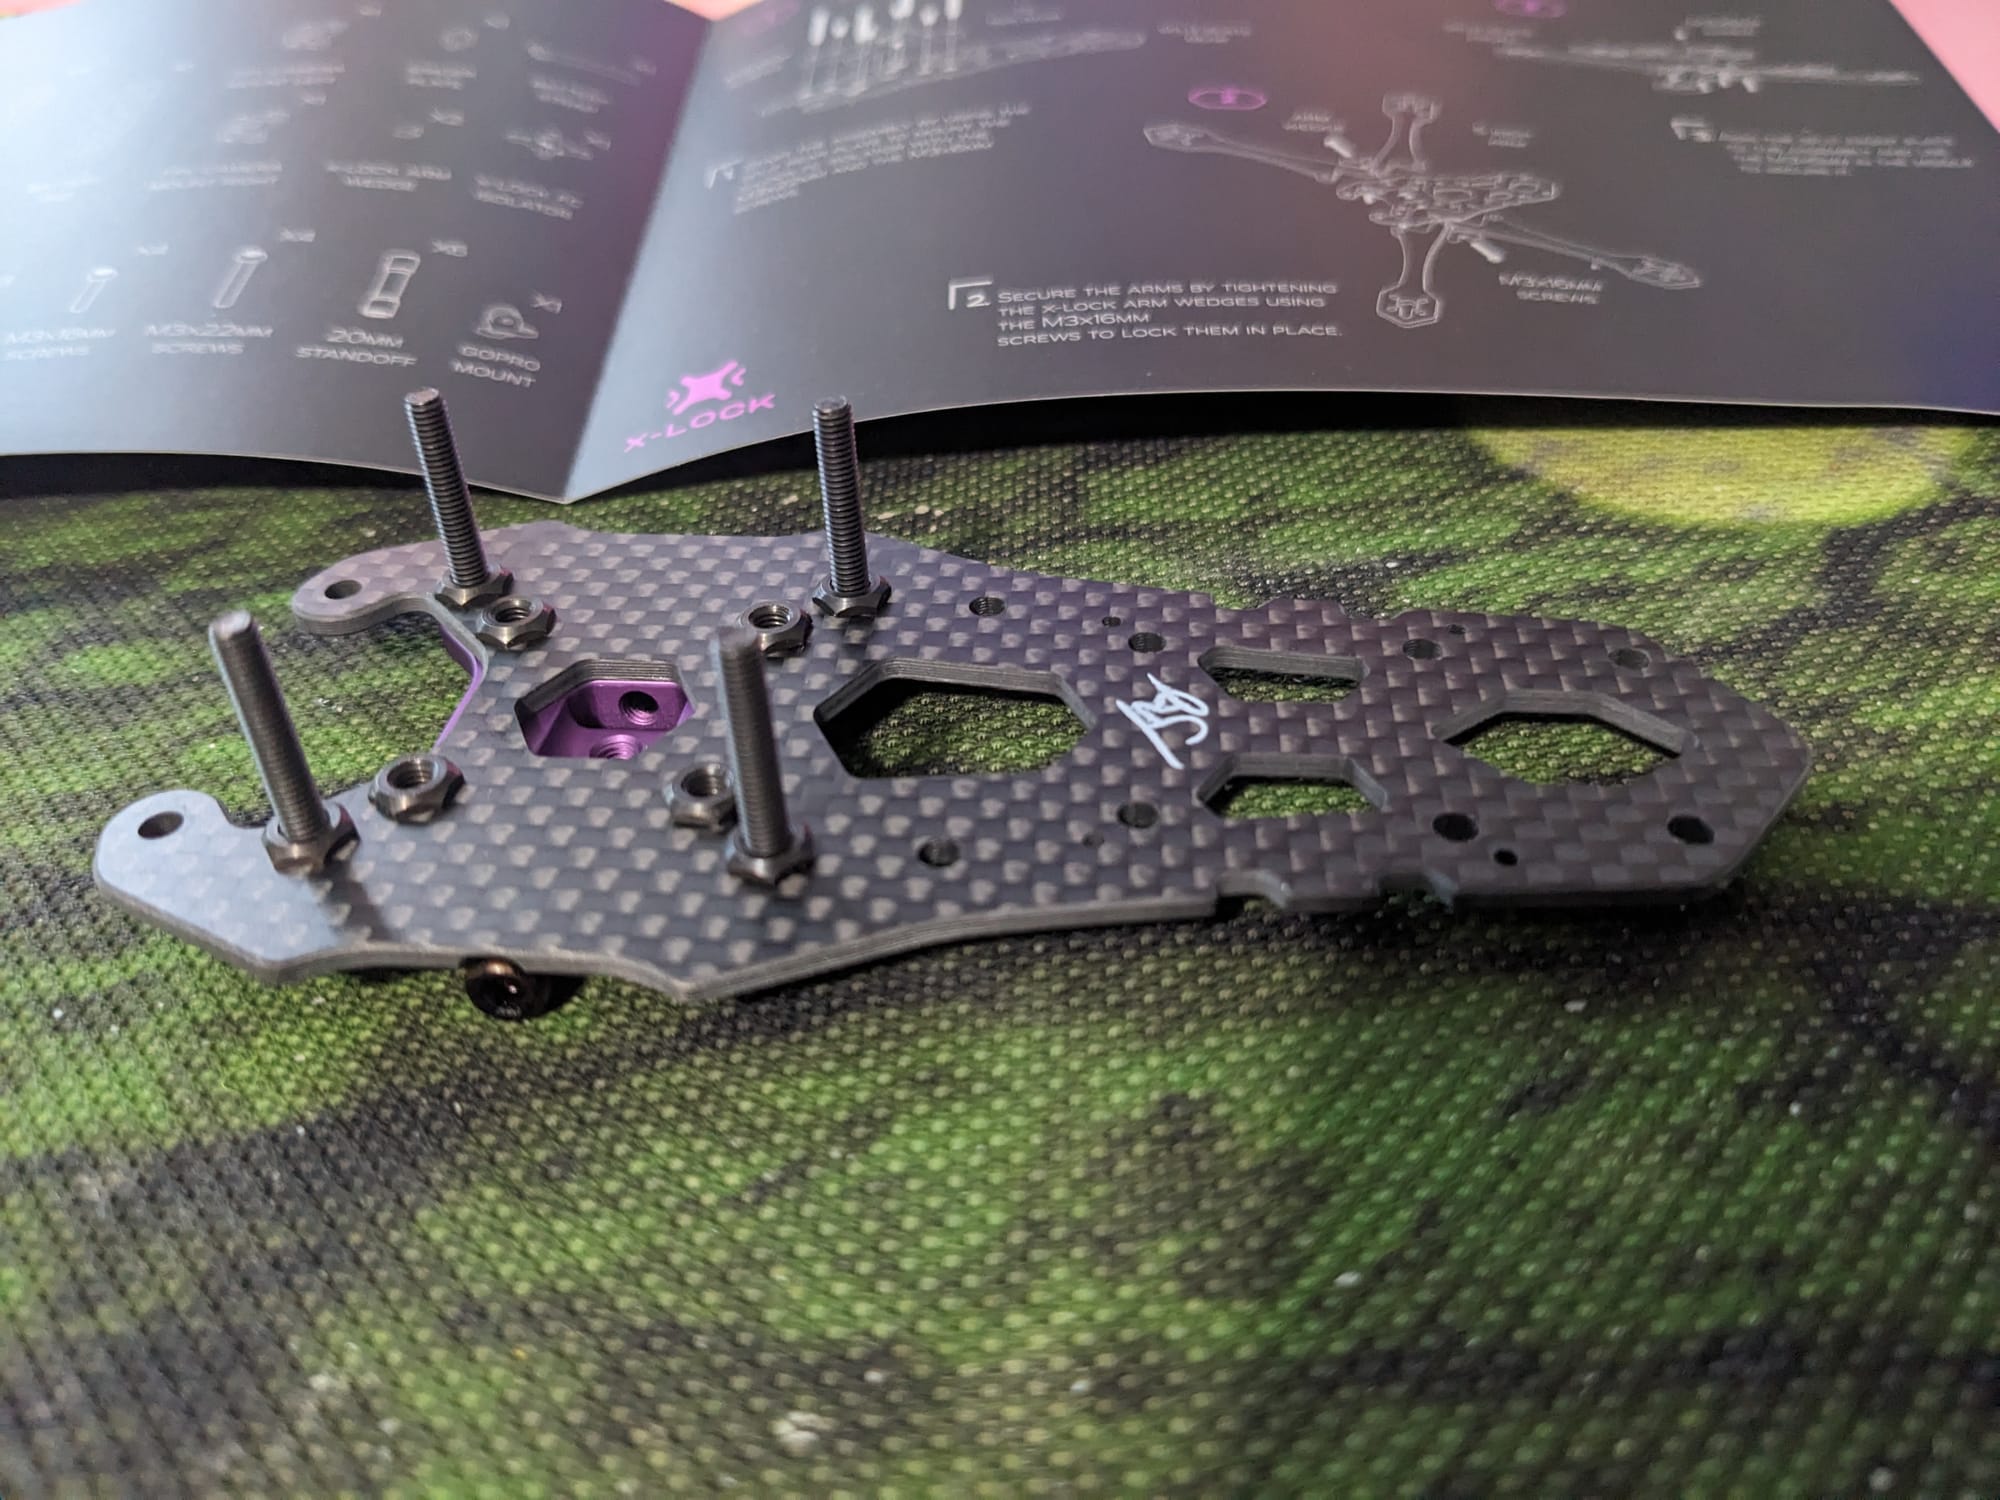
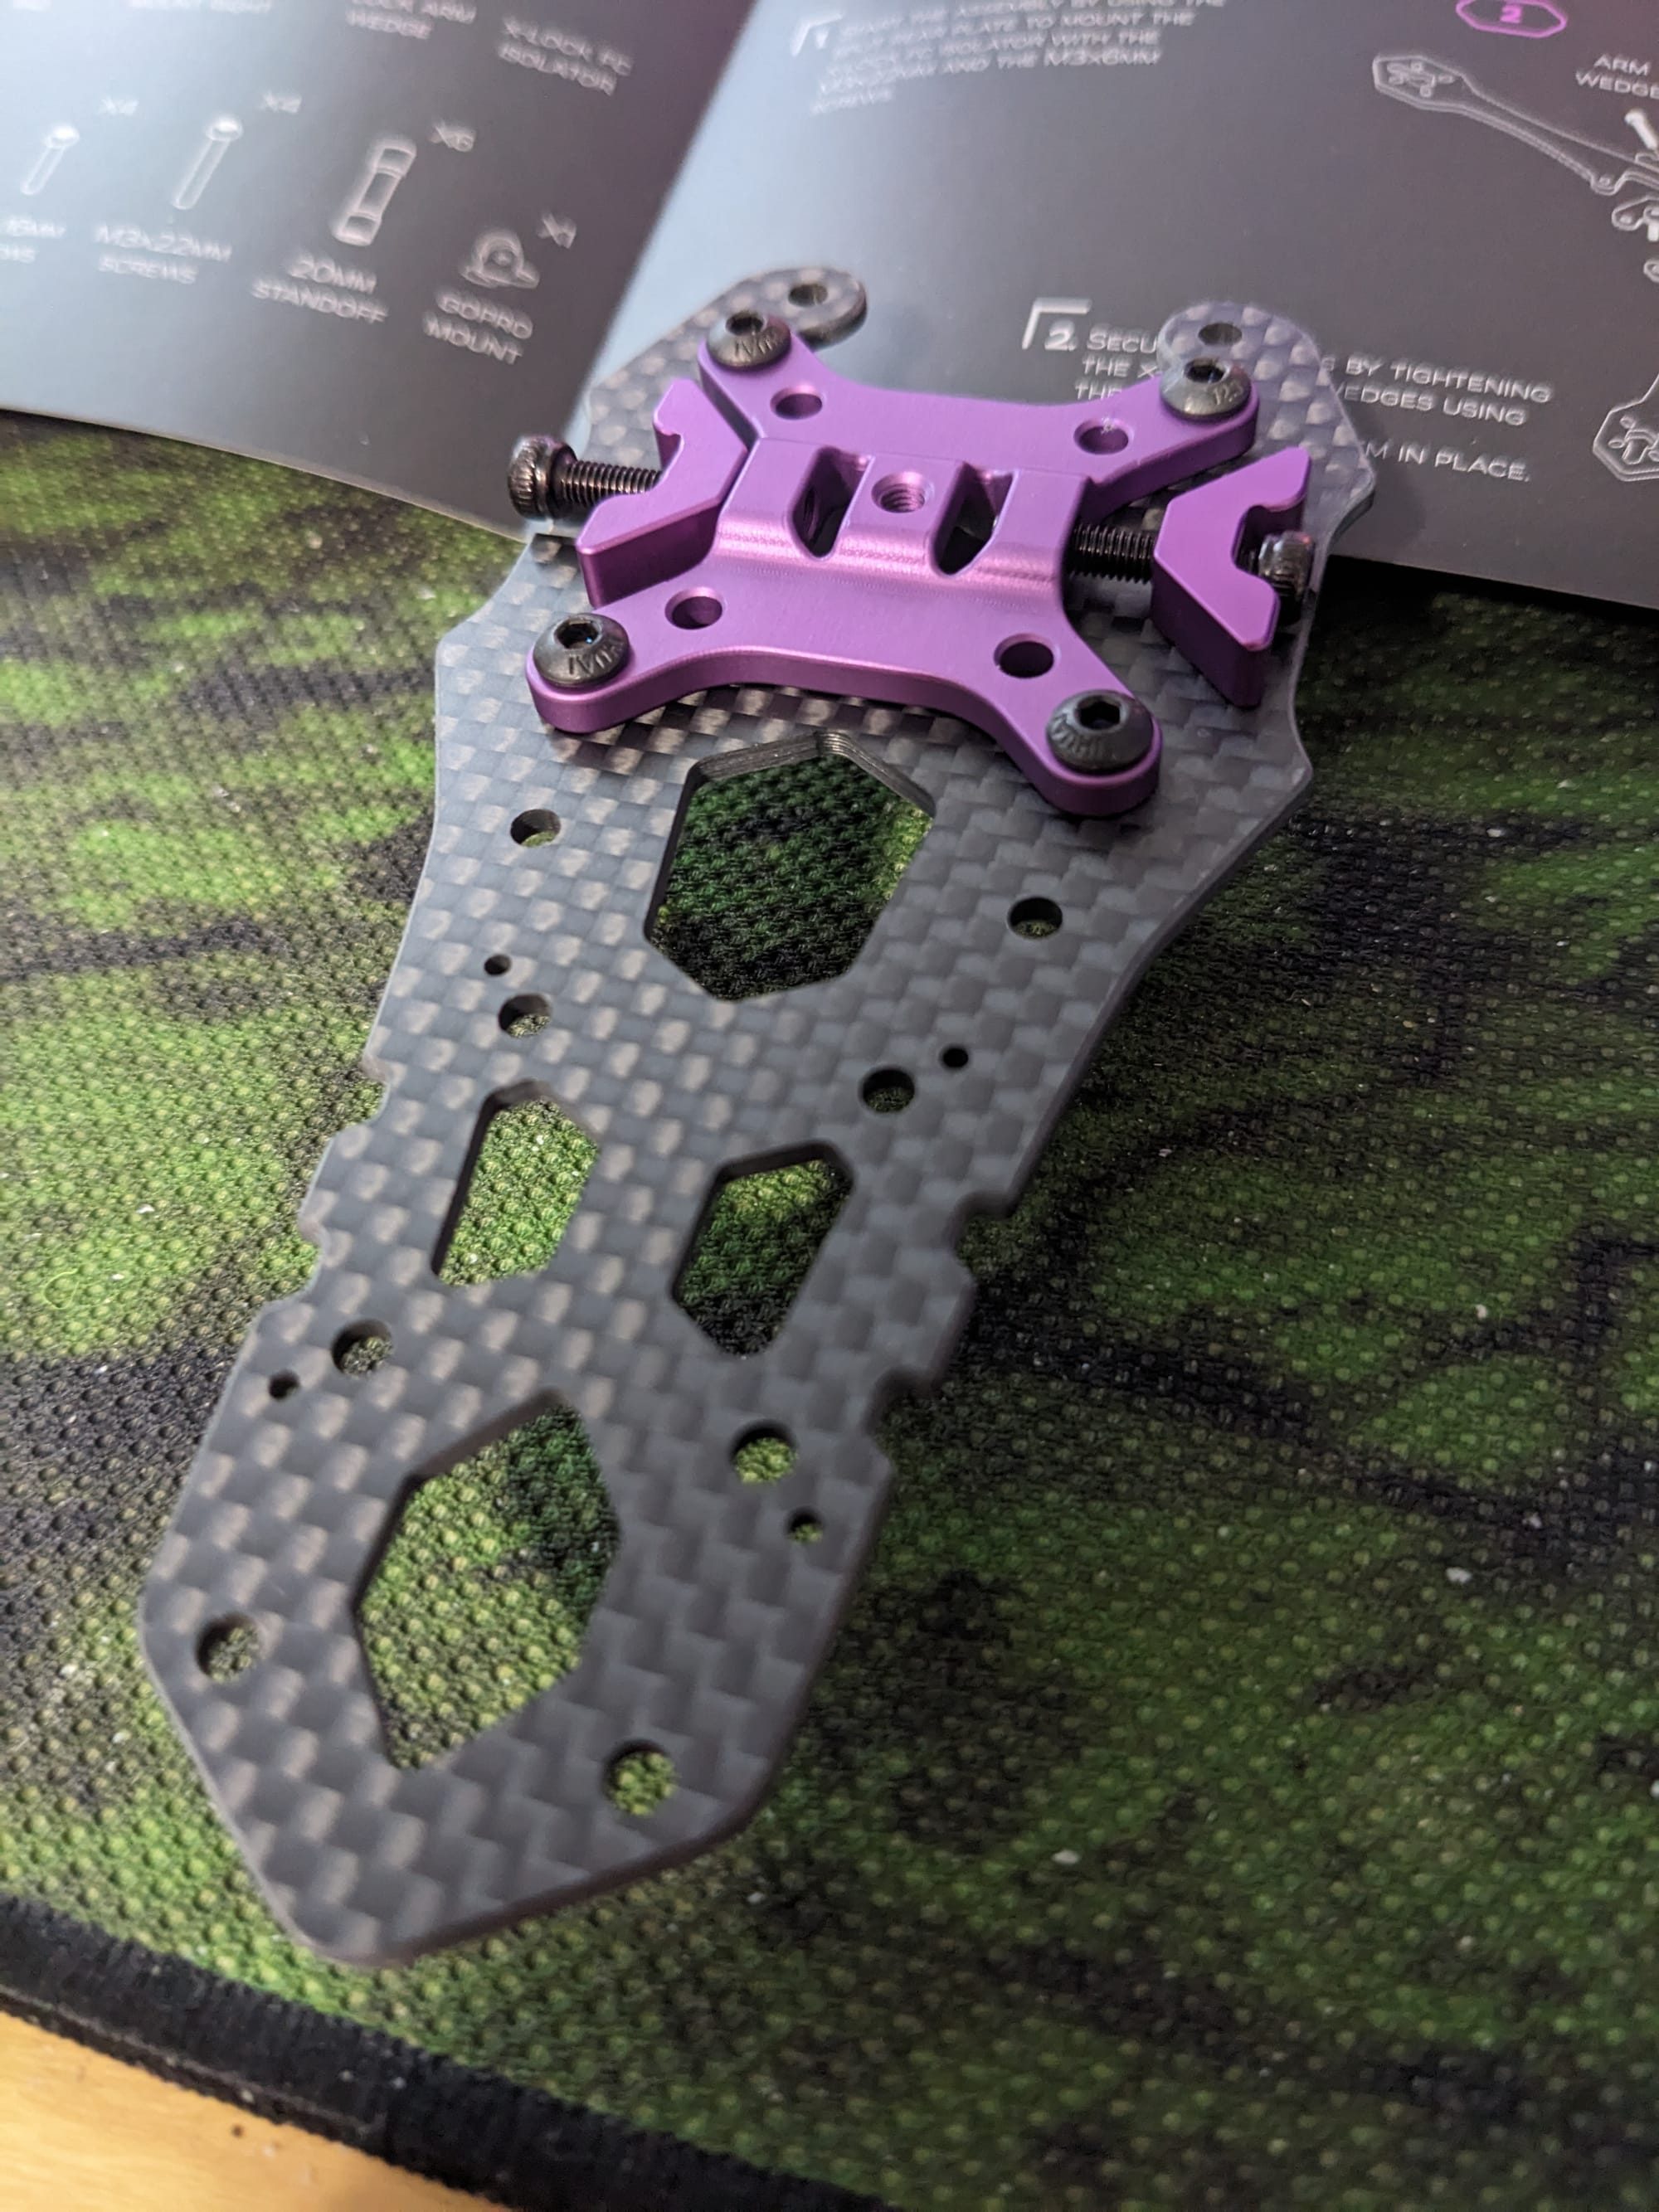
During the beginning of the build the first thing I noticed was a lack of labeling on the hardware itself, you can sort it out via the included hardware placard, but some simple labels on each packet of screws would of helped ease any anxiety I was actually using the correct size screw,button top, cap top, or countersunk. Again I was able to decipher it but just be aware going in your going to needs to pay attention. But I feel like this is part of the fun of building.

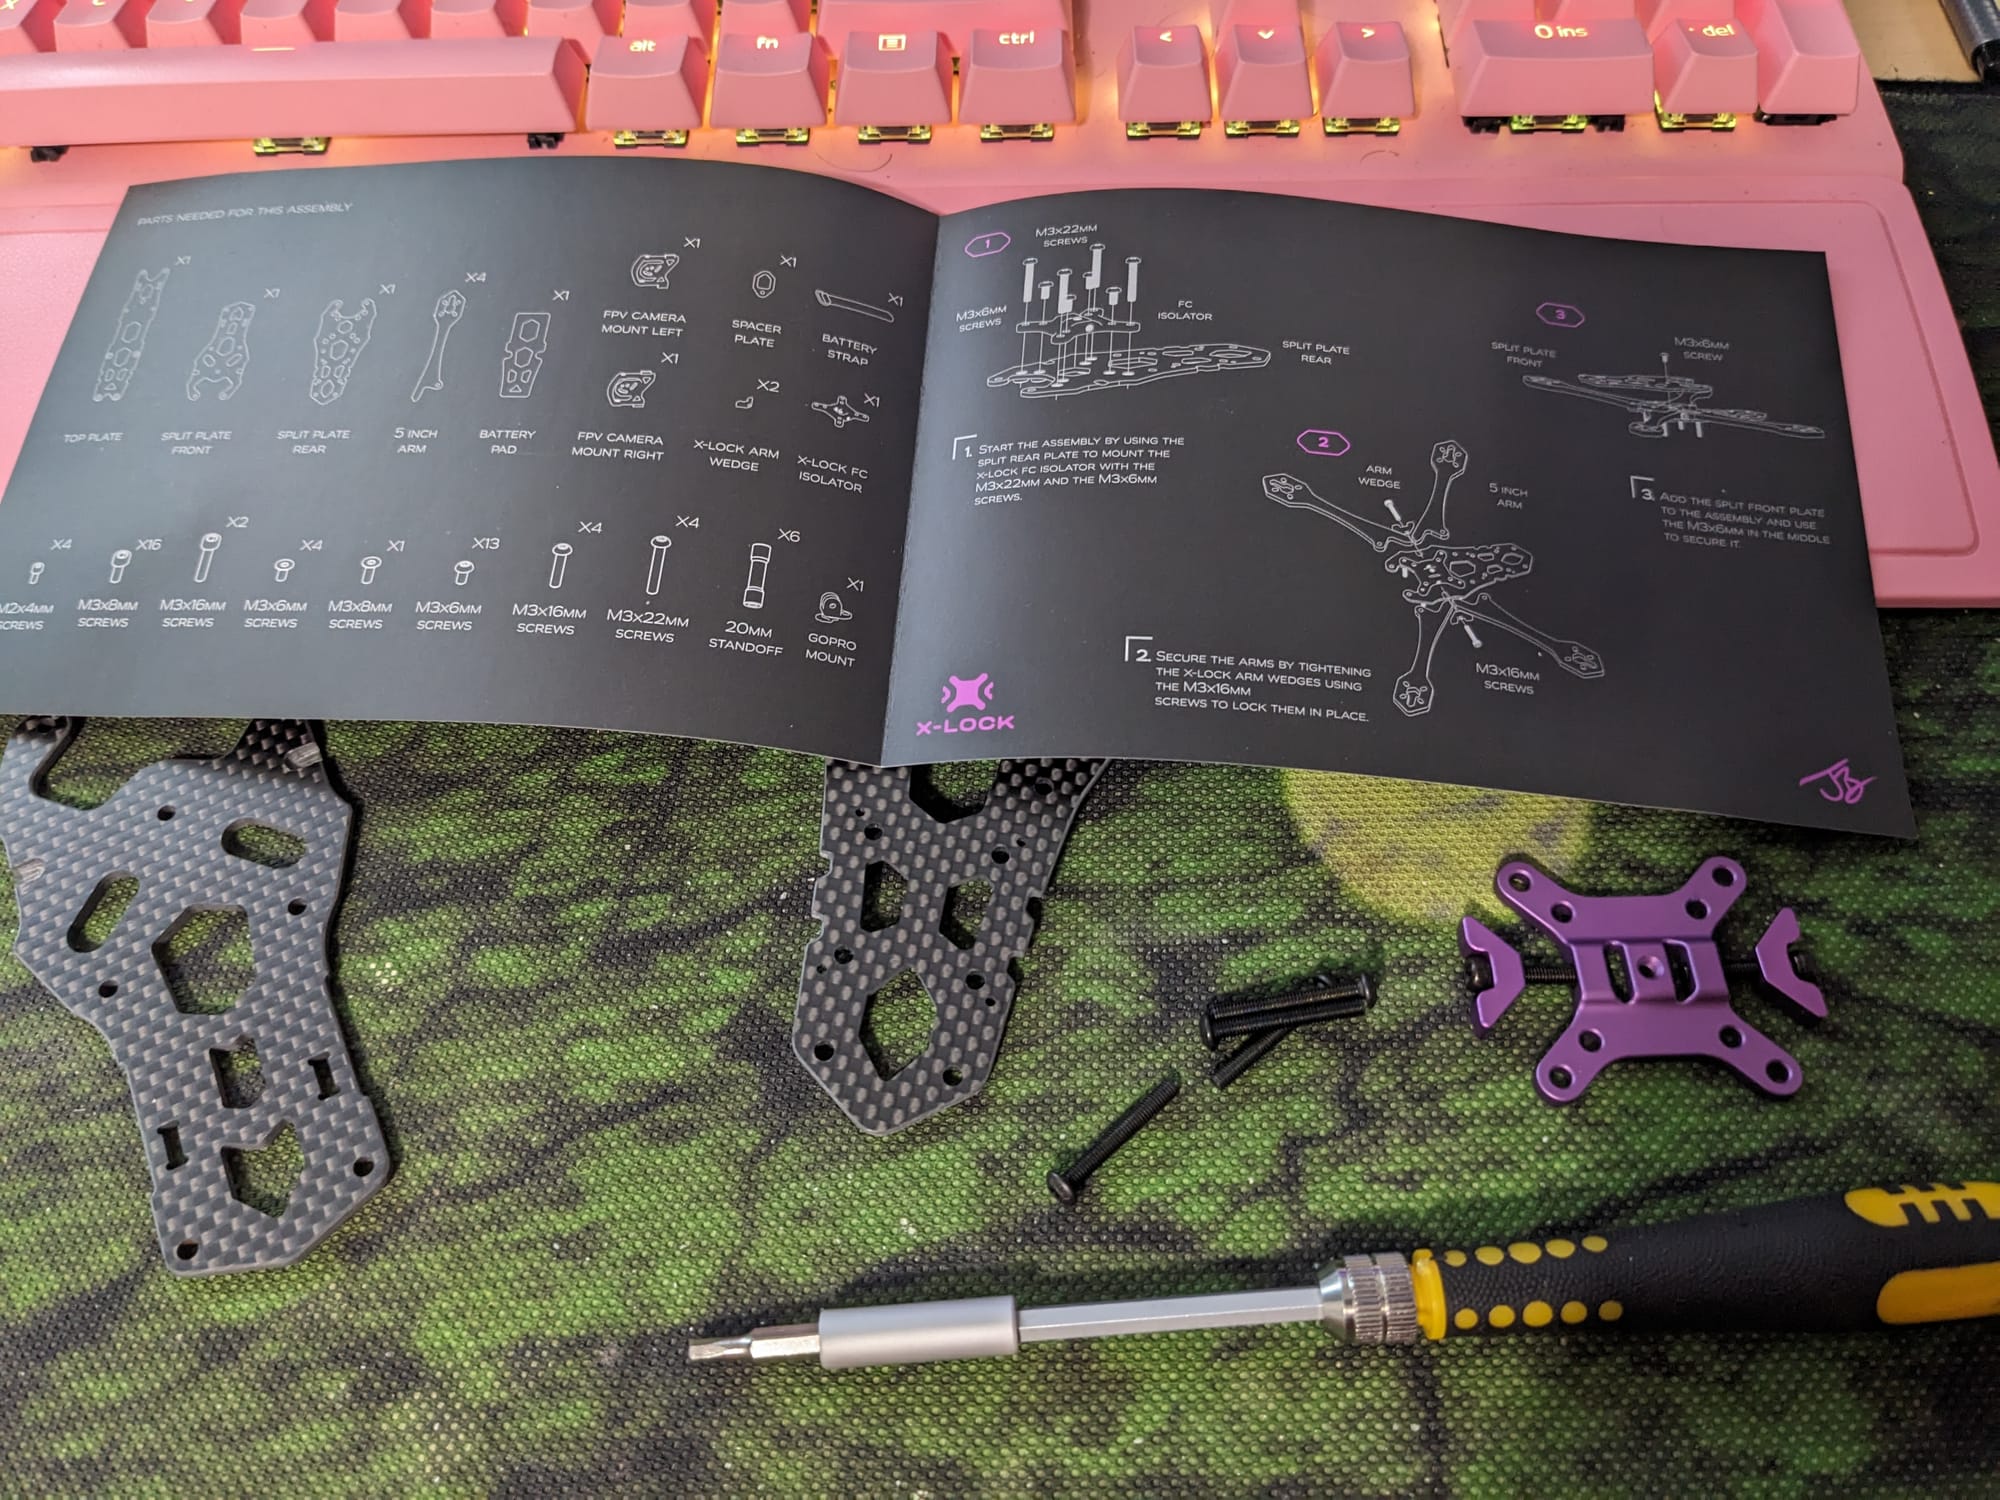
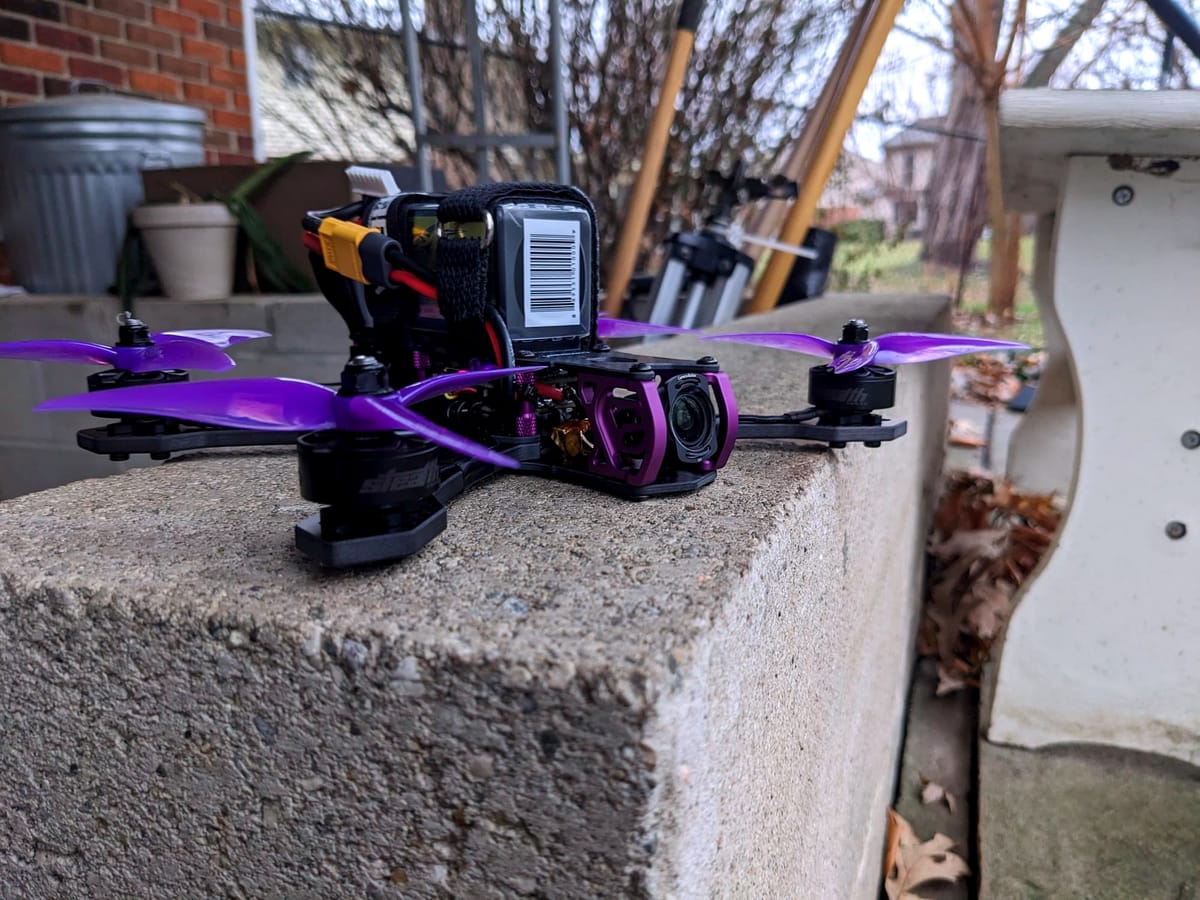
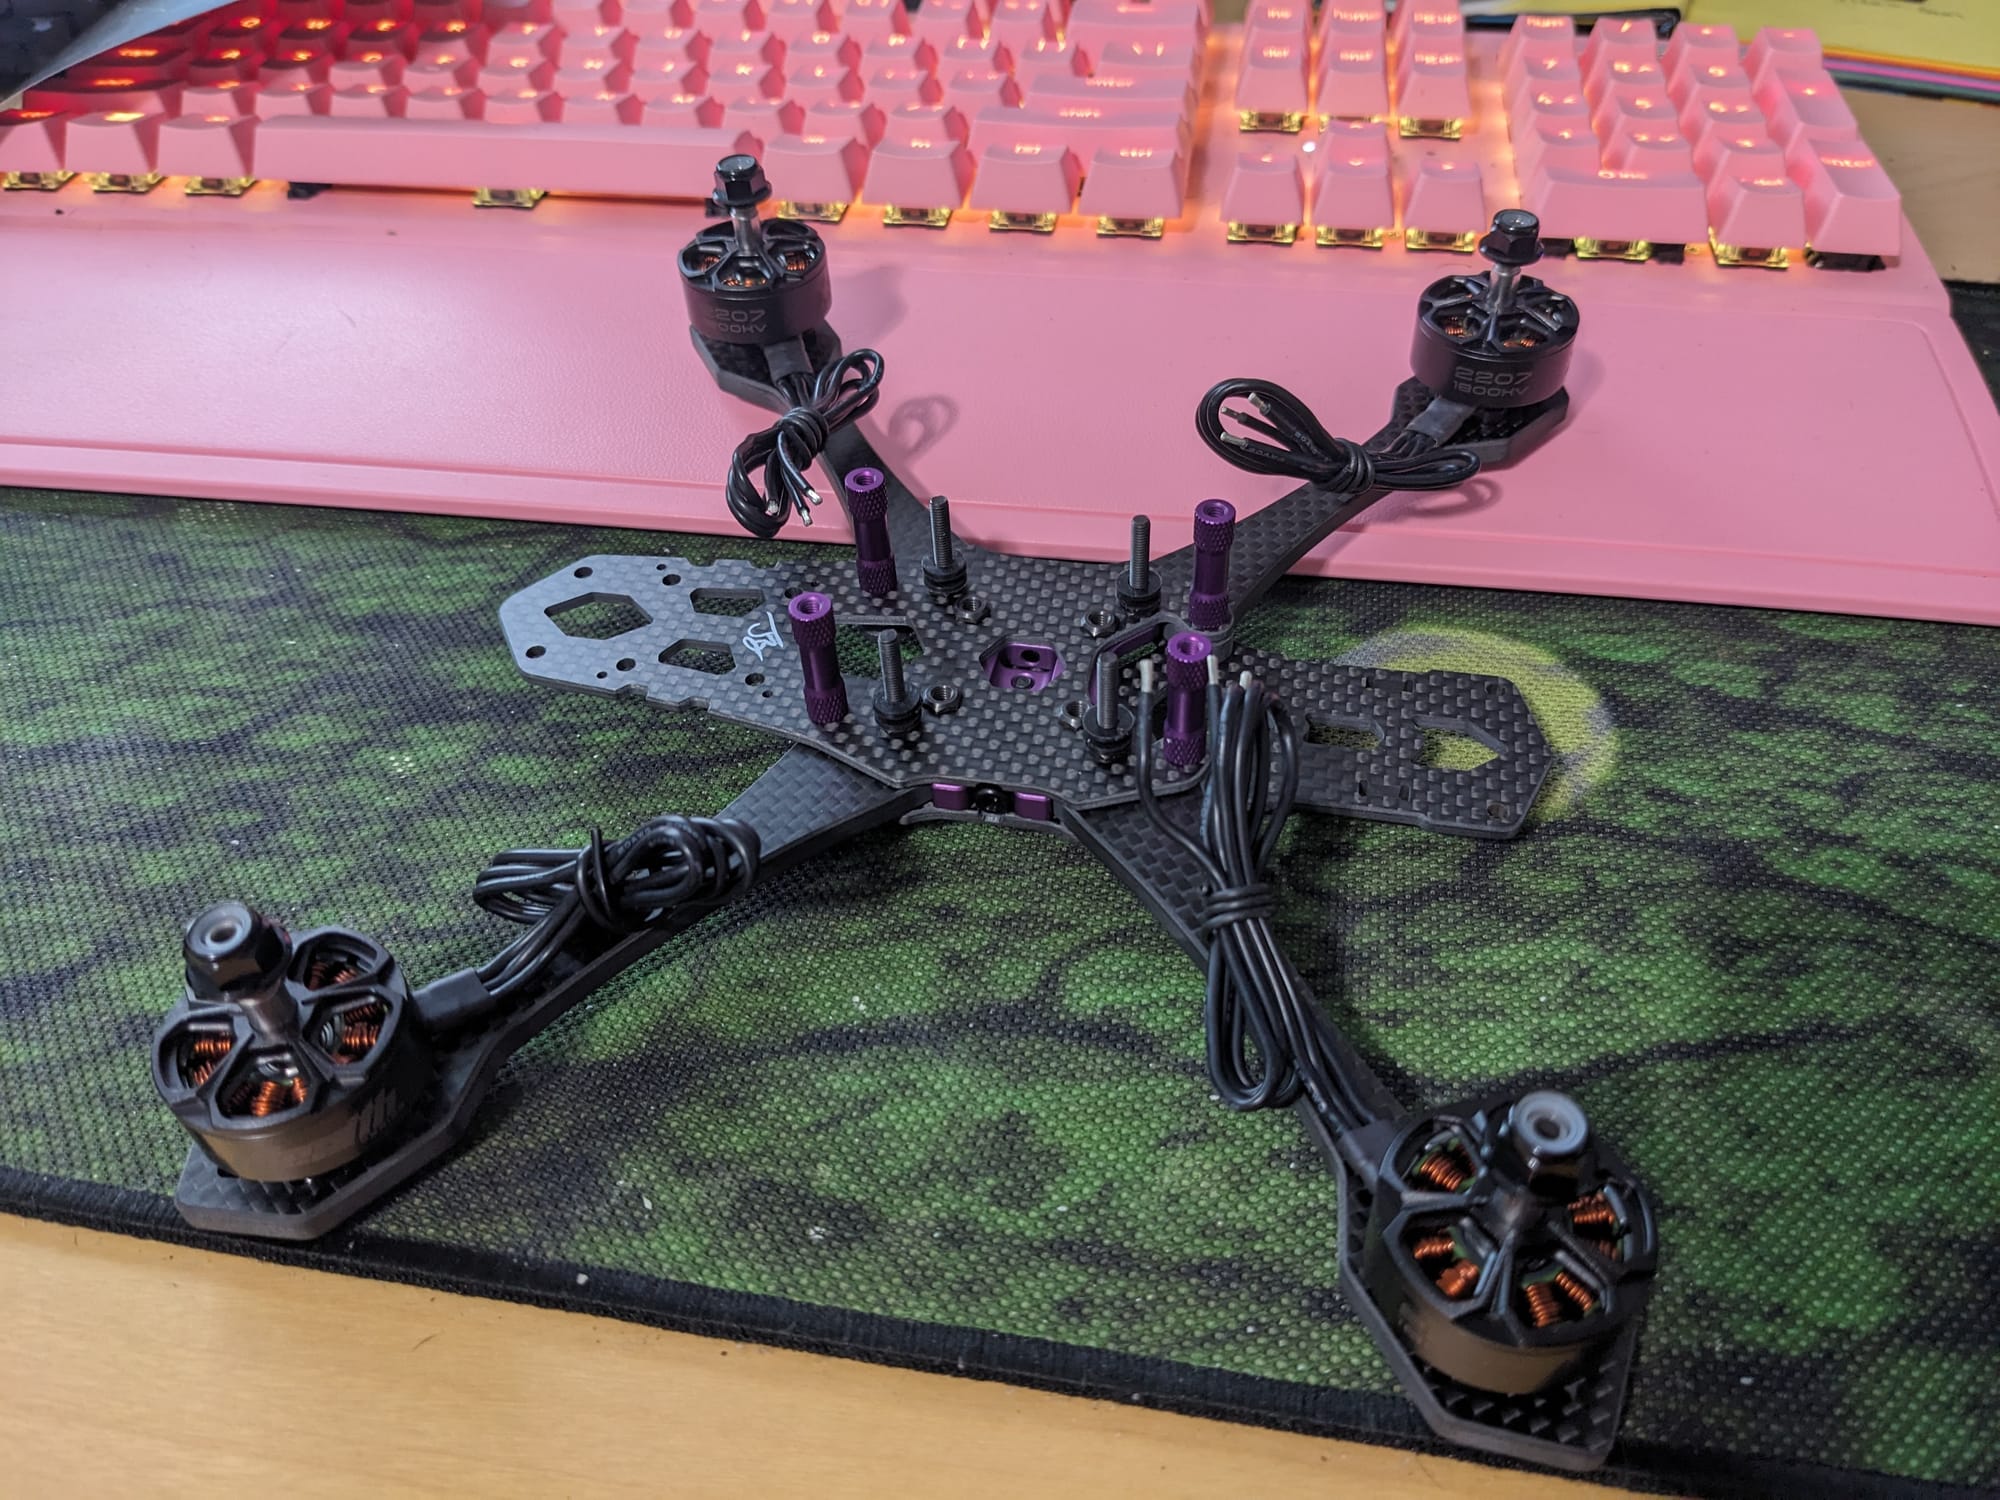
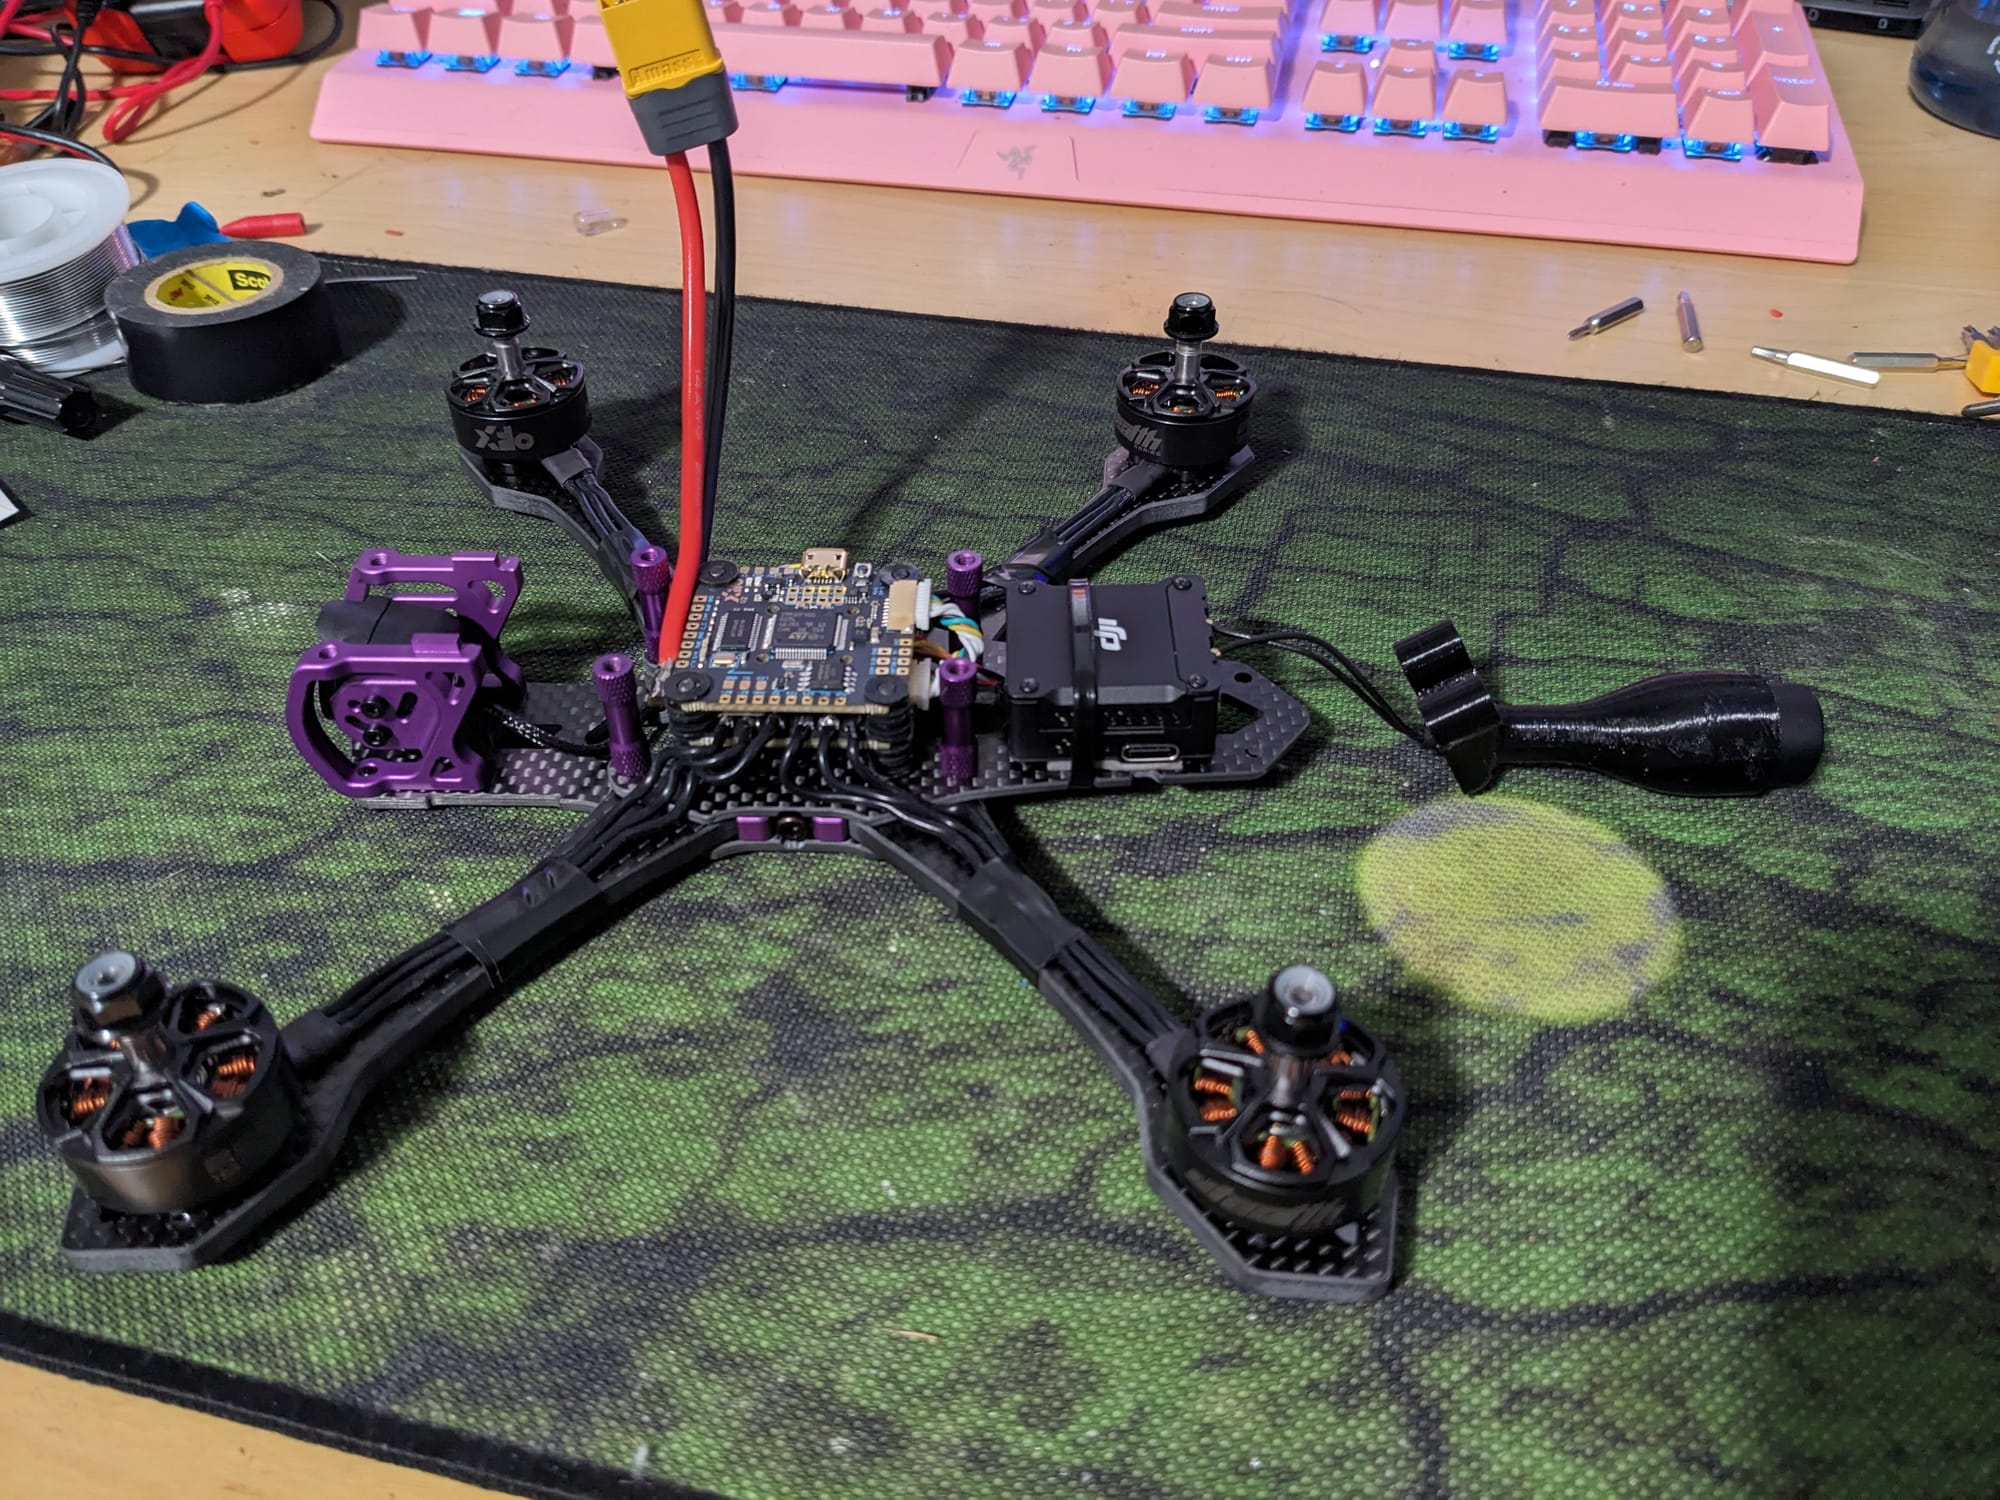
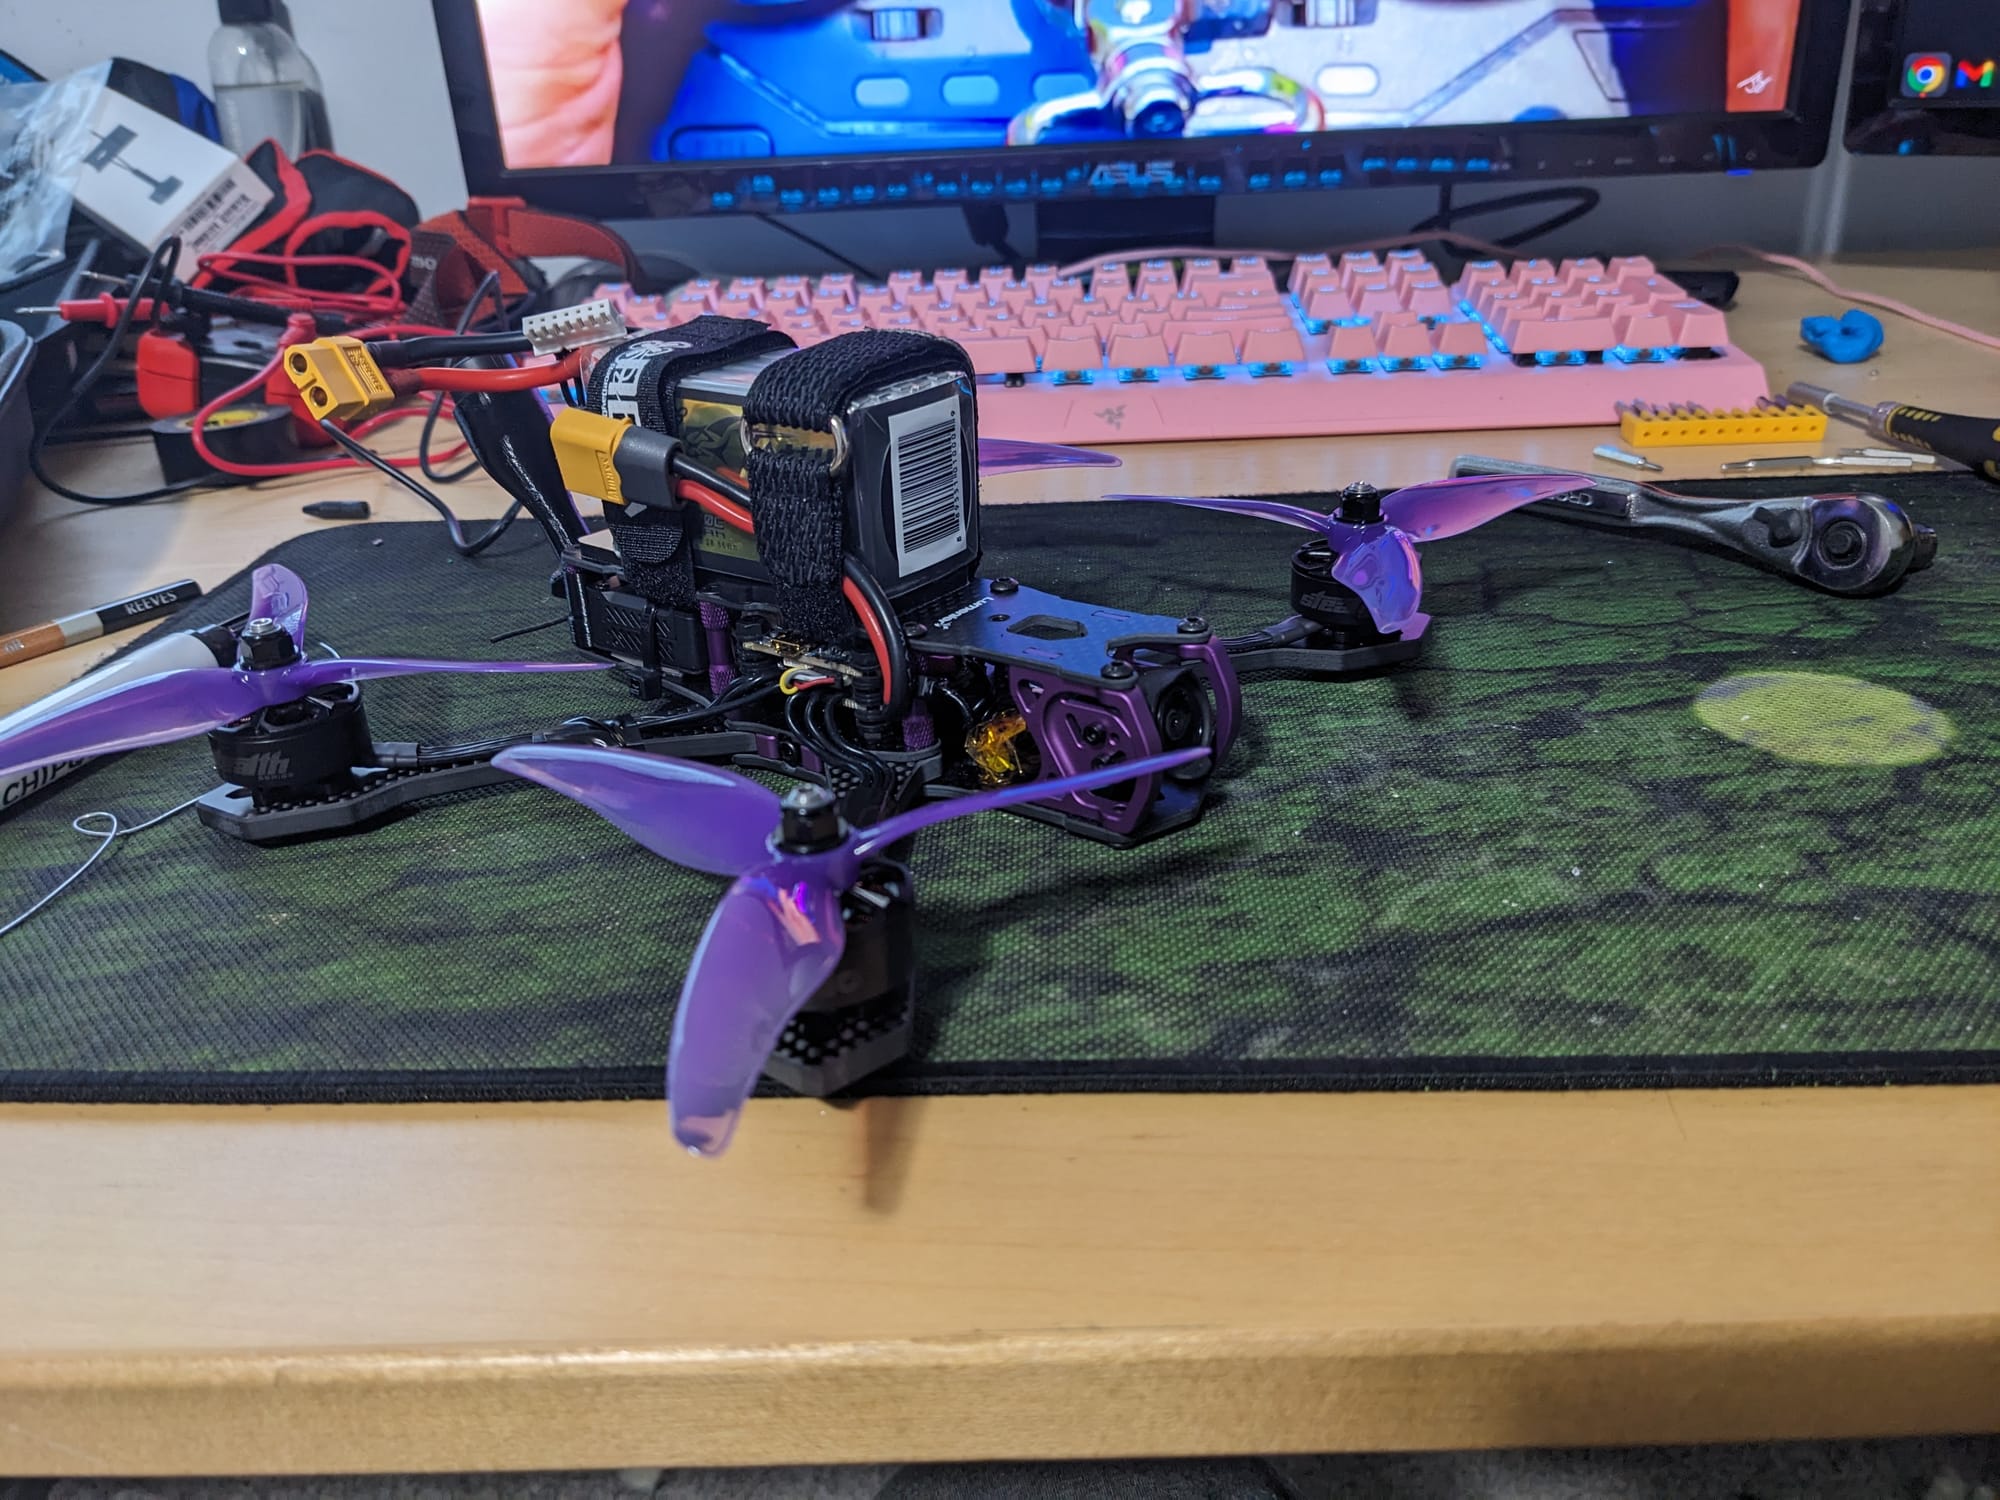
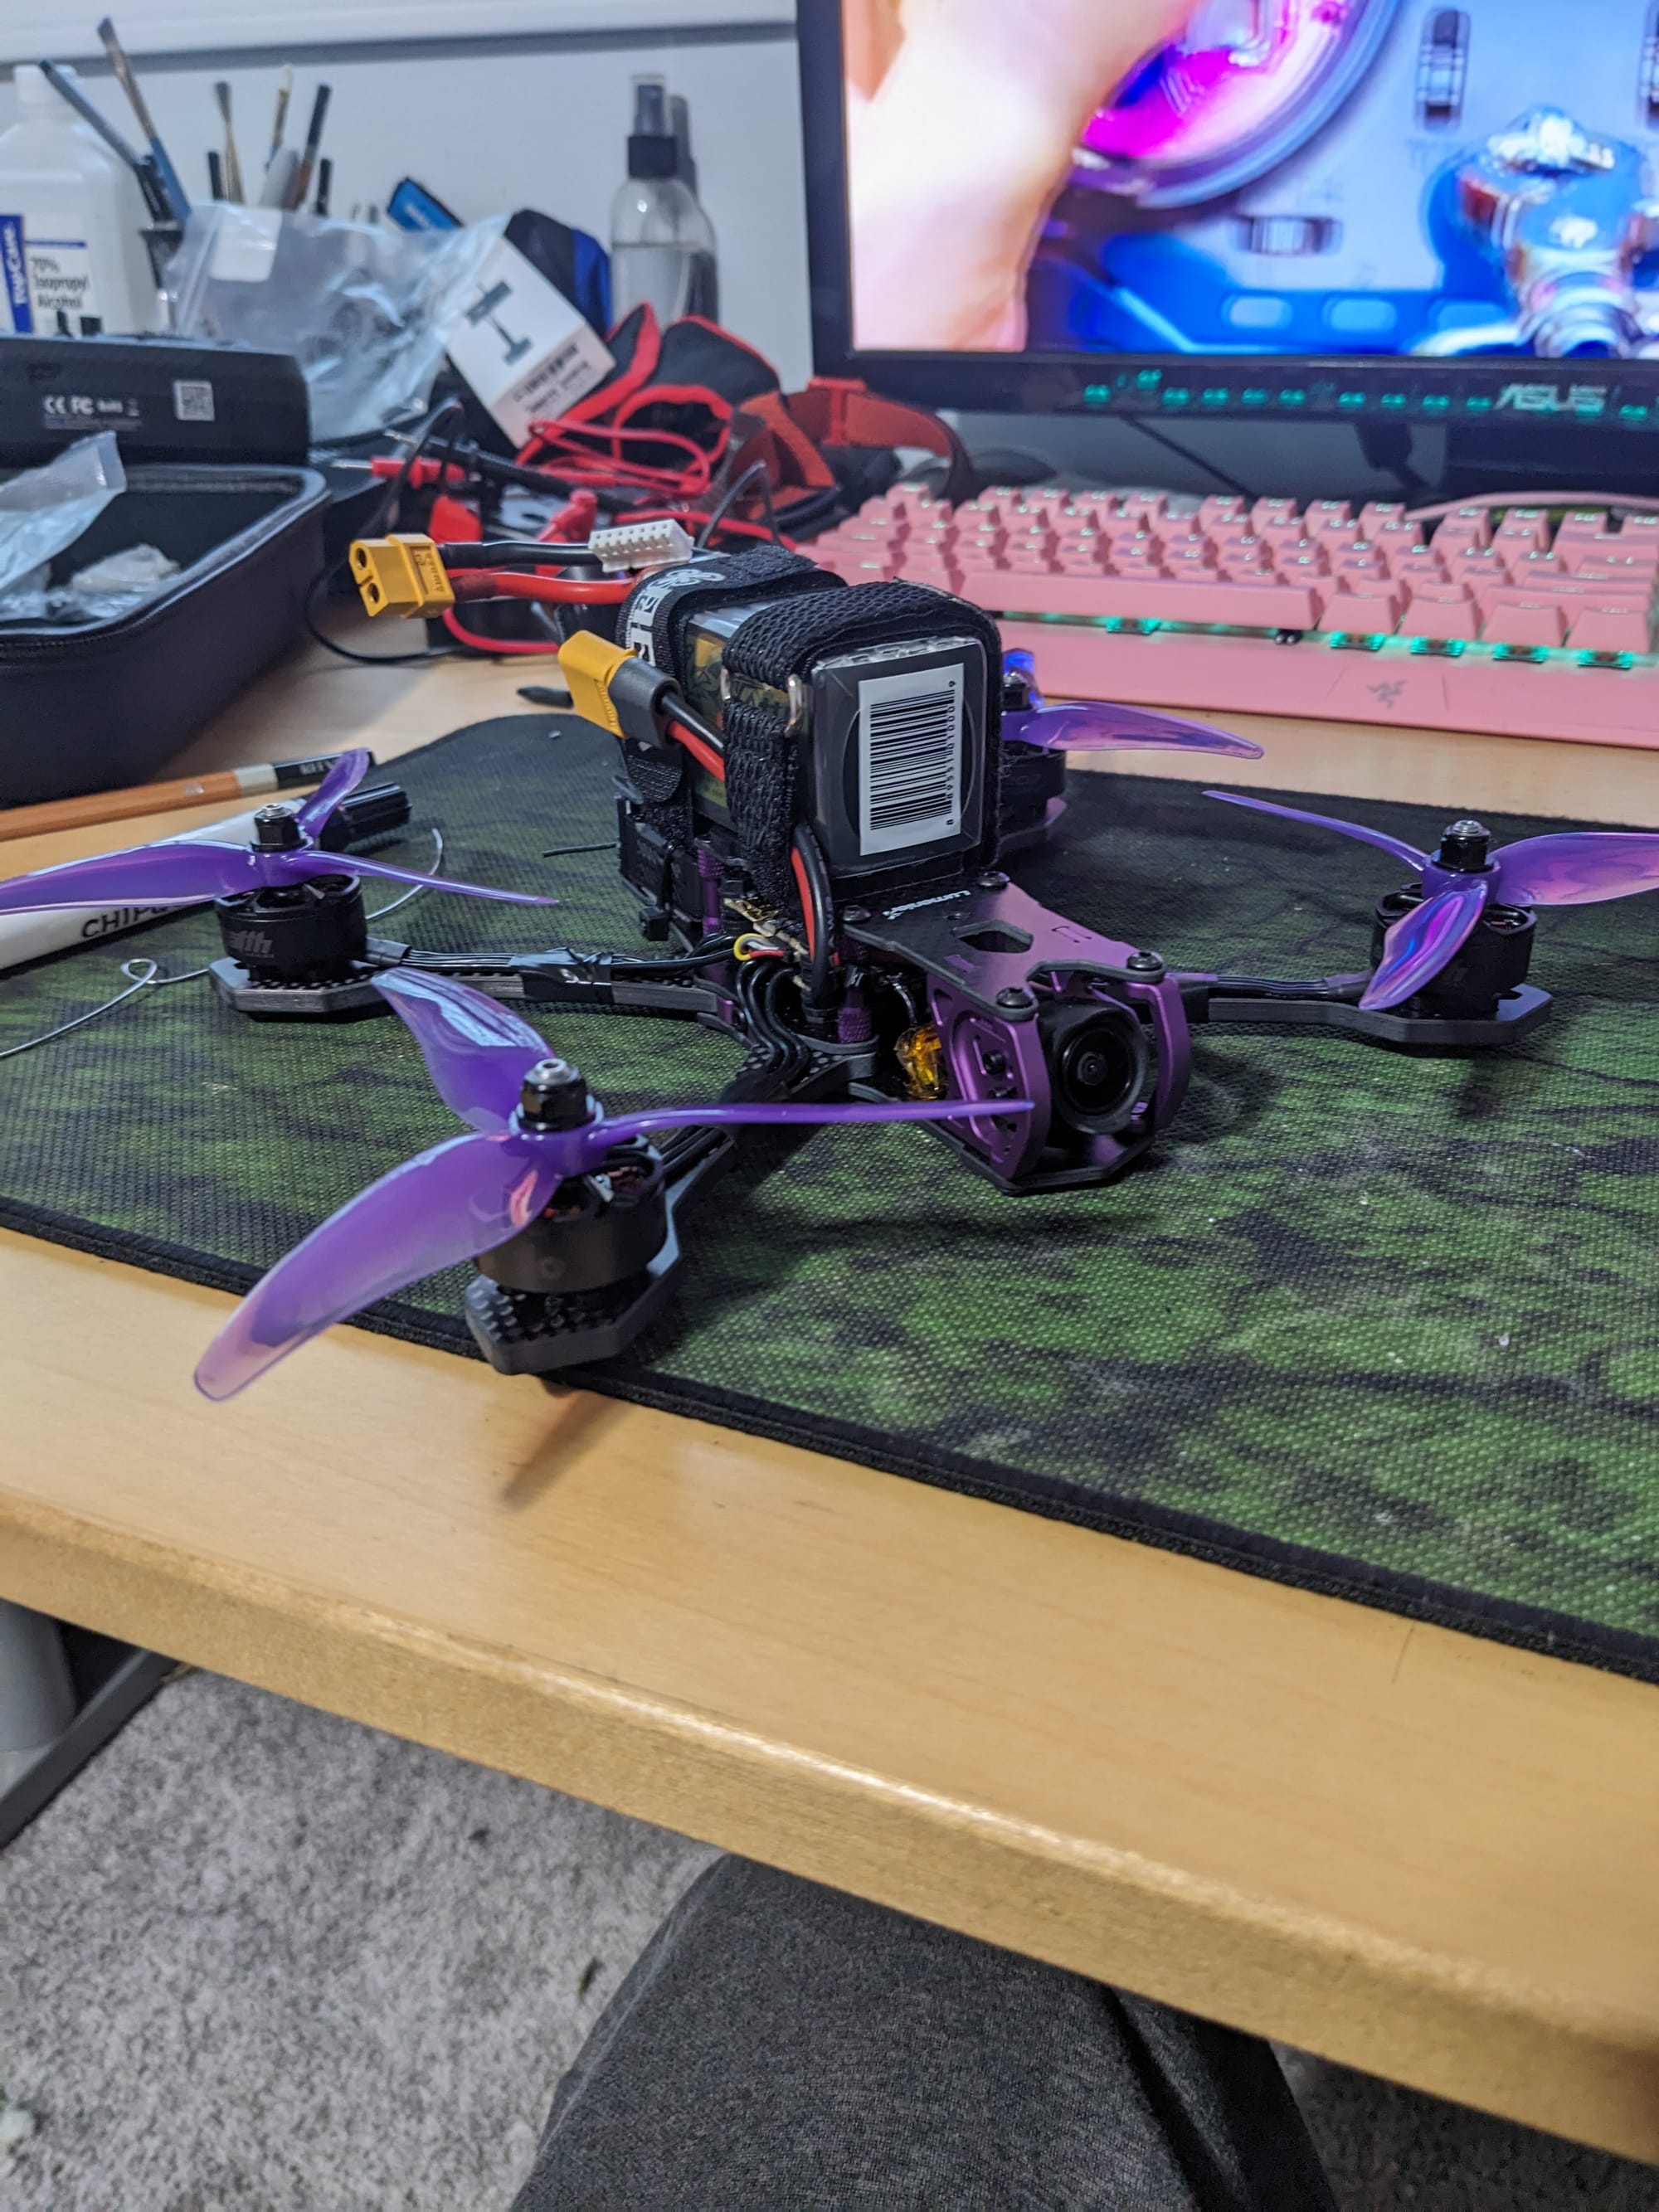
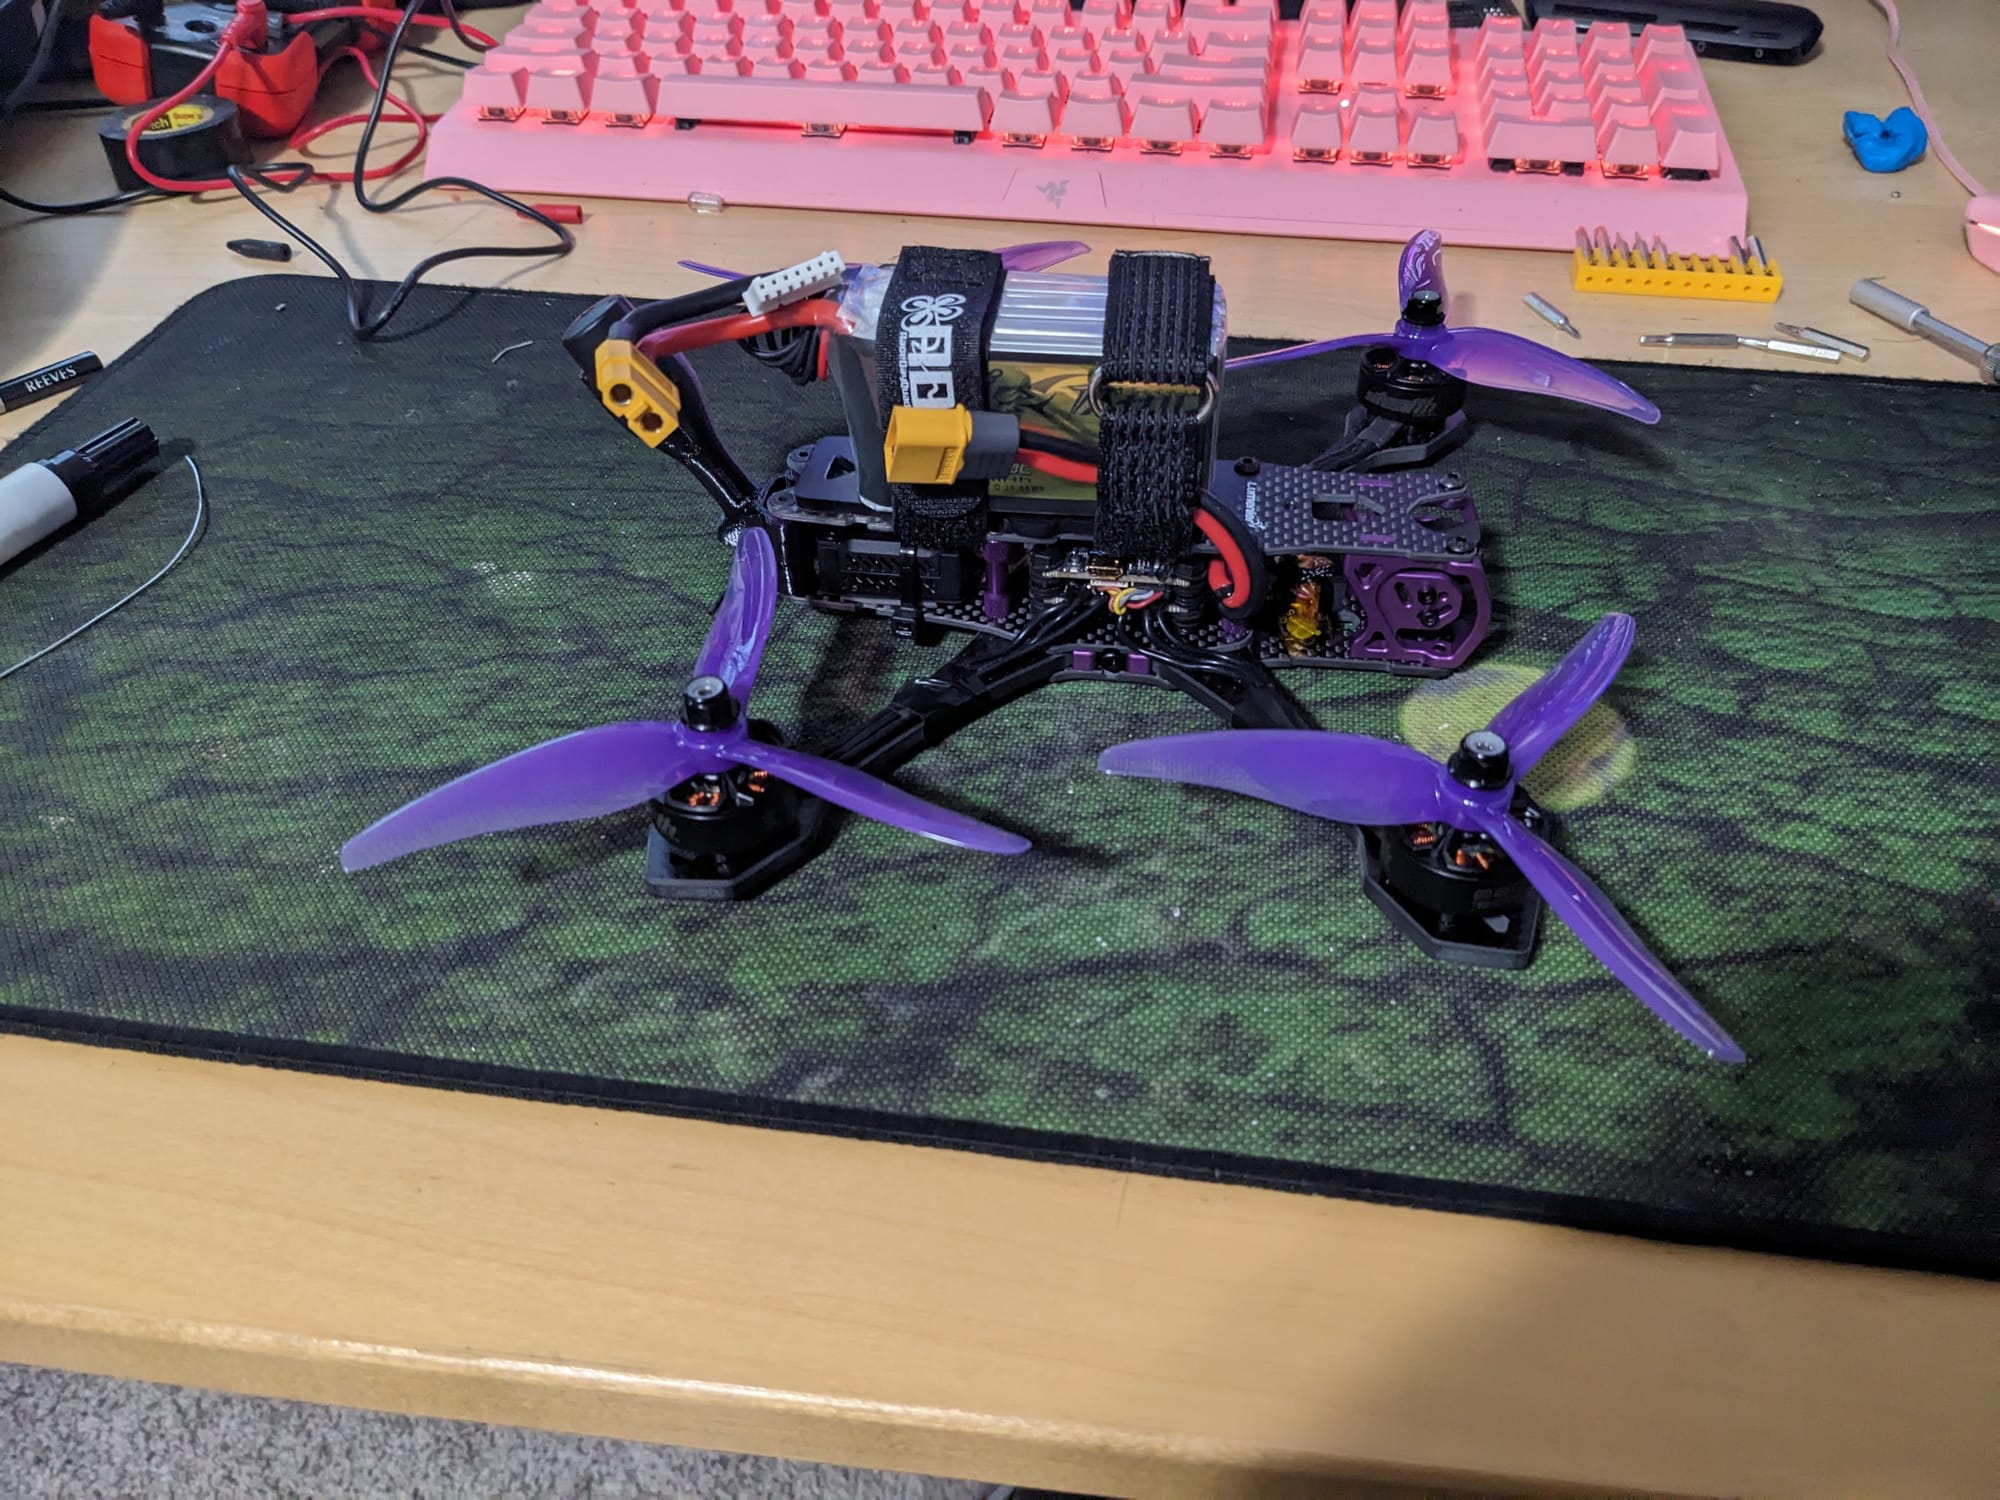
The rest of the frame assembly was pretty straightforward, motor attachment was simple as well. I feel like the pictures don't really do it justice in the marketing, it has a really great aesthetic that I find appealing.

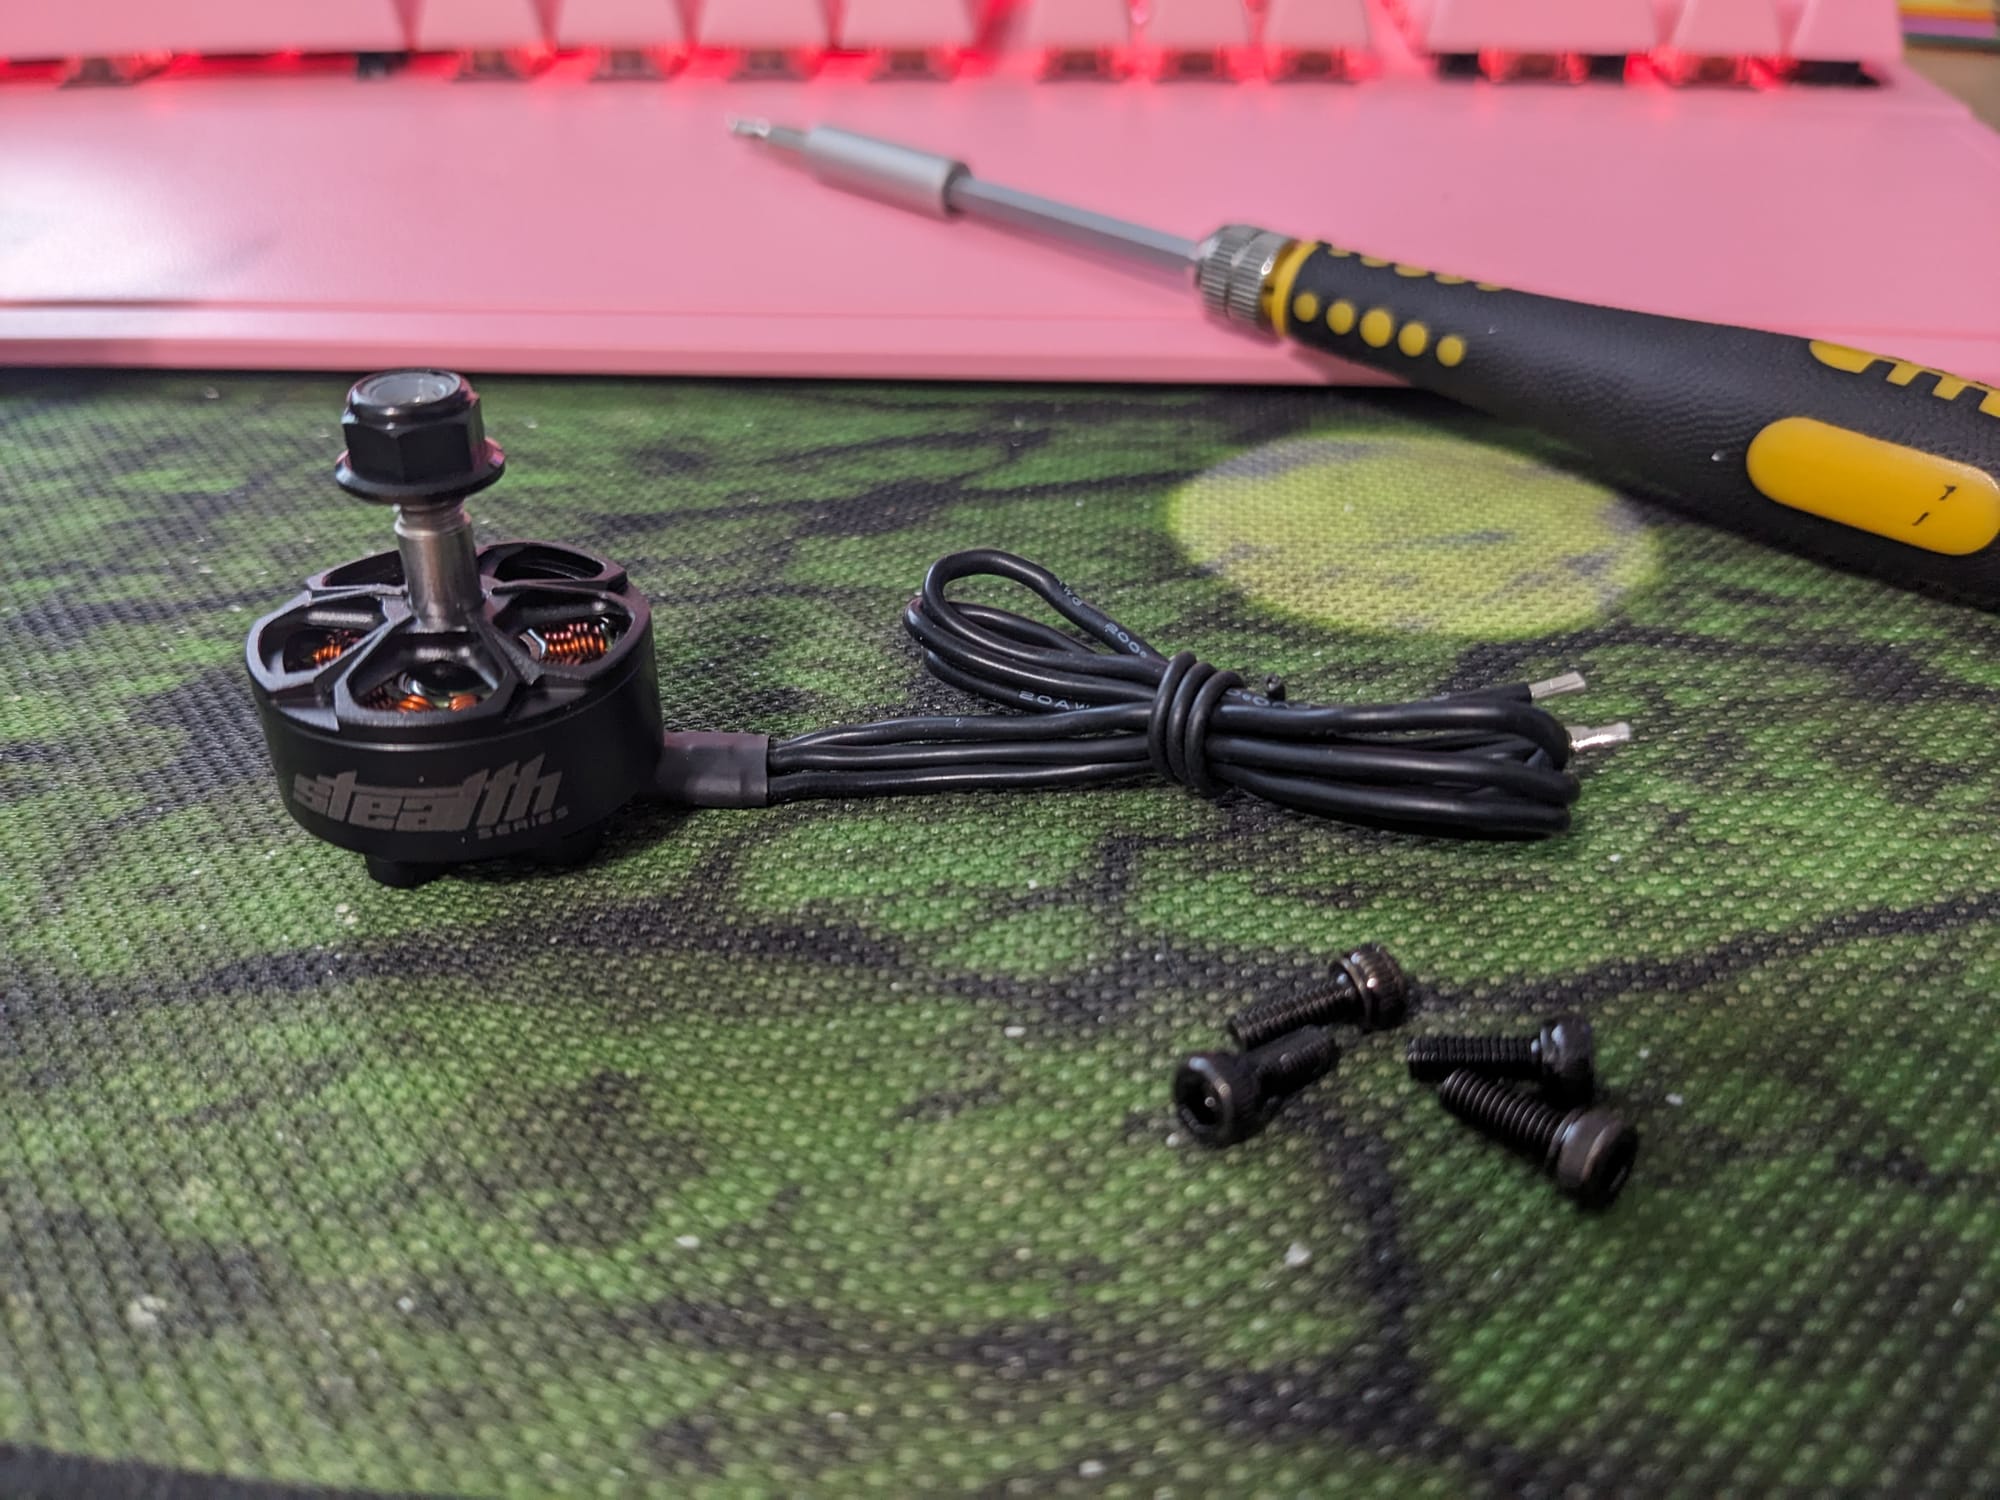
Next it was time to start the soldering, I have soldered some when I was in high school, but it wasn't much and I don't particularly remember being good at it, but I bought a couple practice boards to play around with.
After a few hours of practice I moved onto the first to solder which was the motors to the ESC (Electronic Speed Controller)
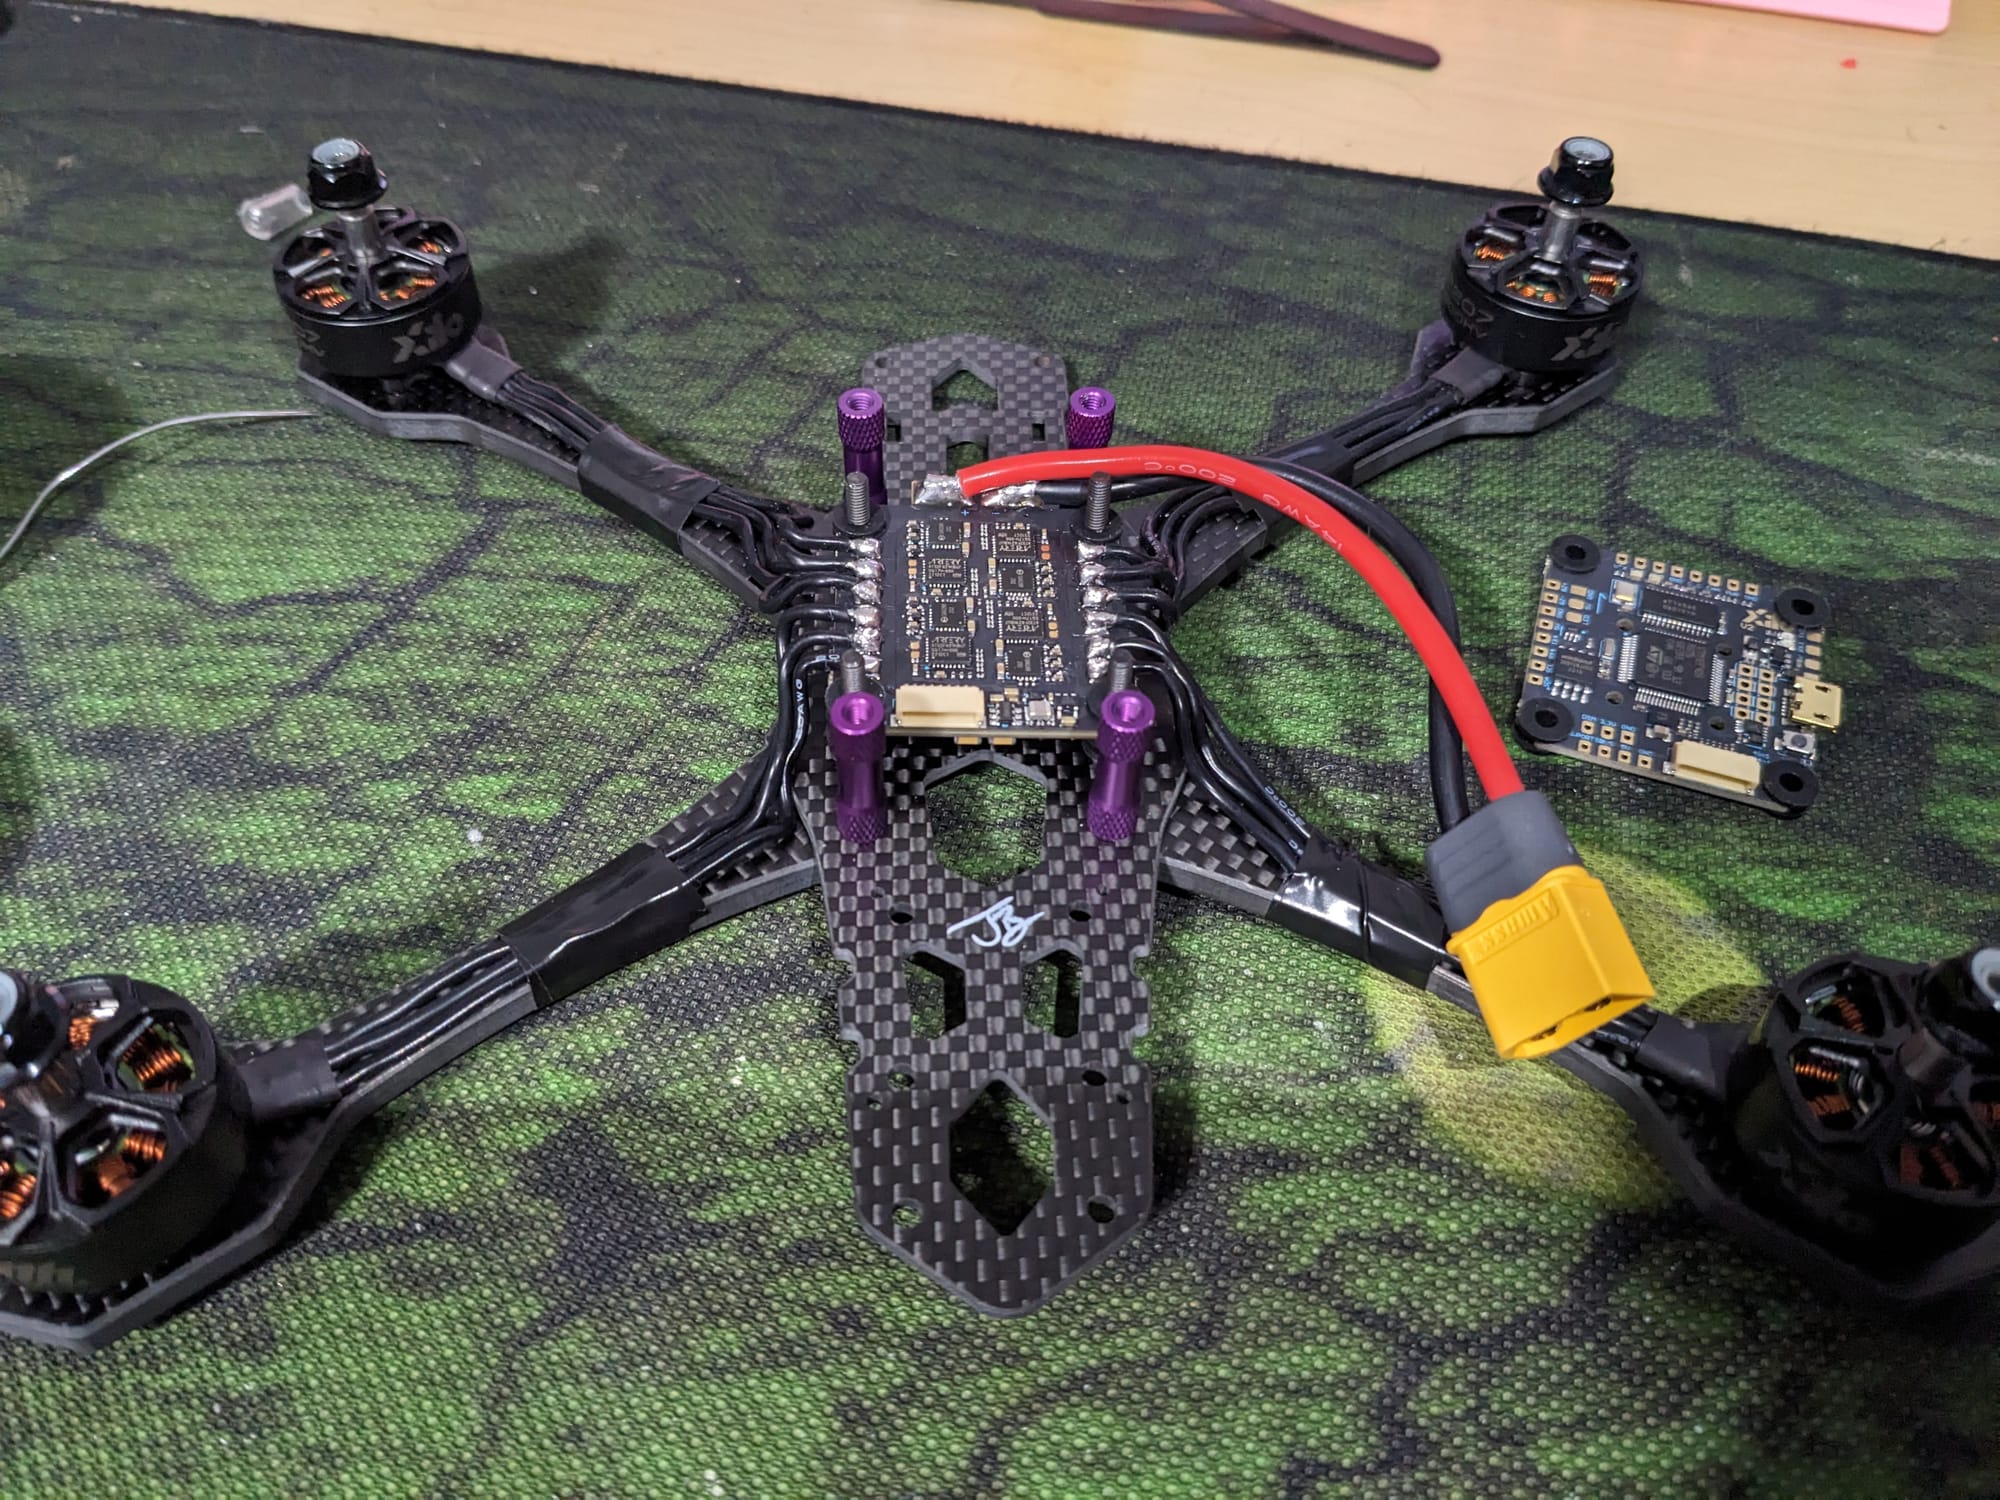
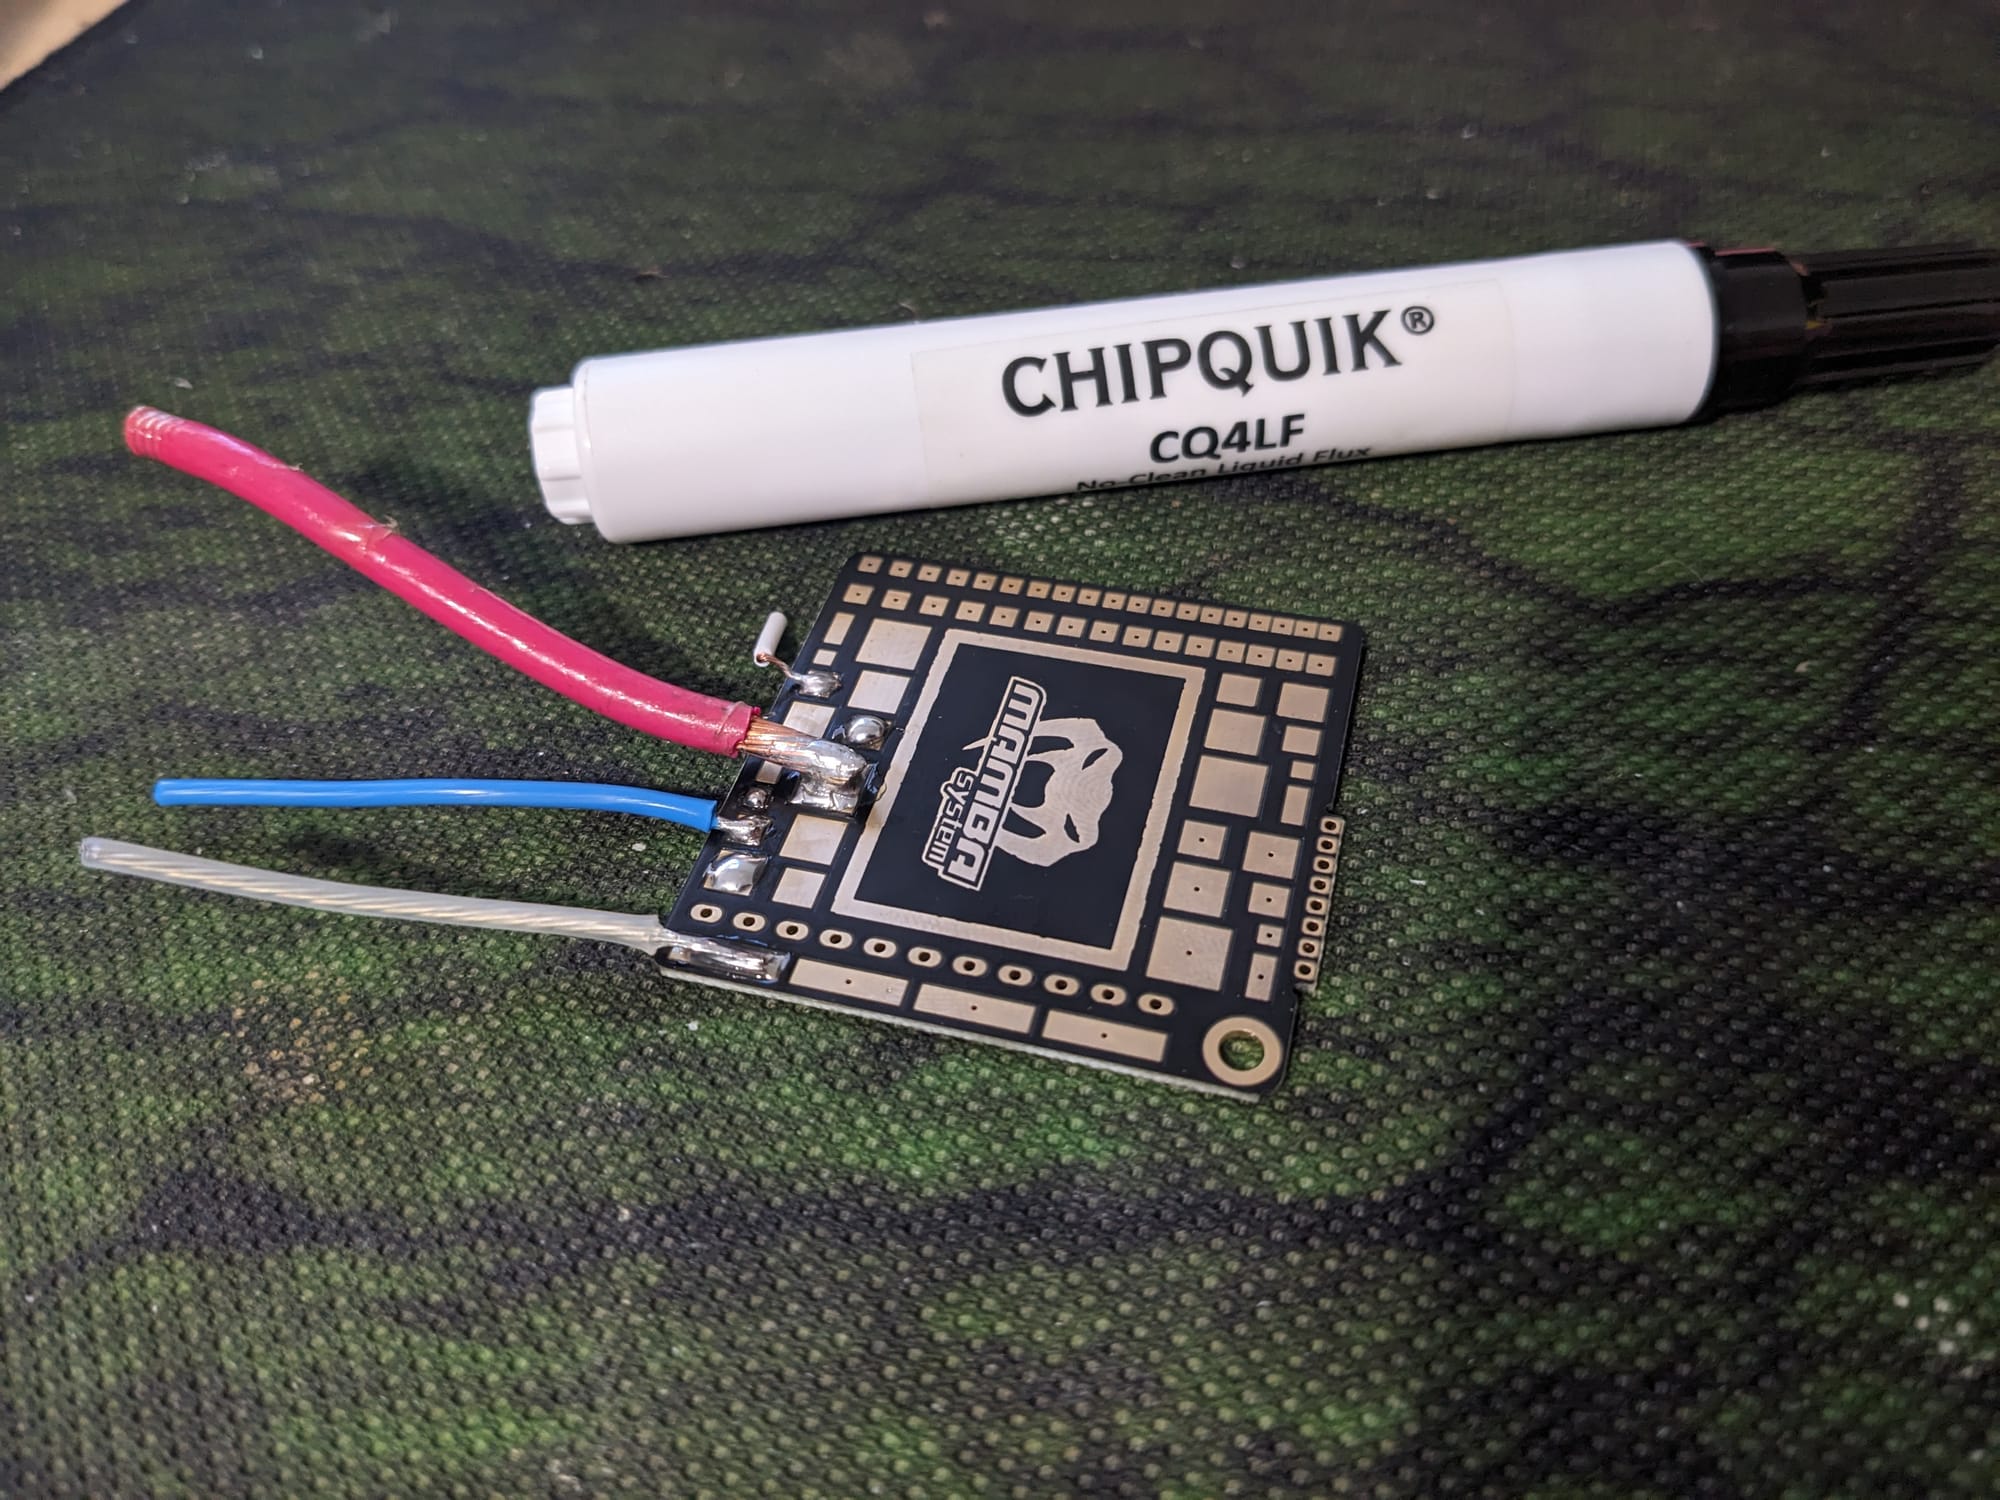
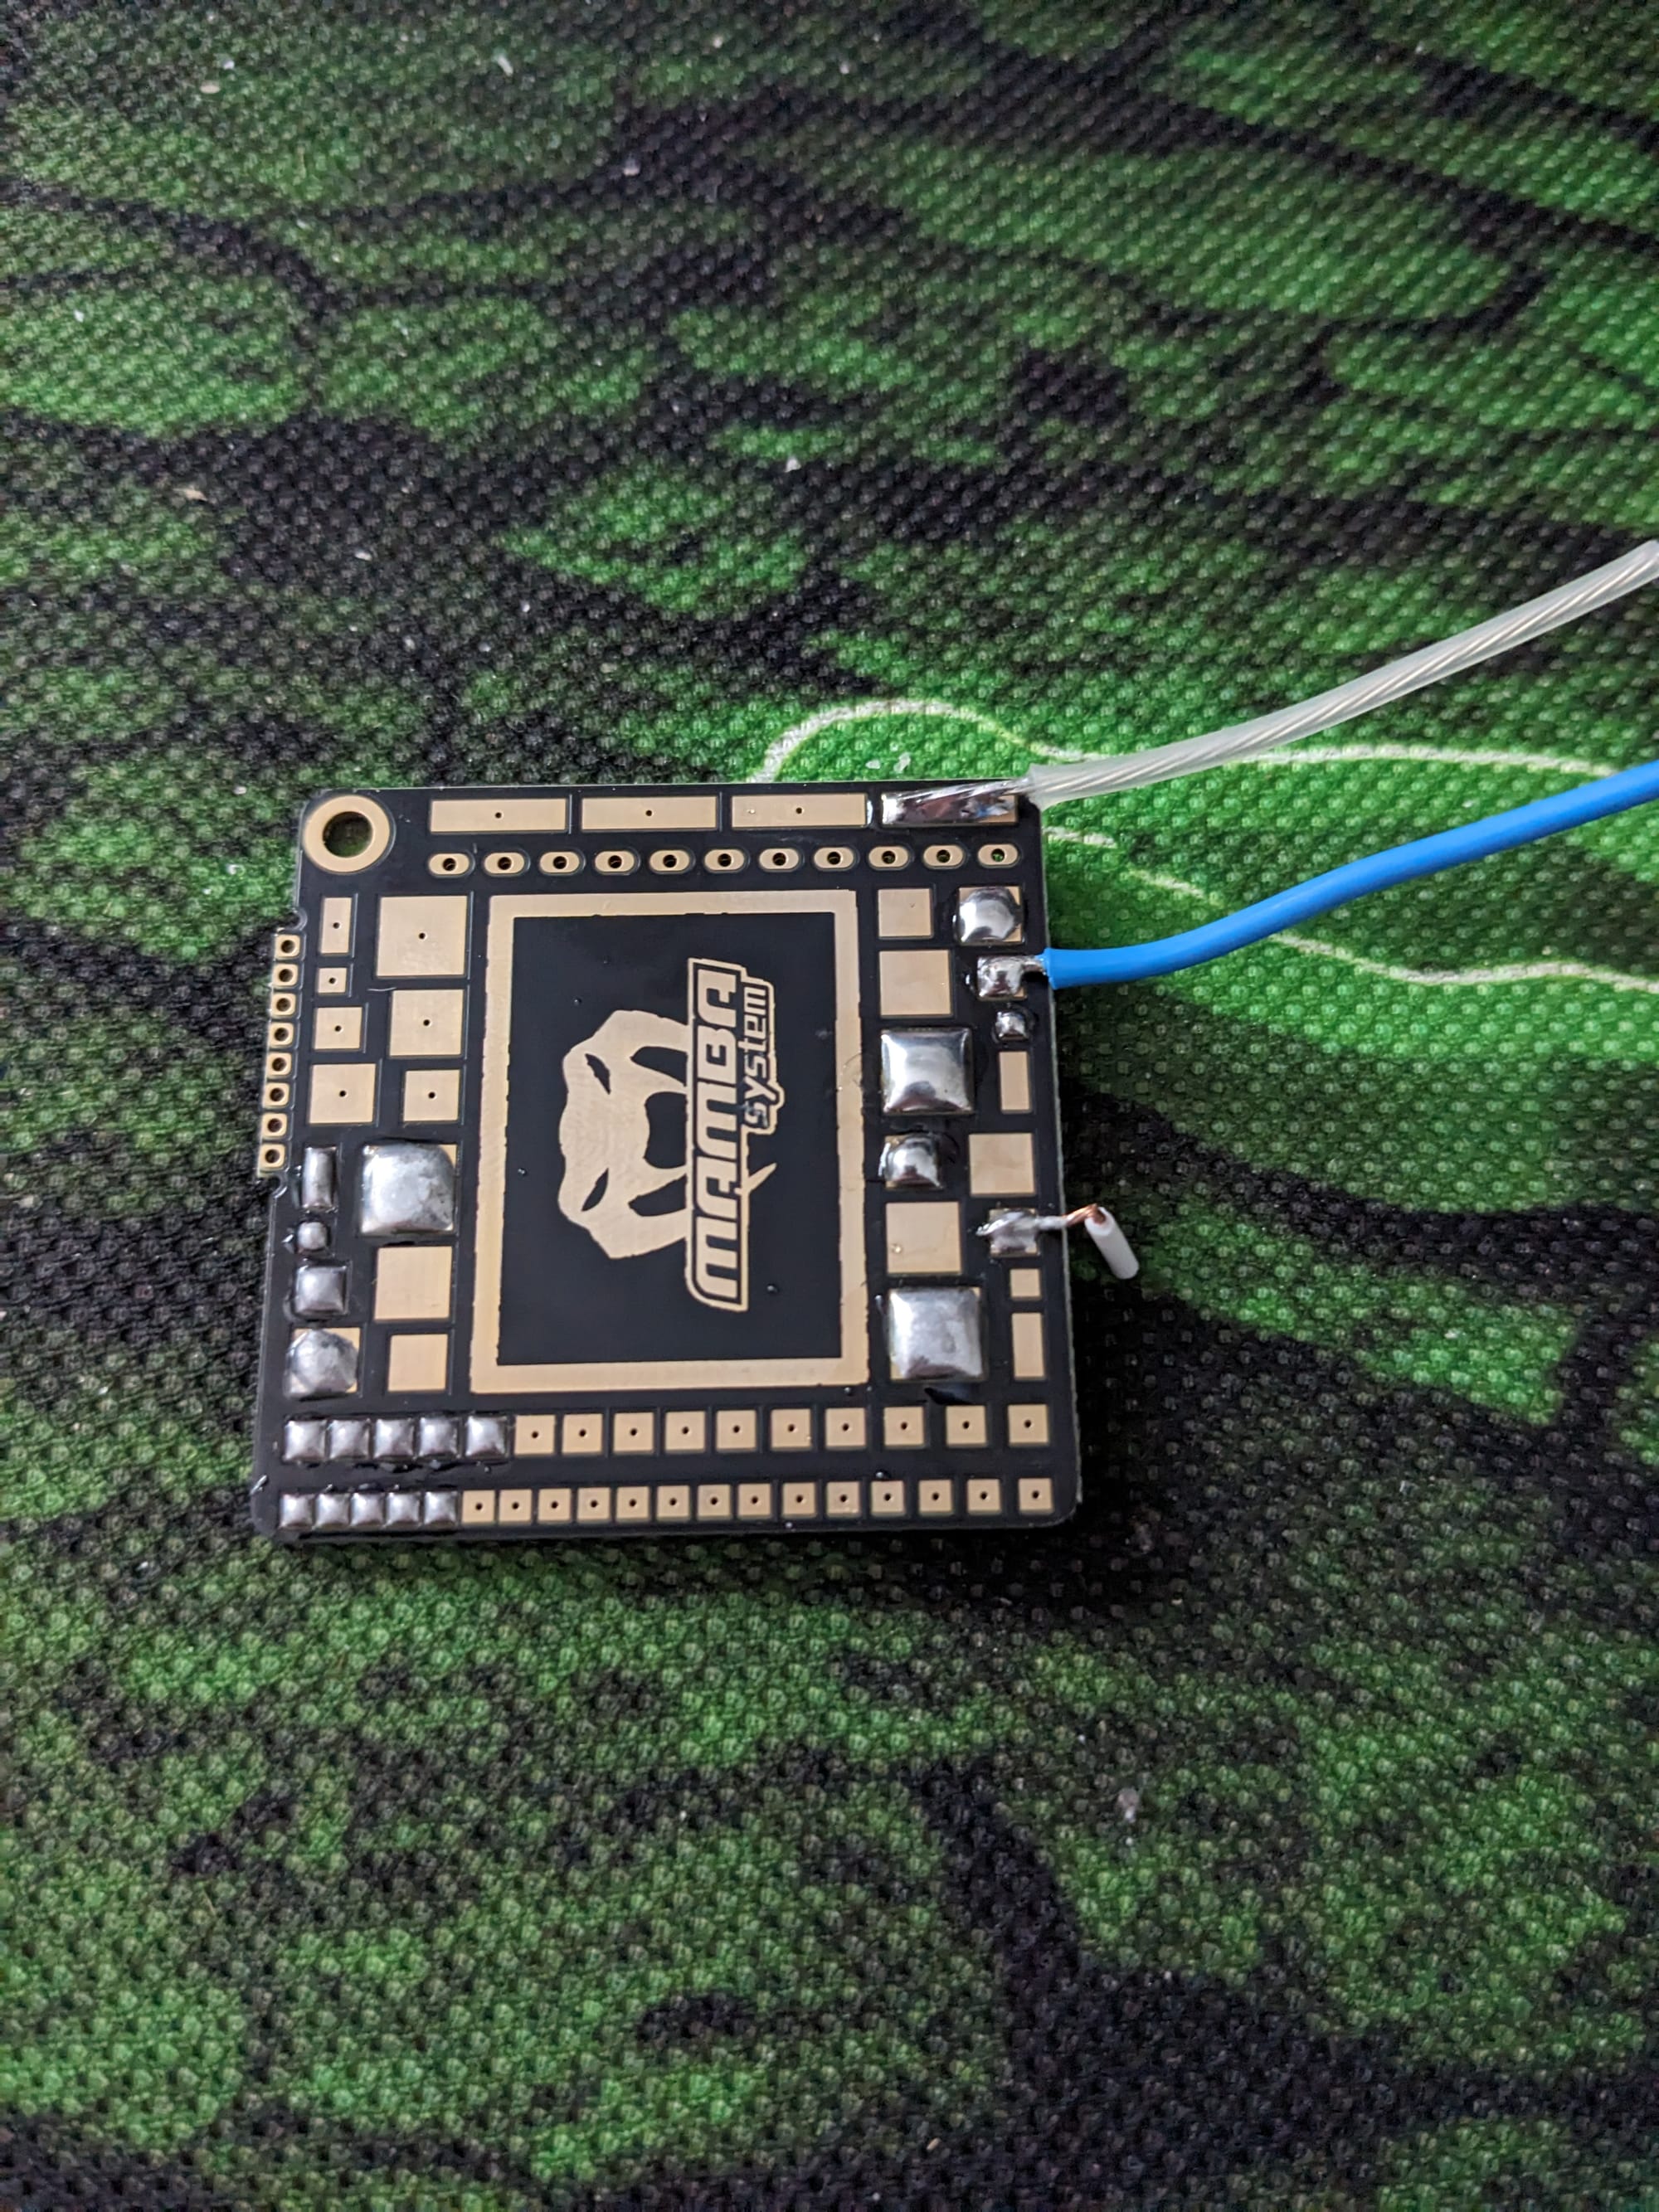
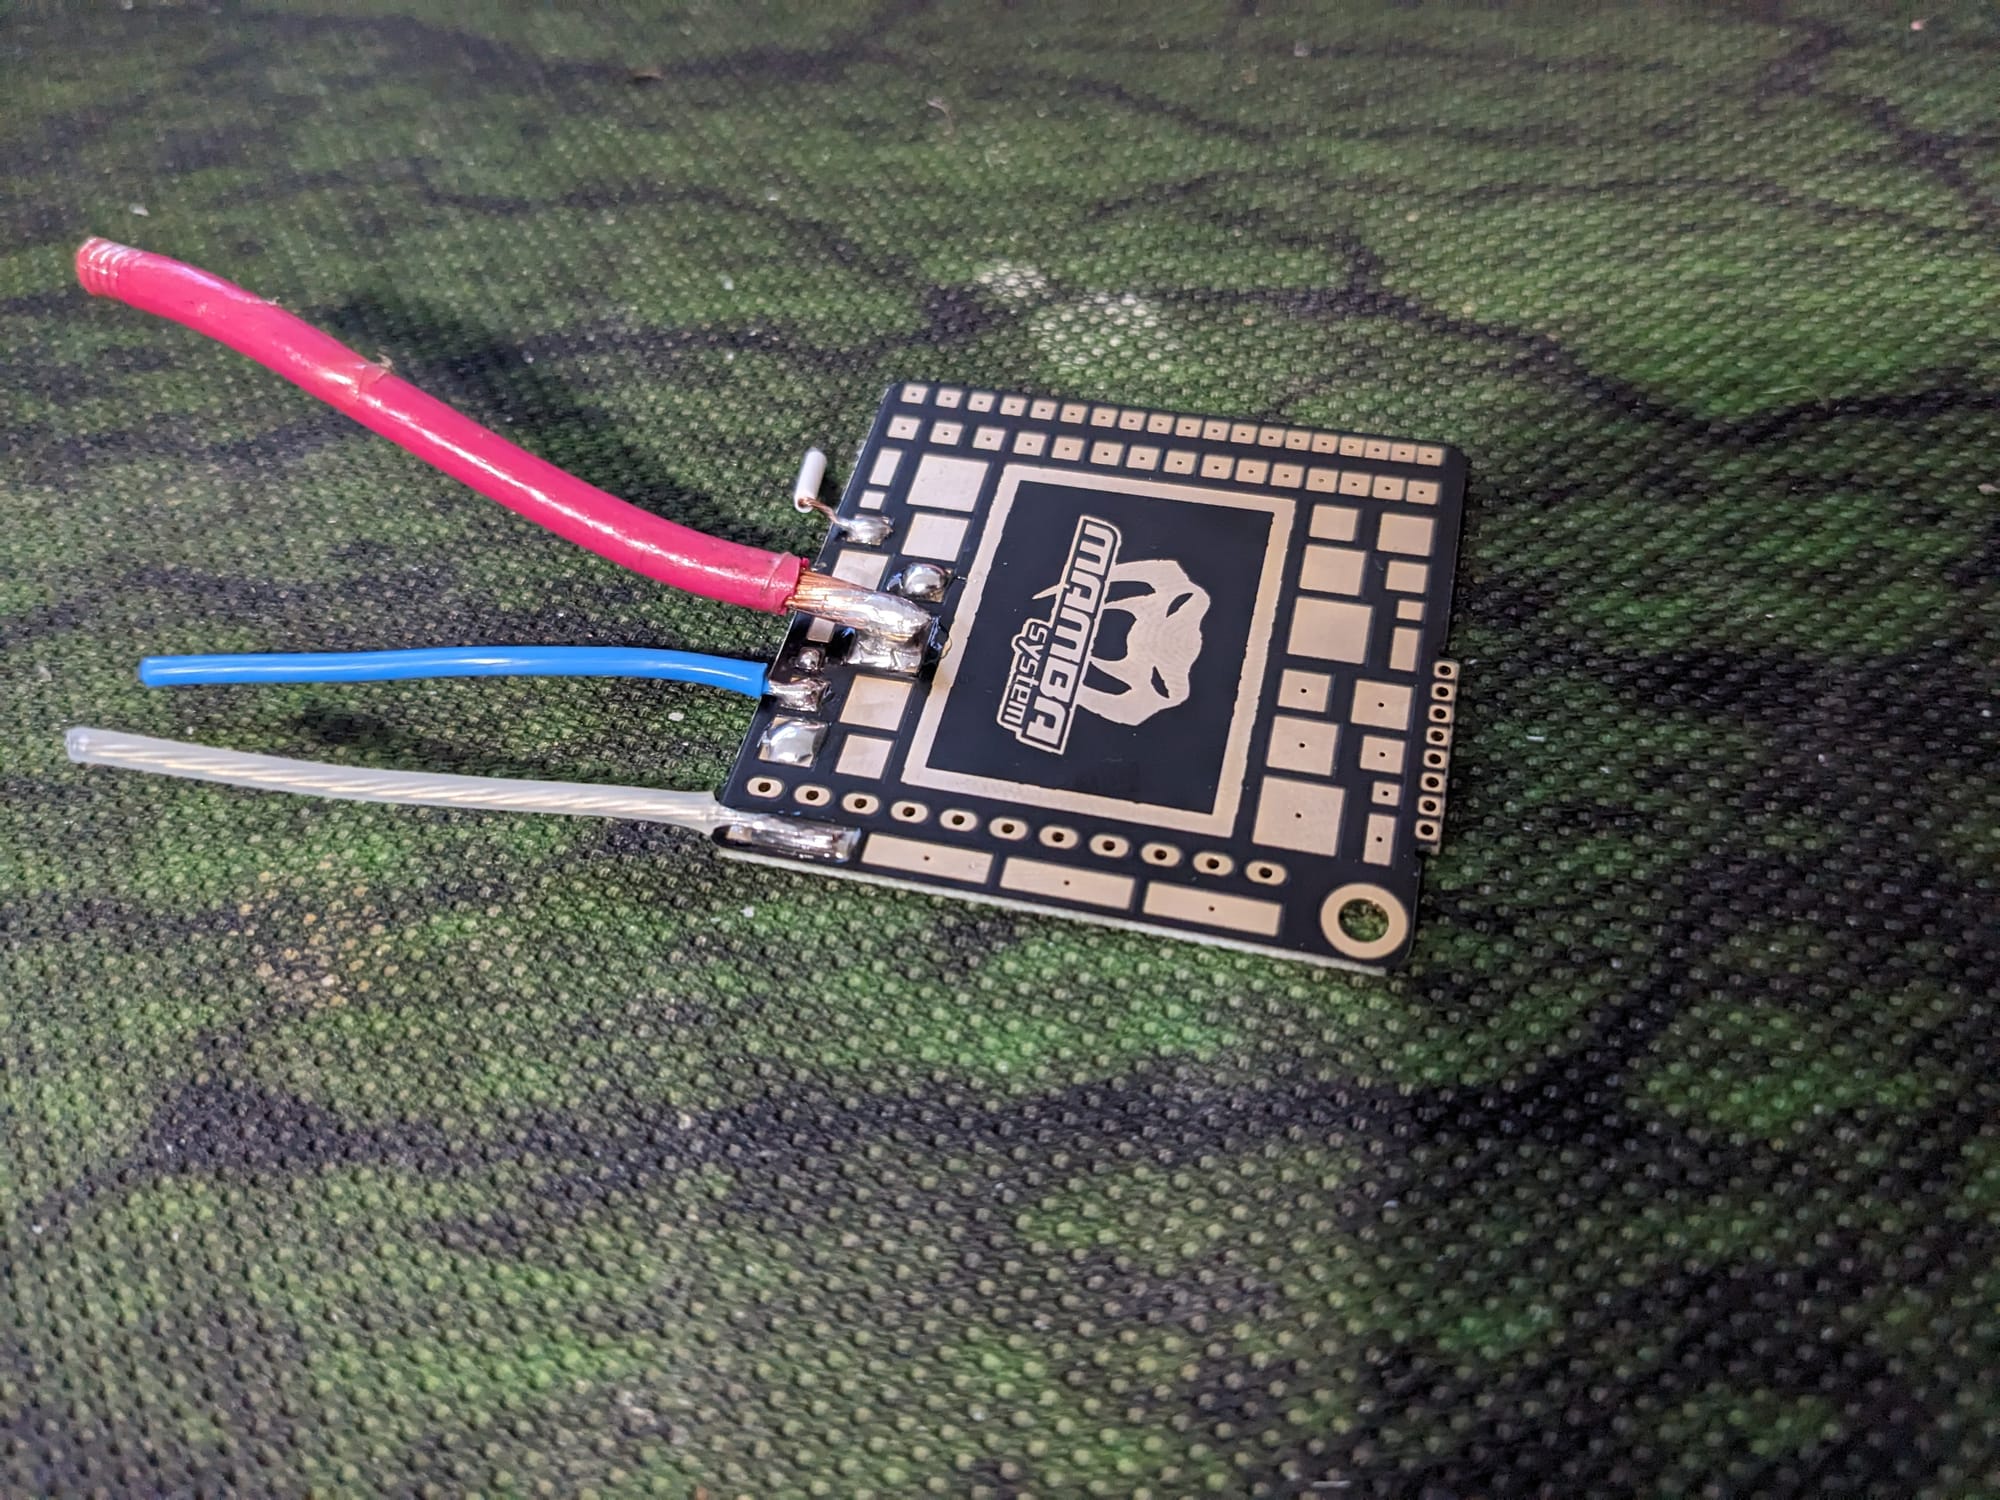
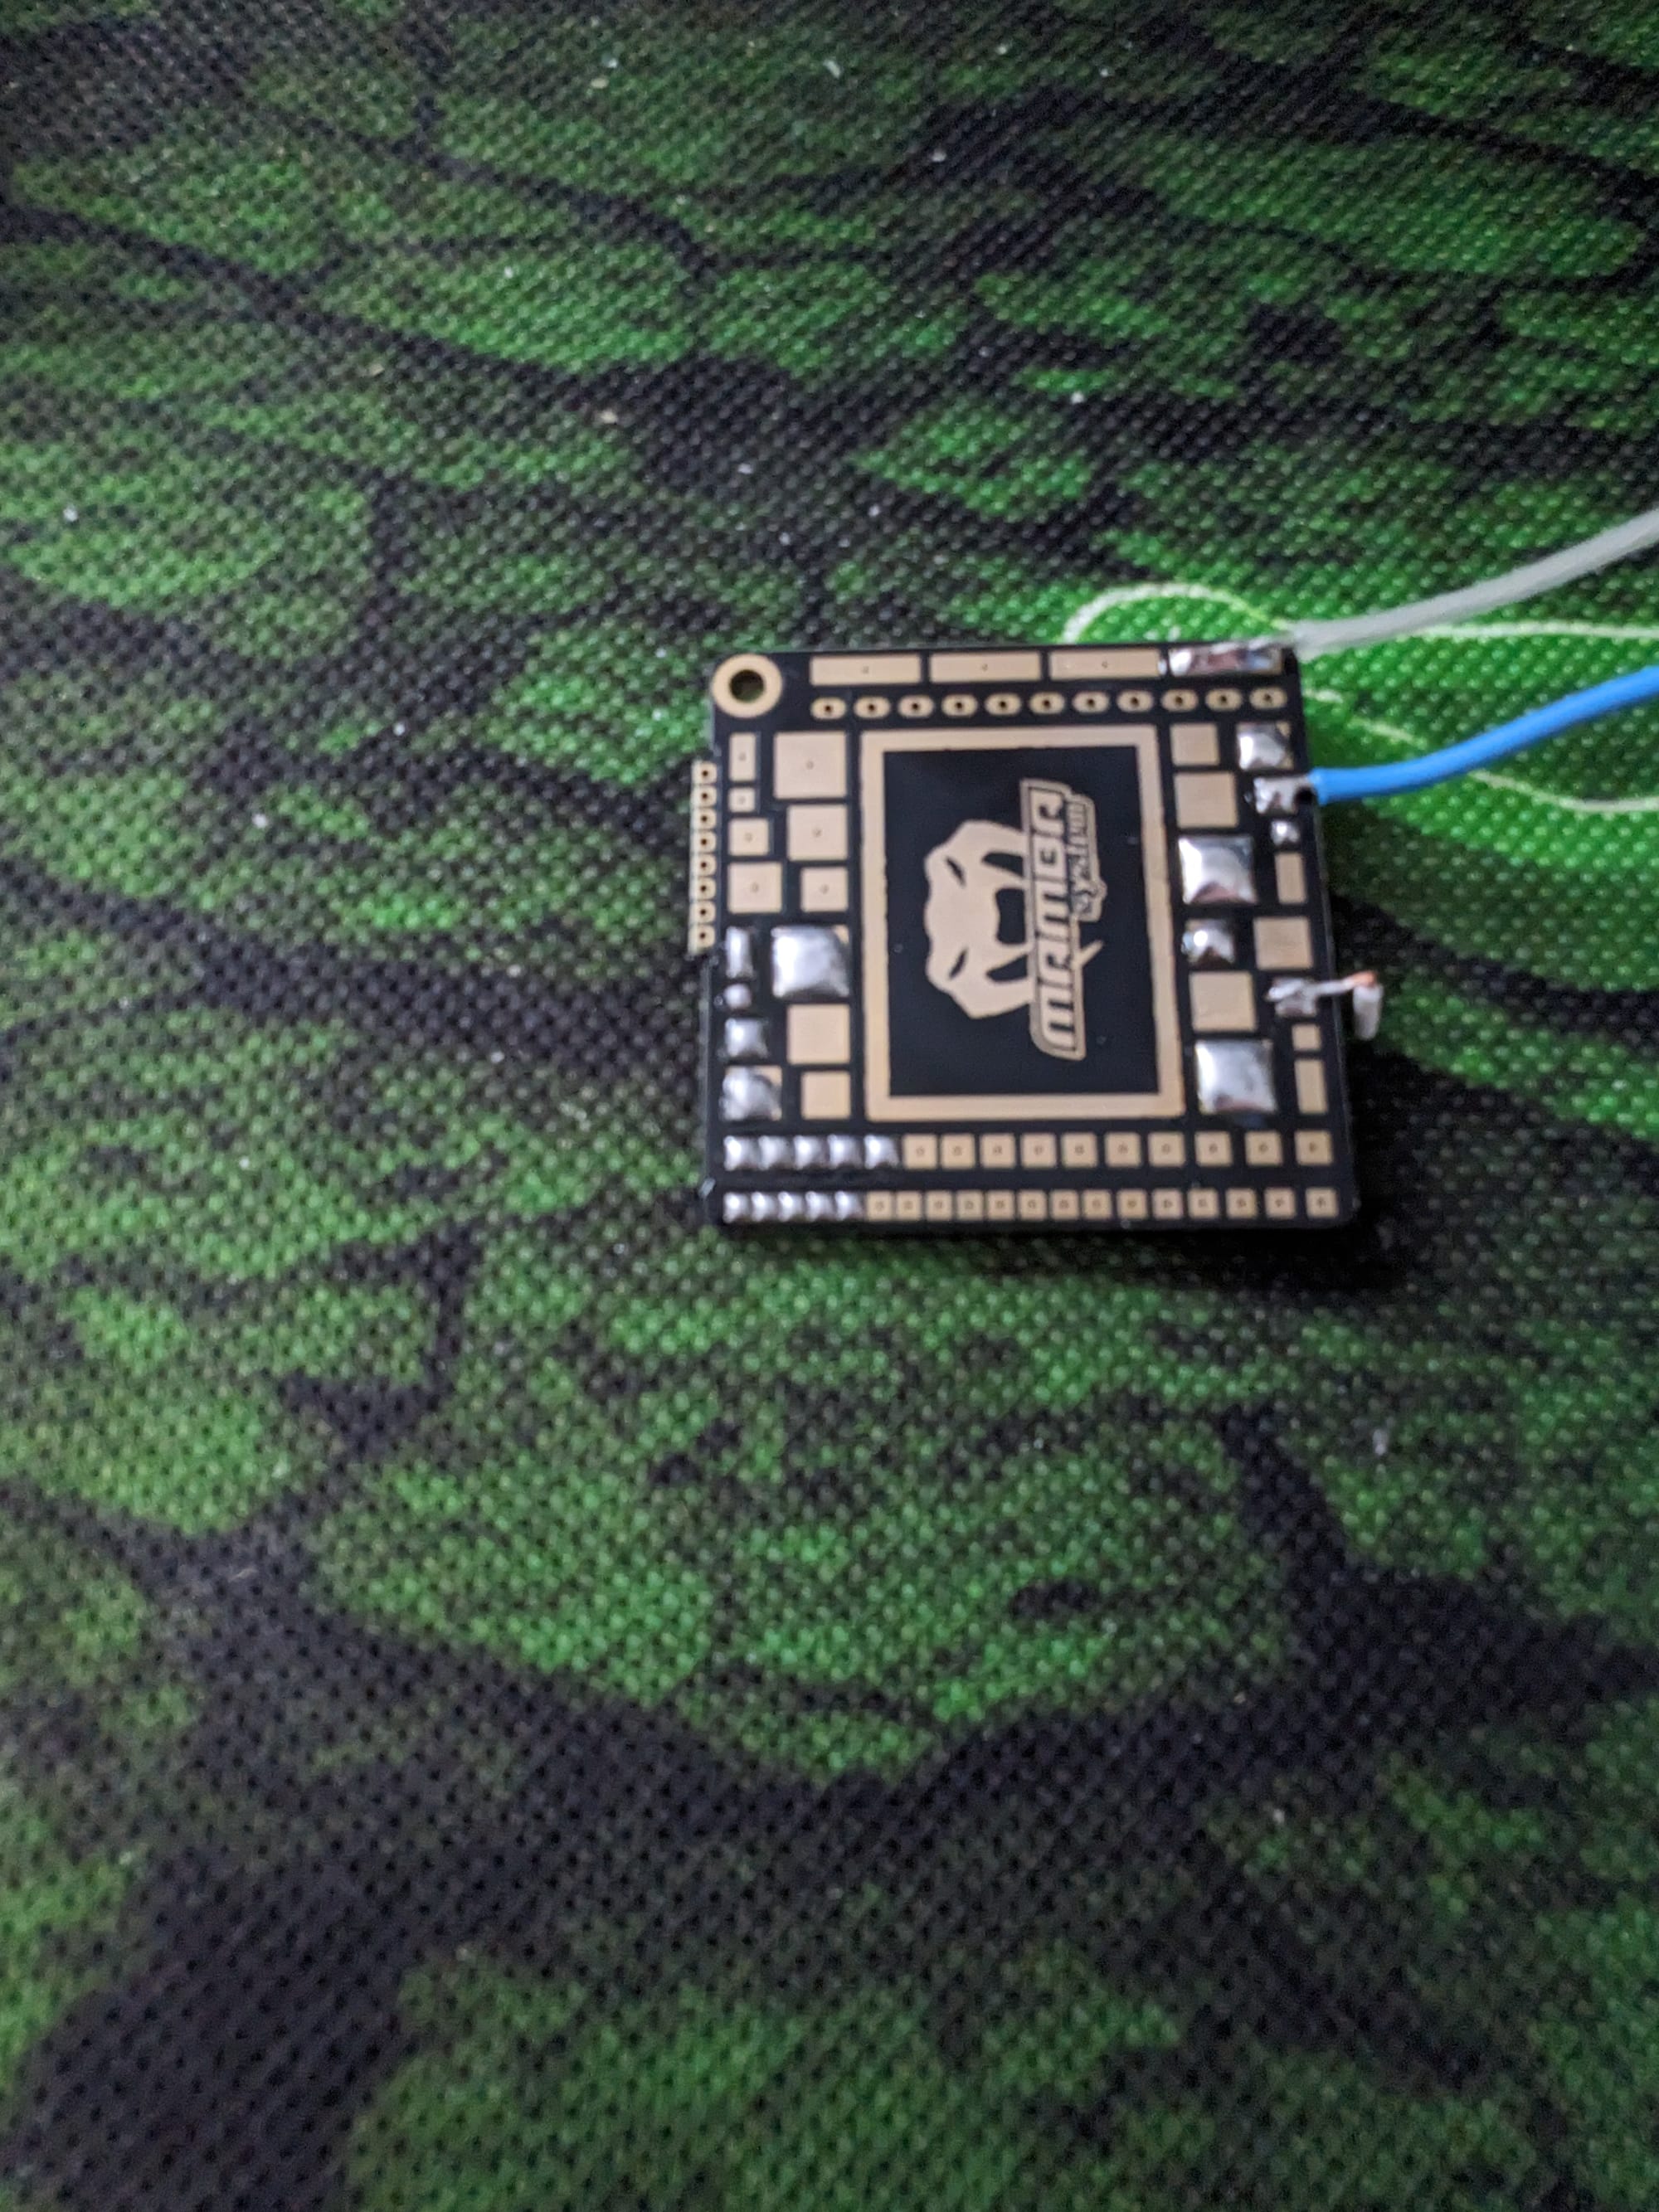
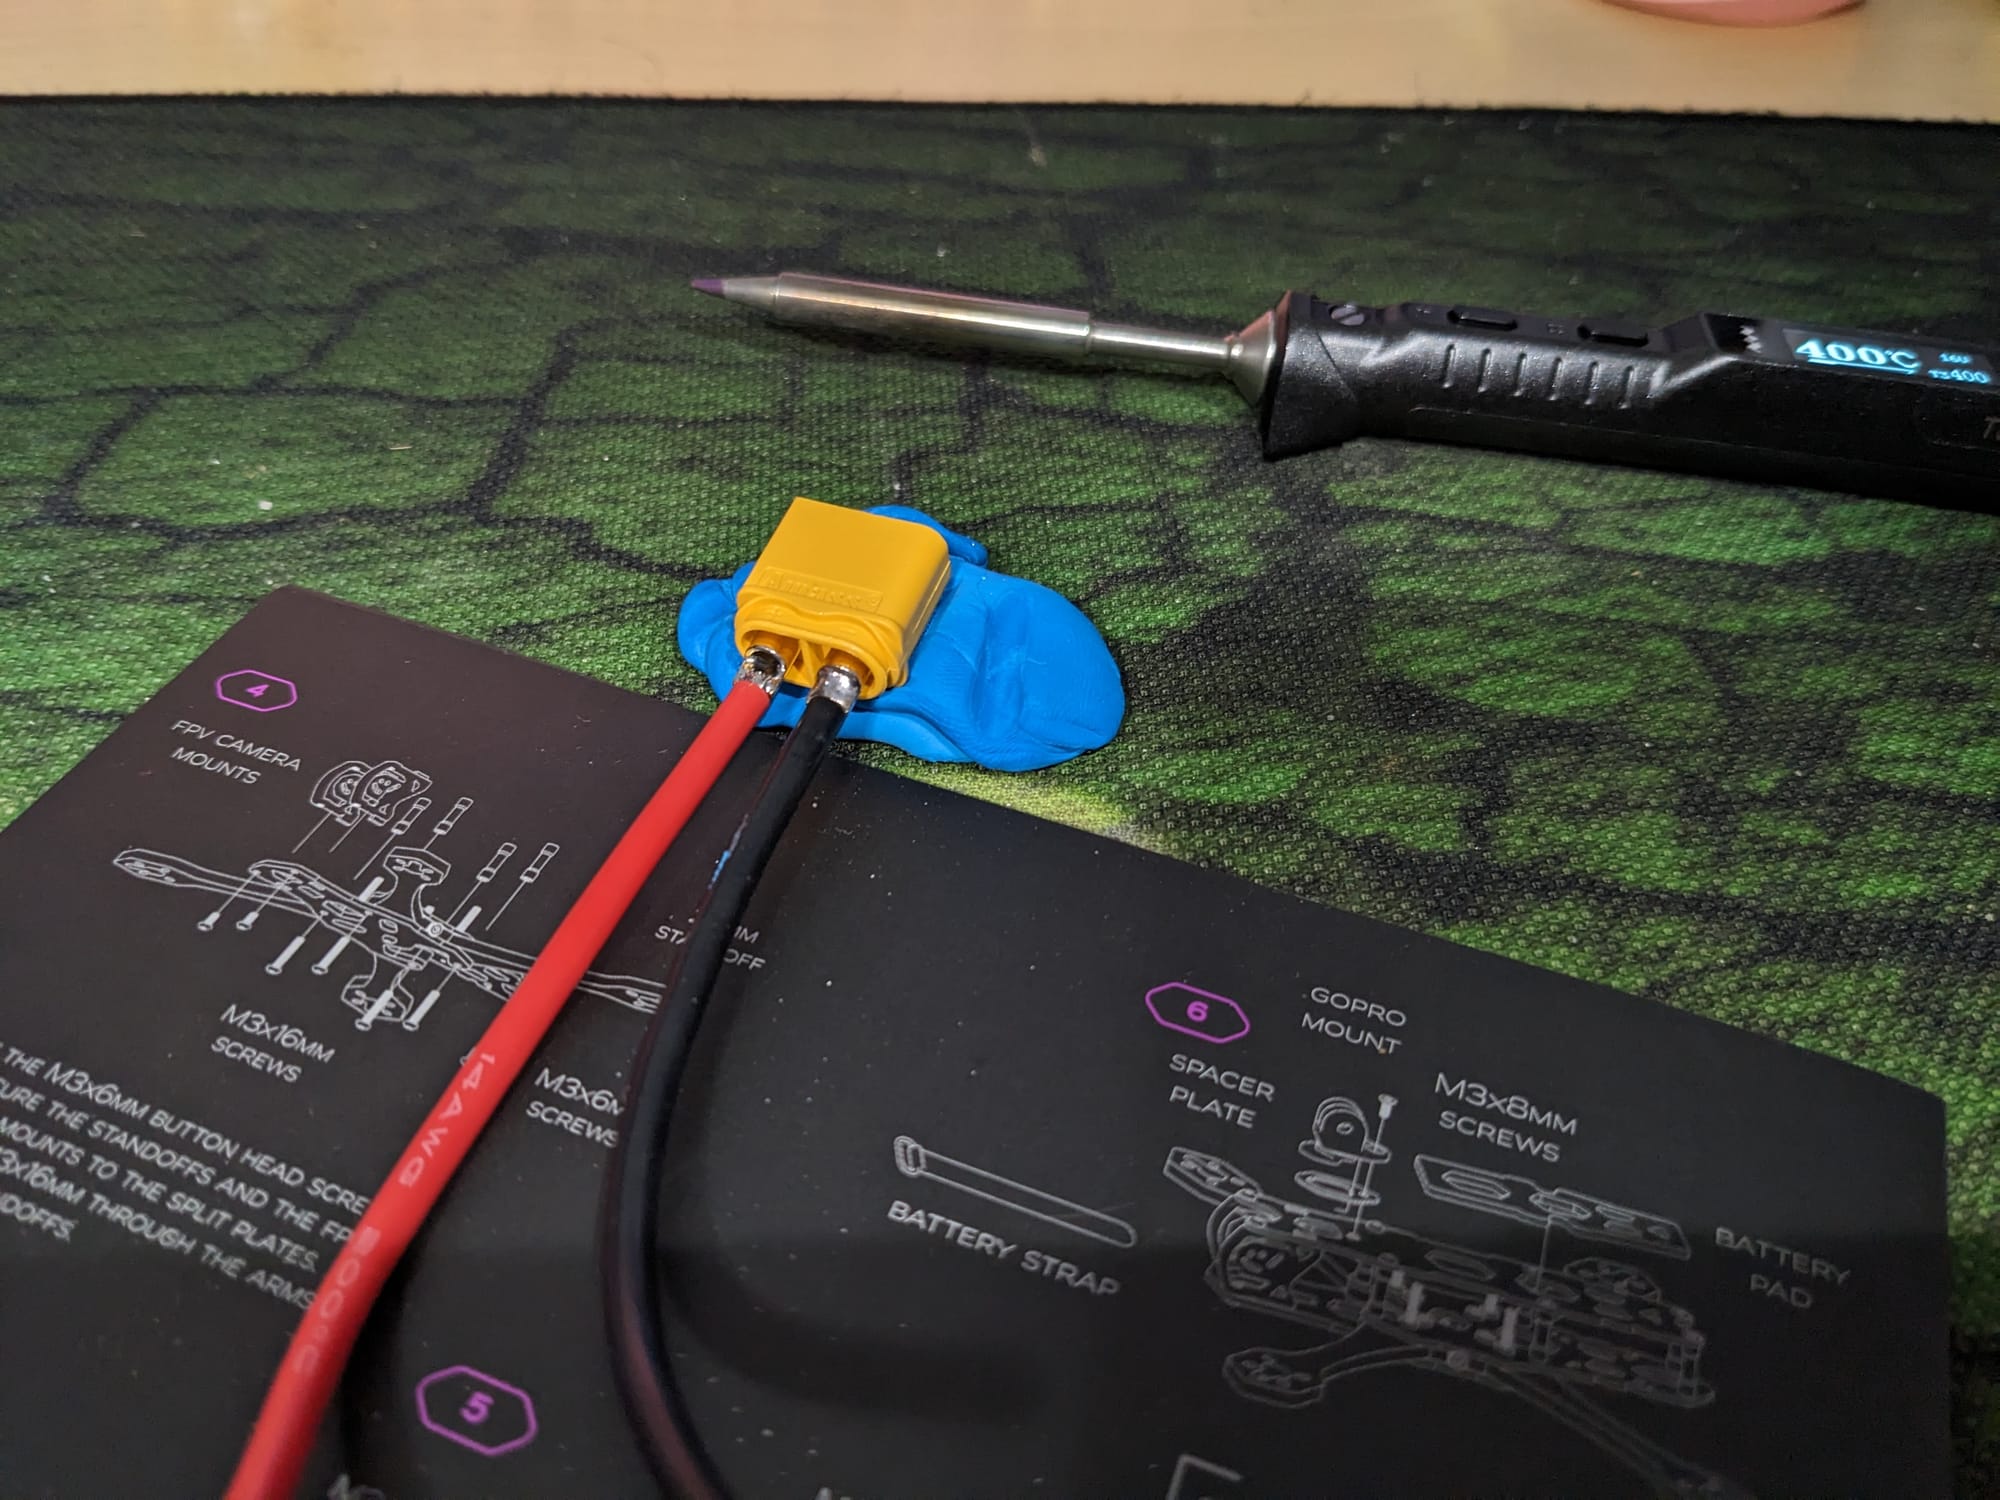
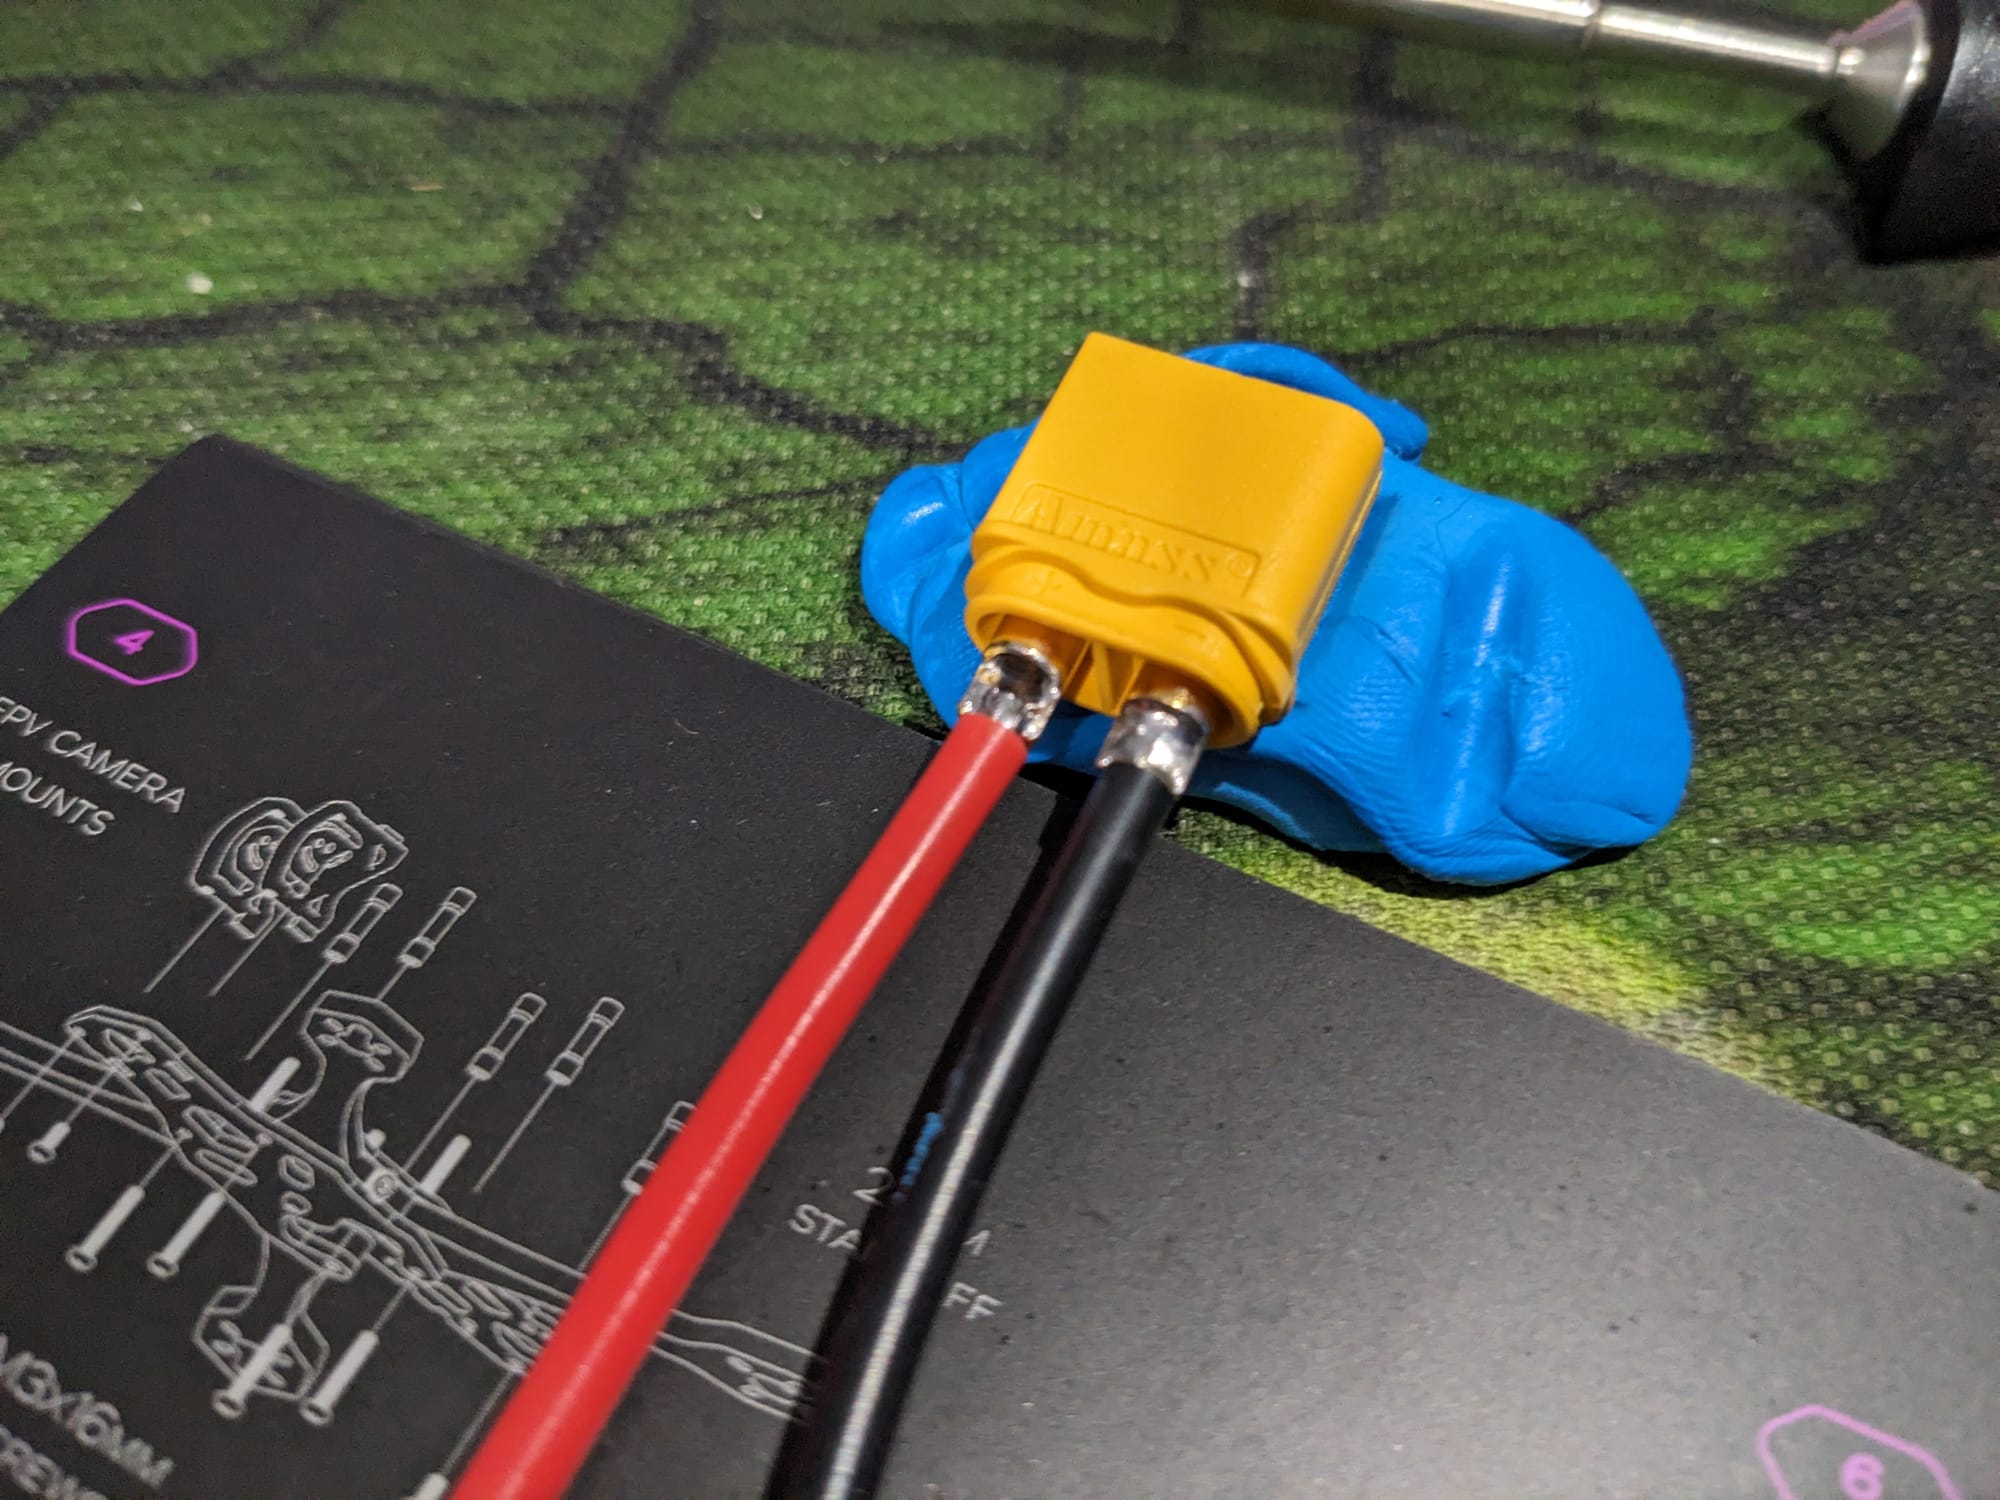
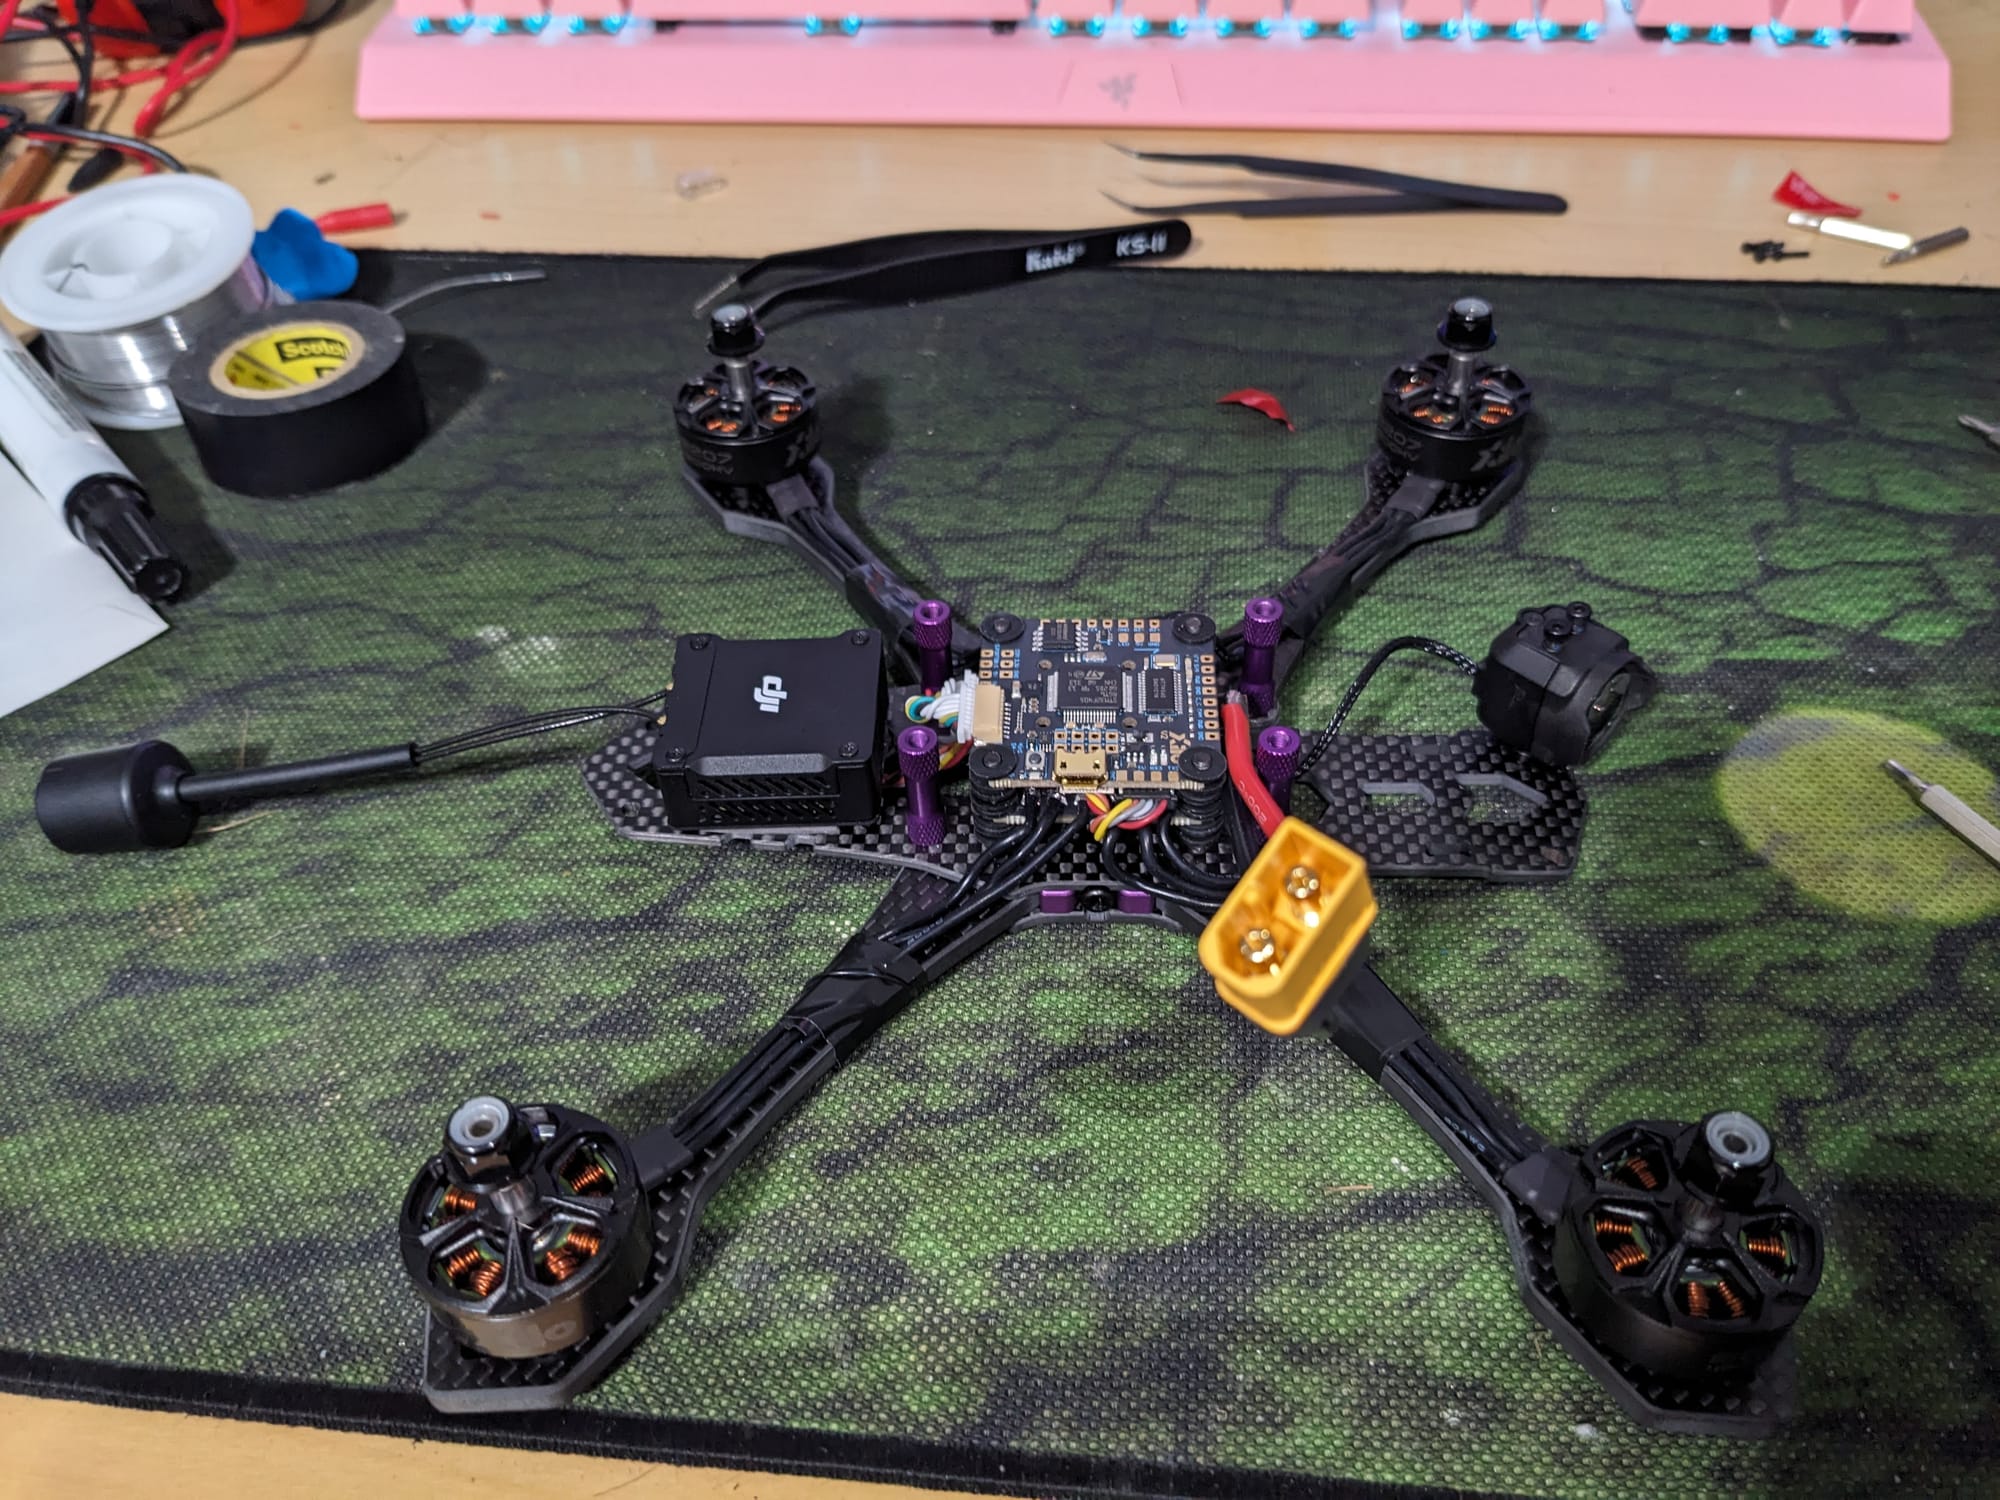
Then followed with the power cables and xt60 connector.
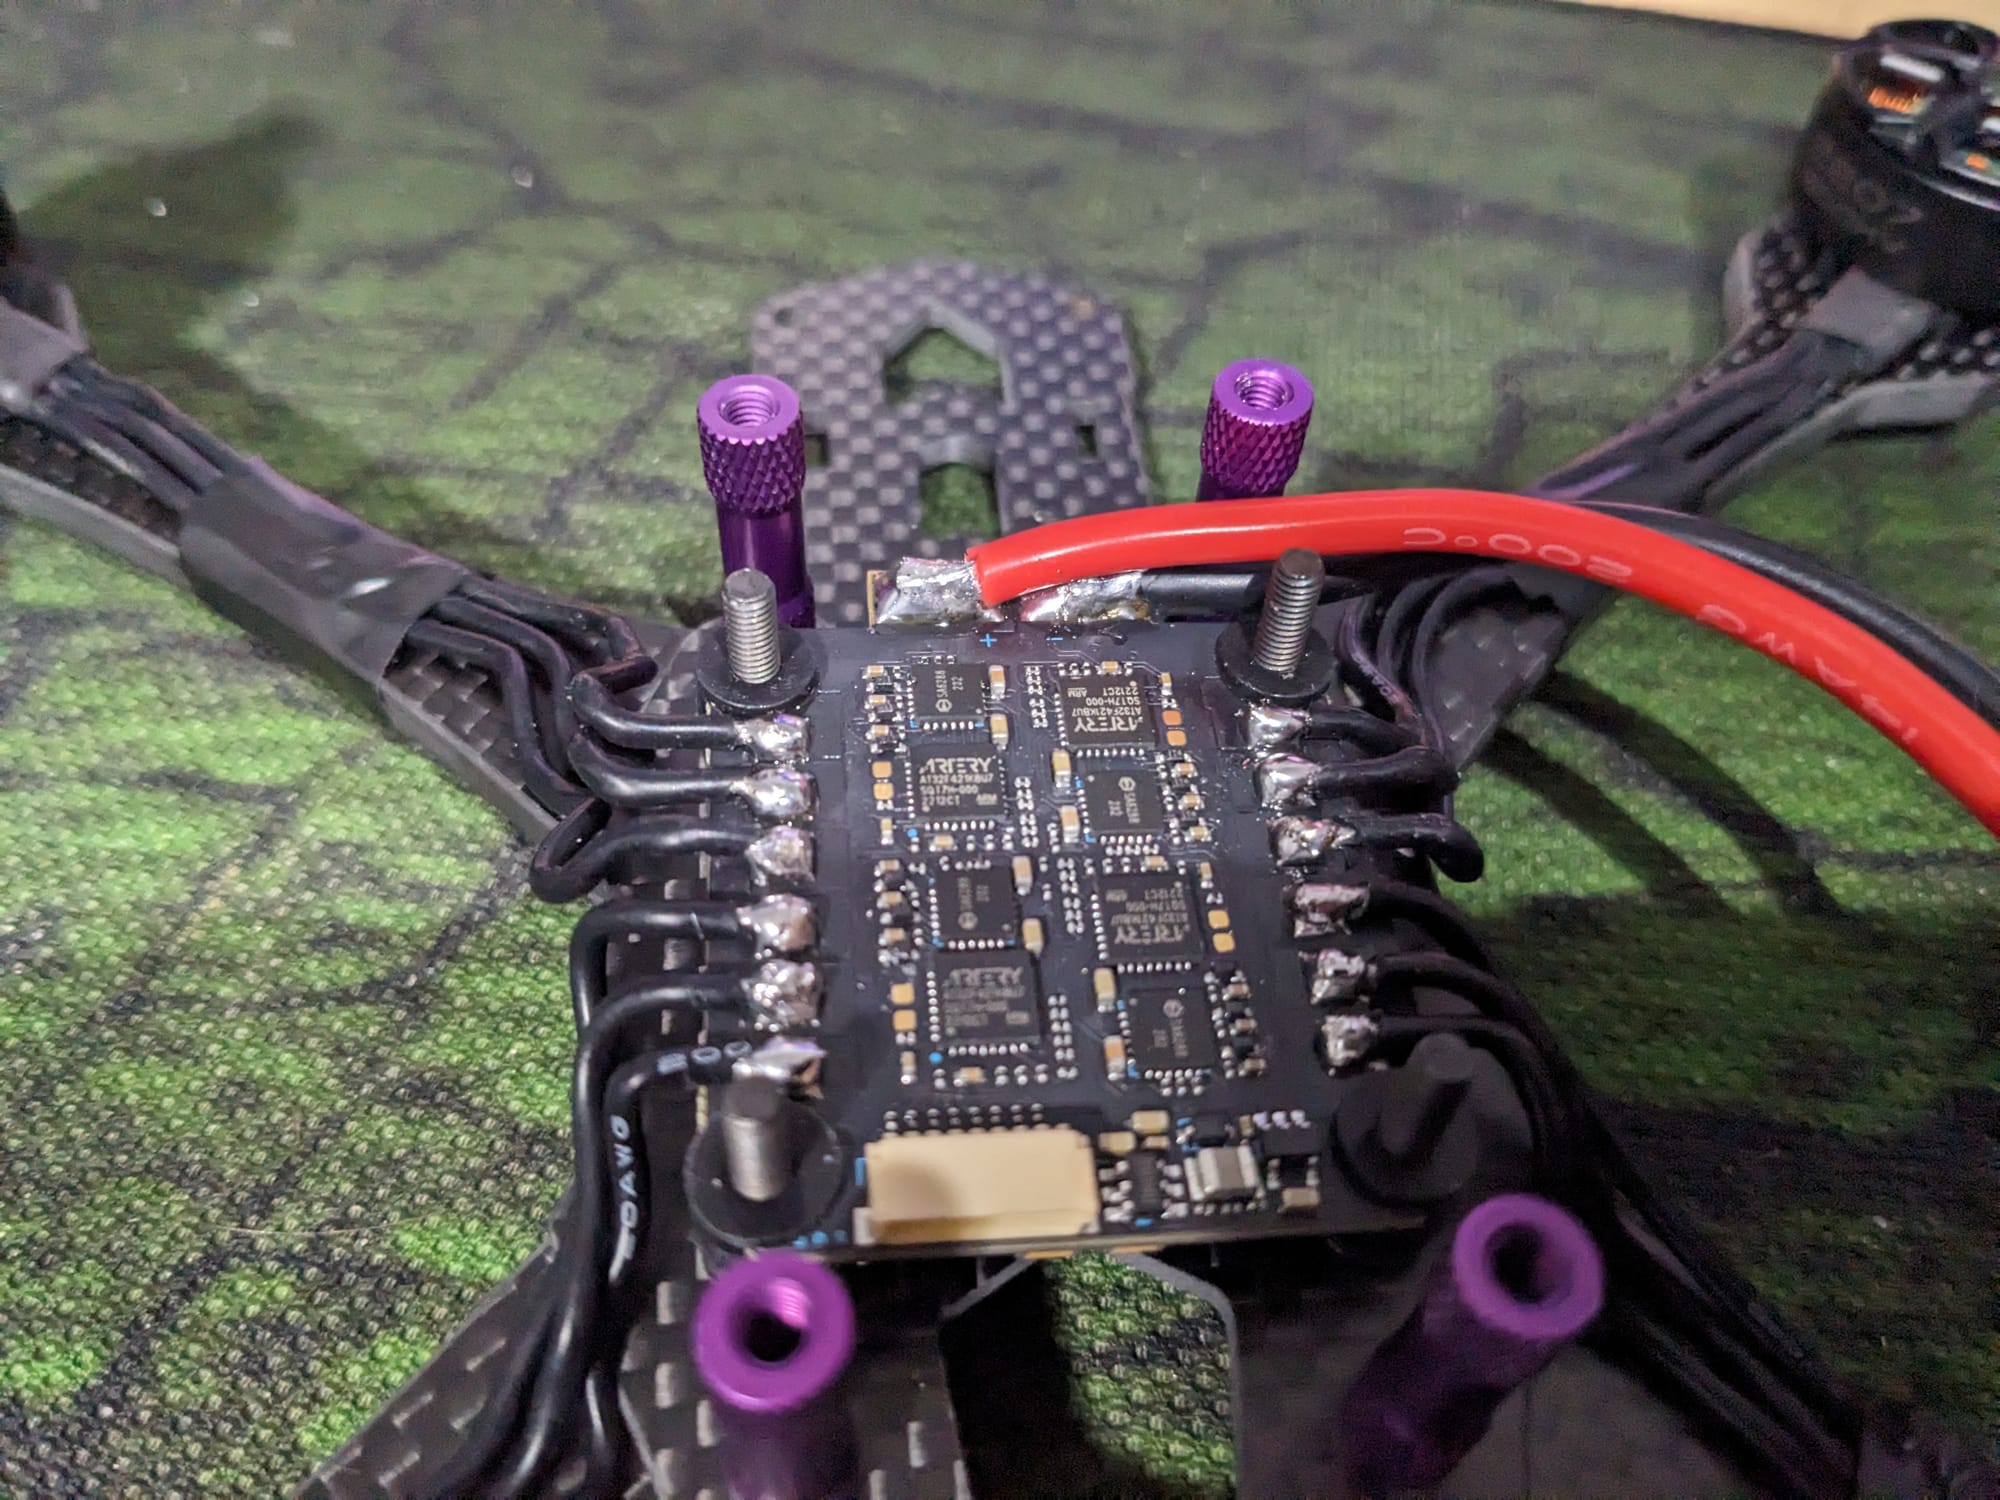

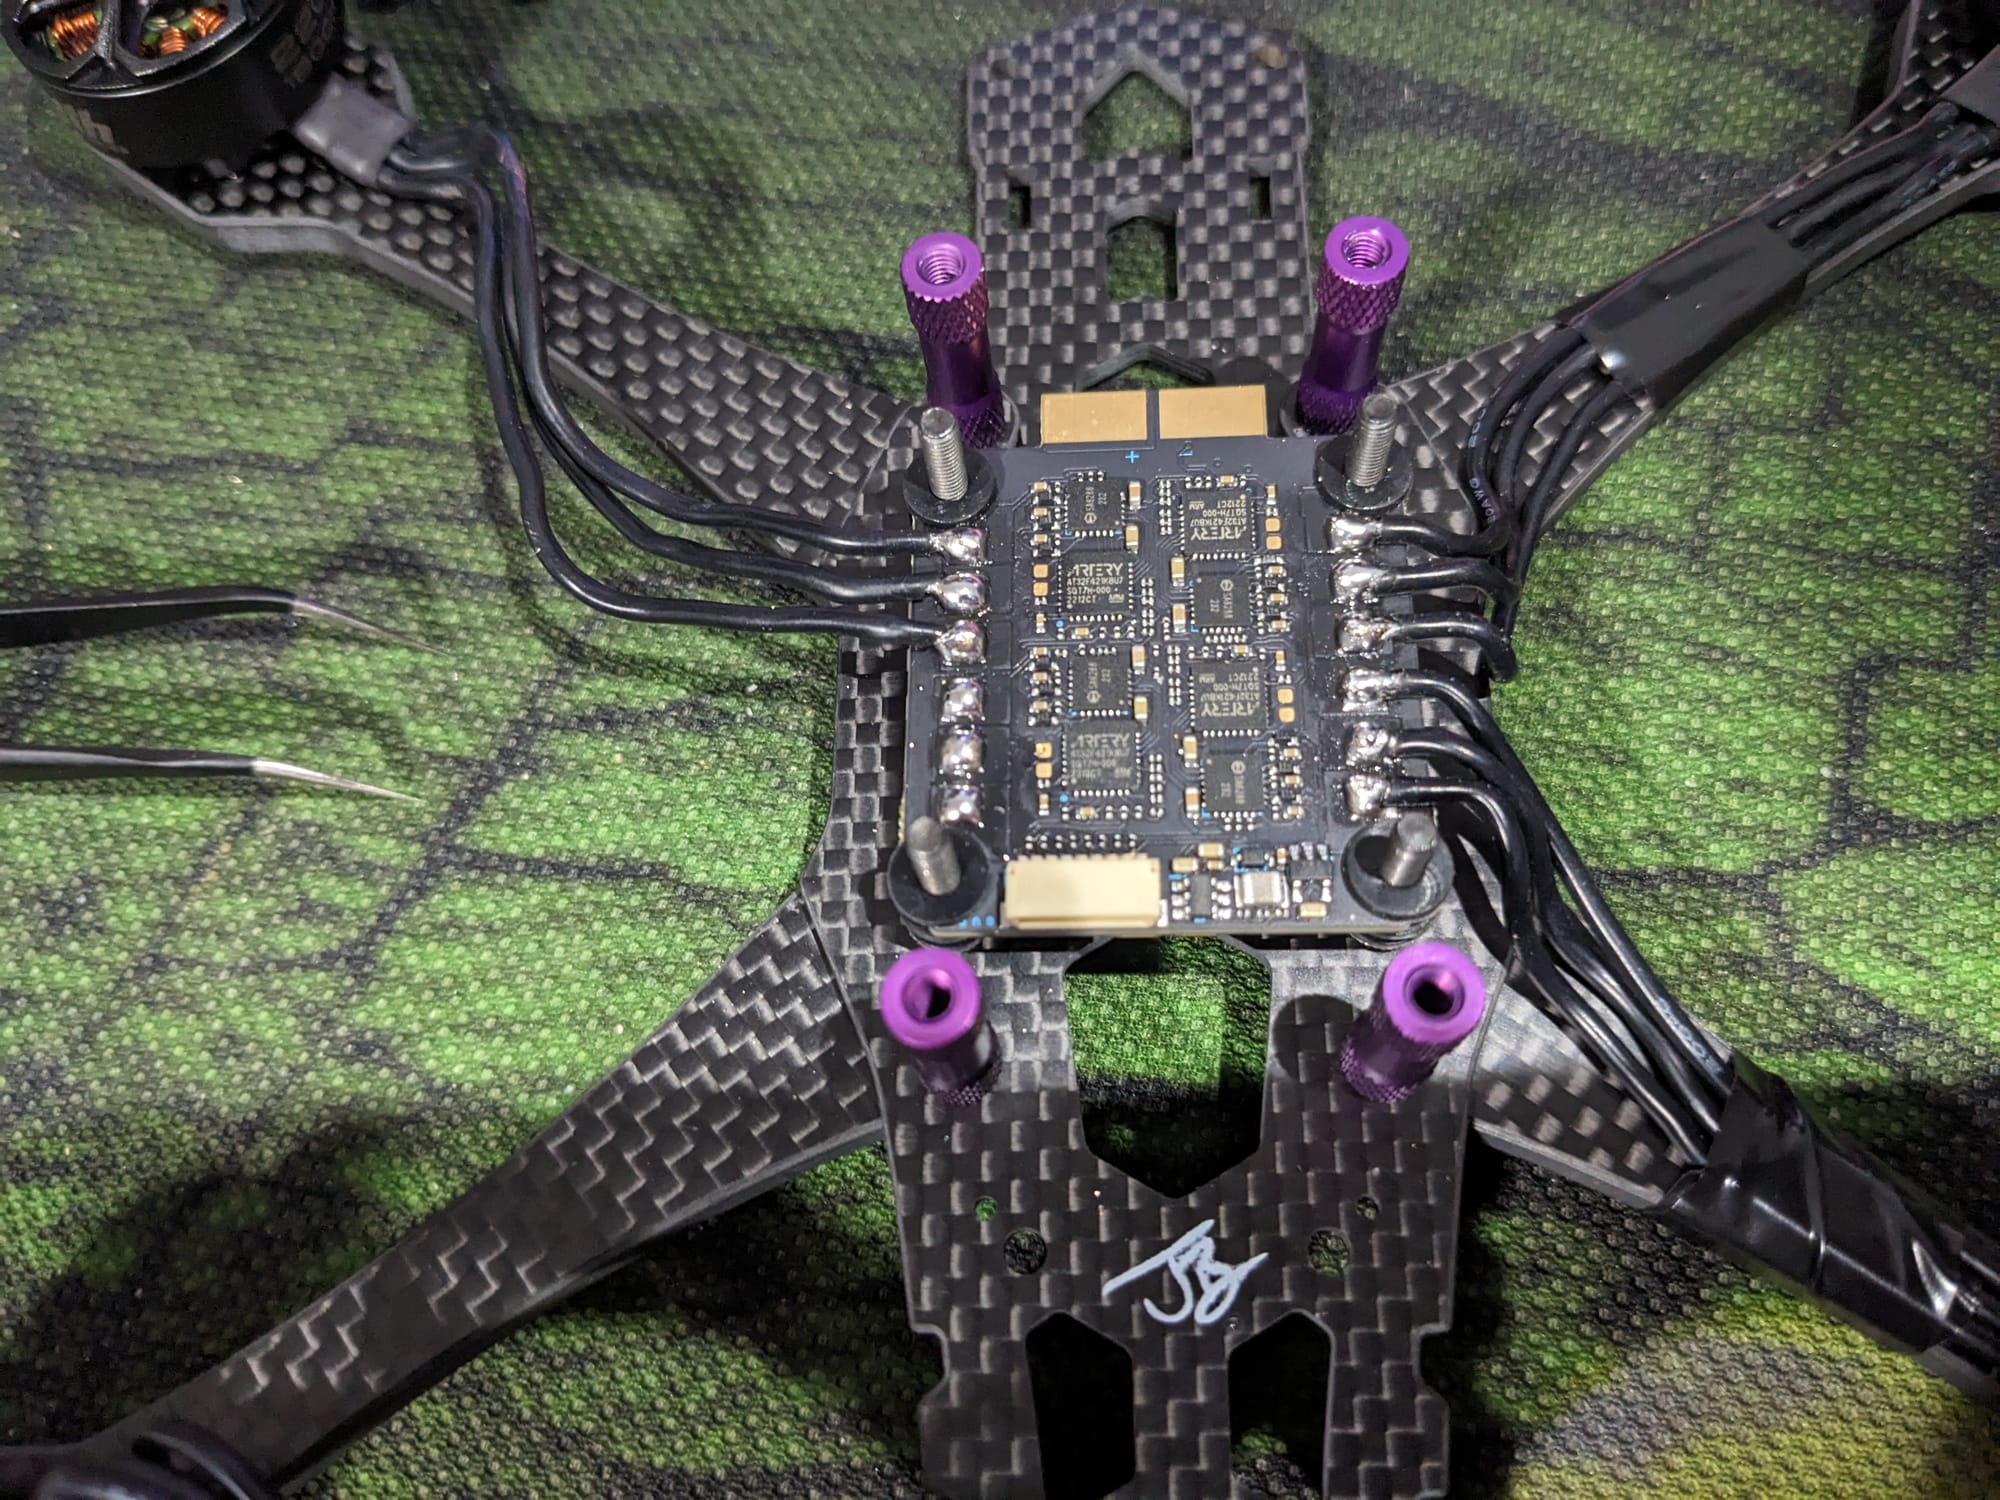
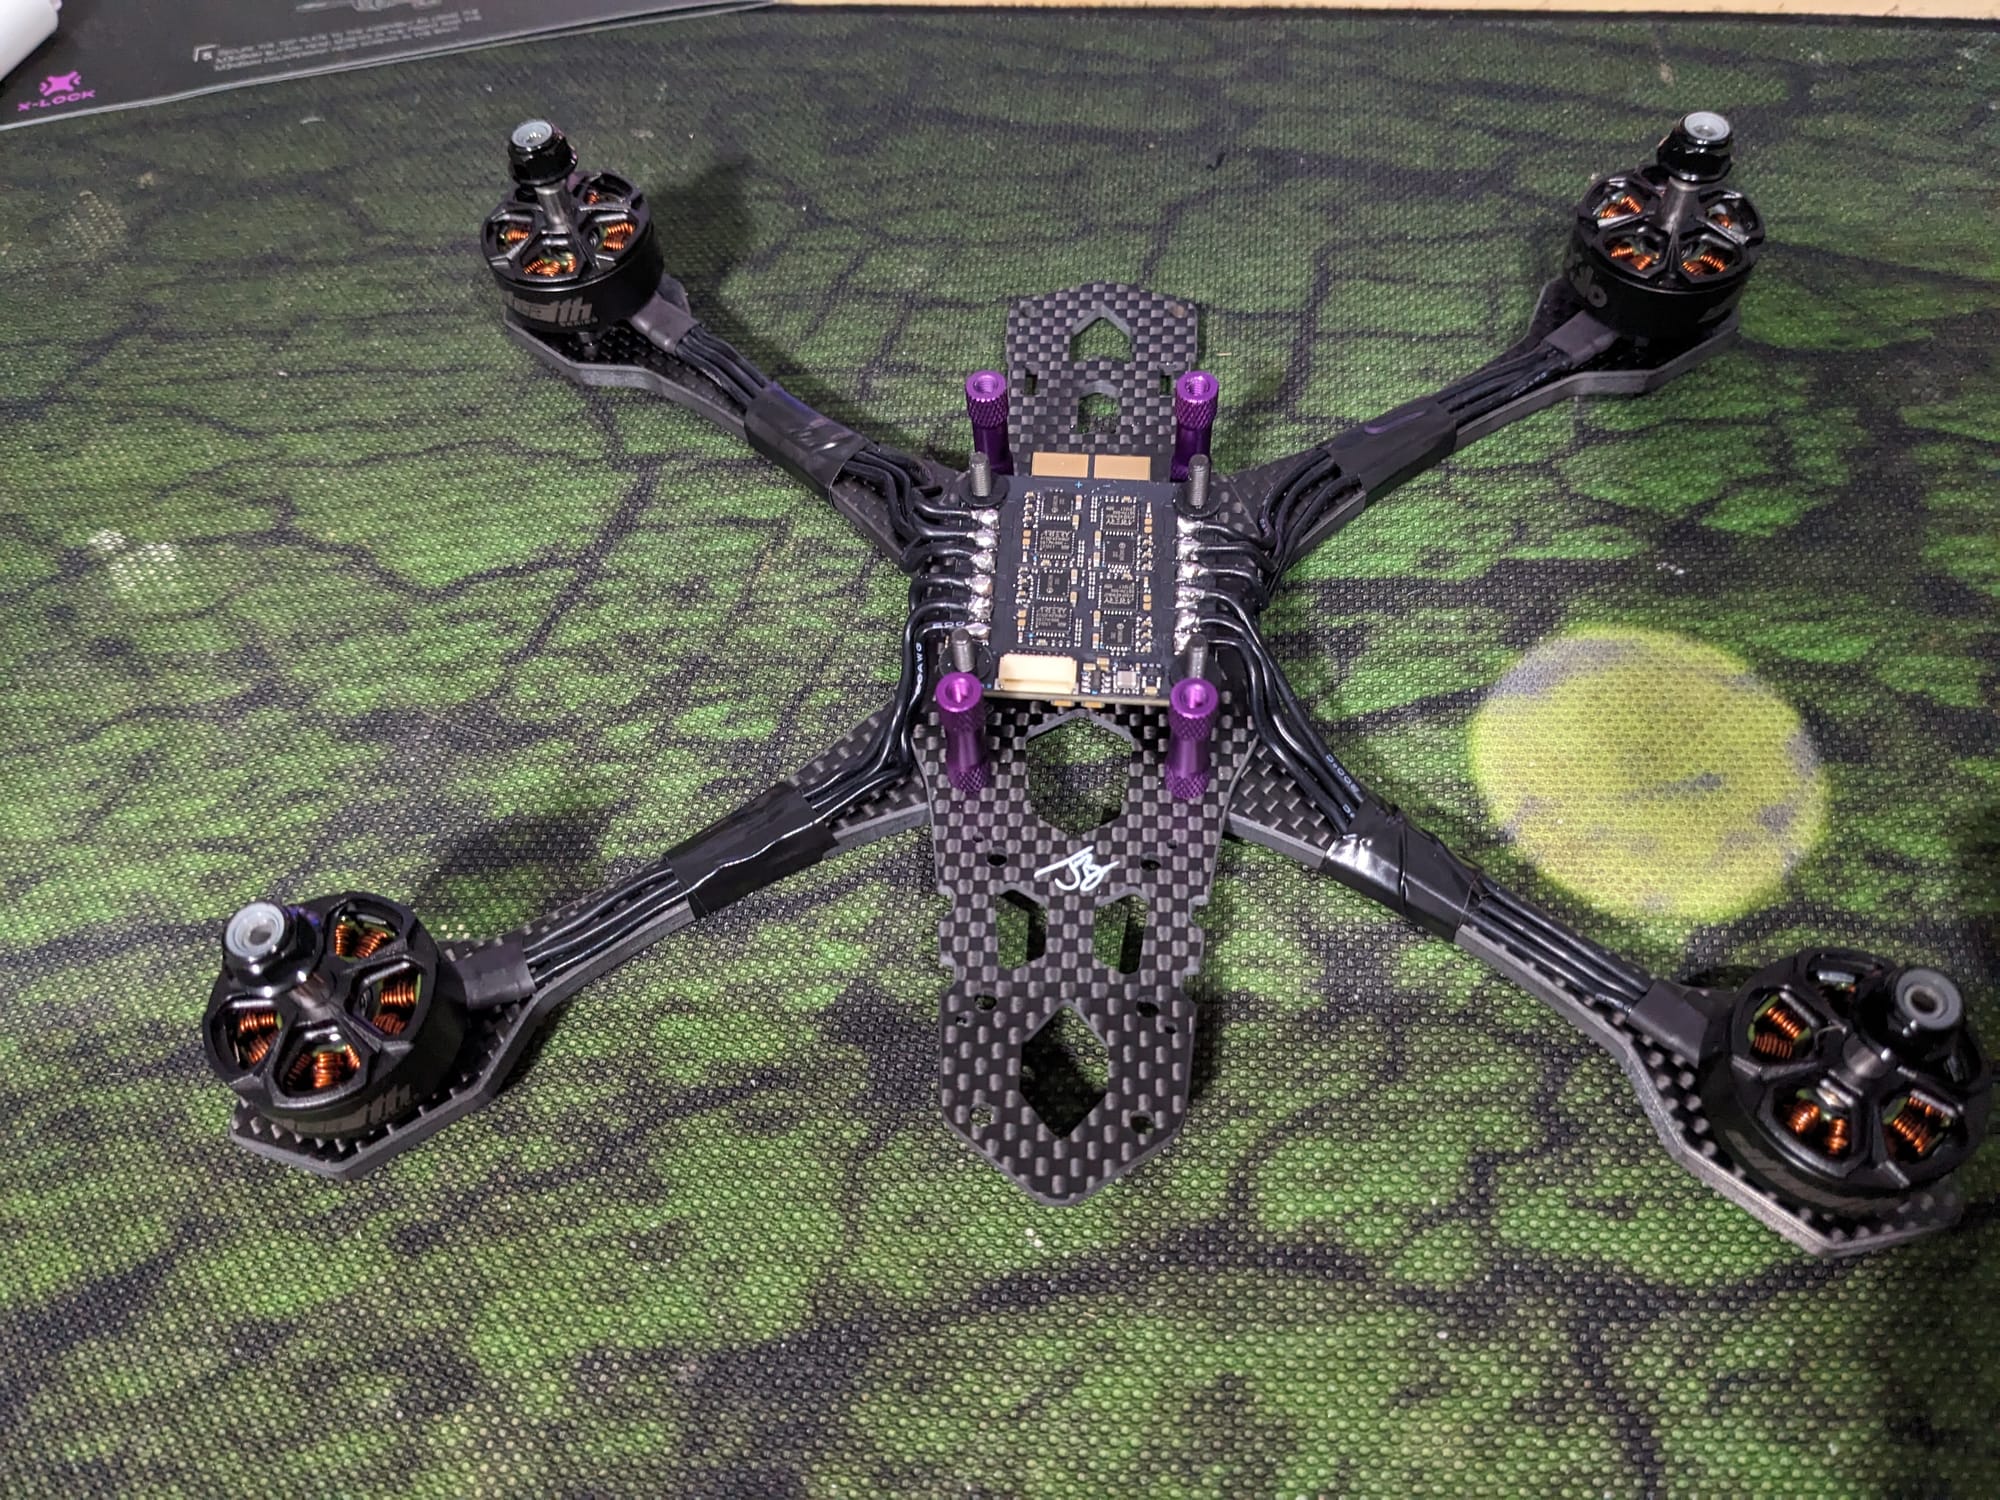
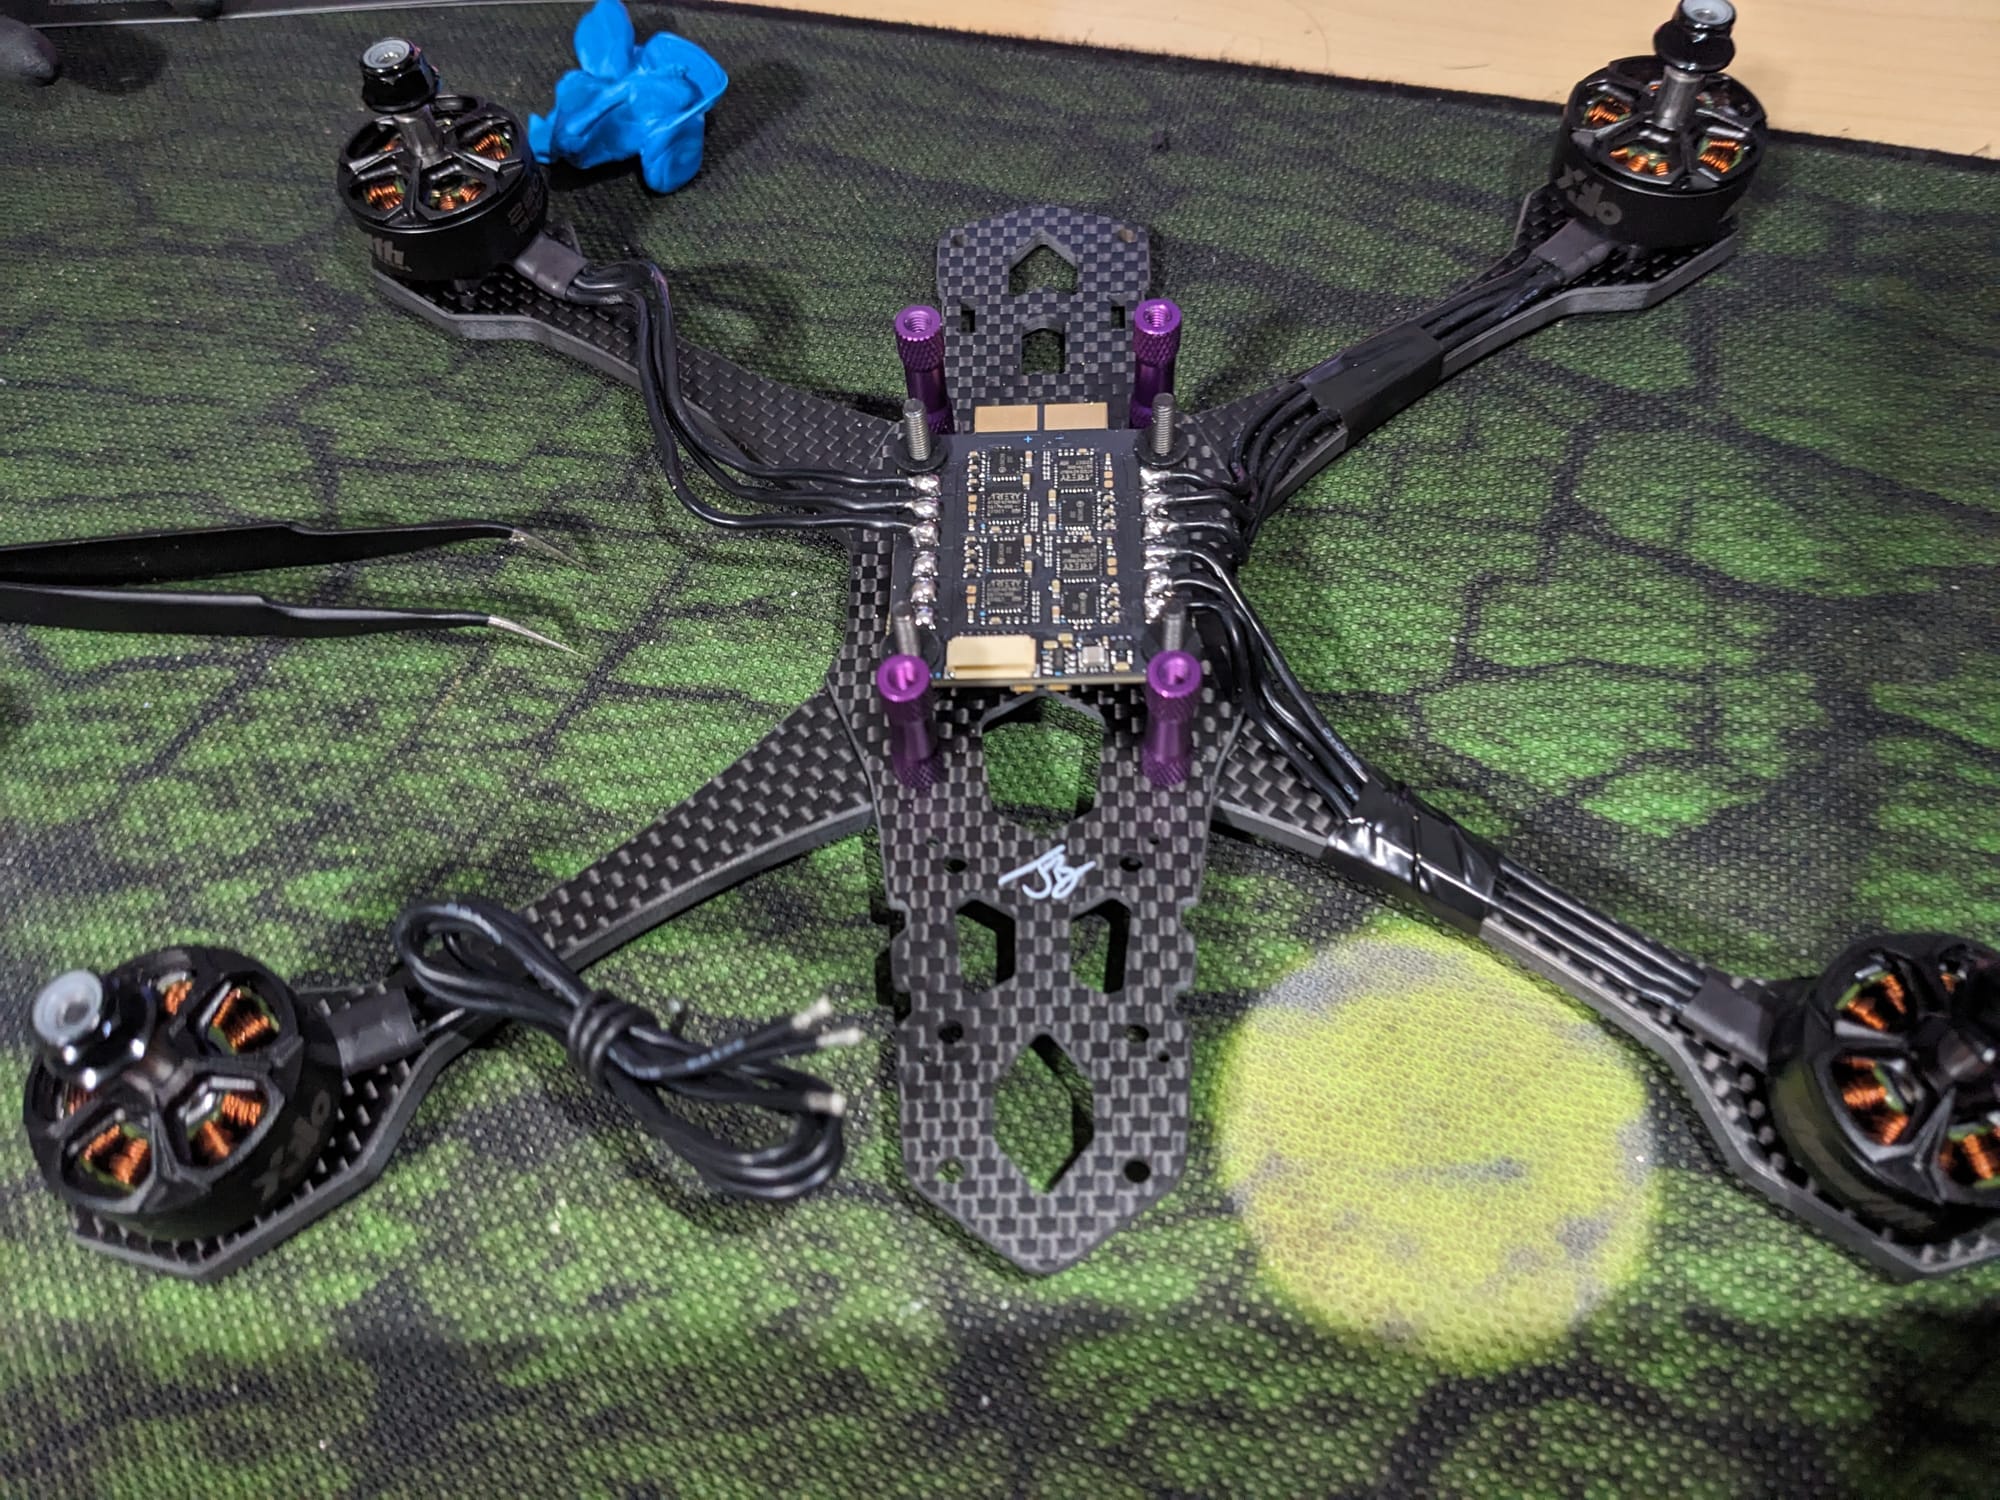
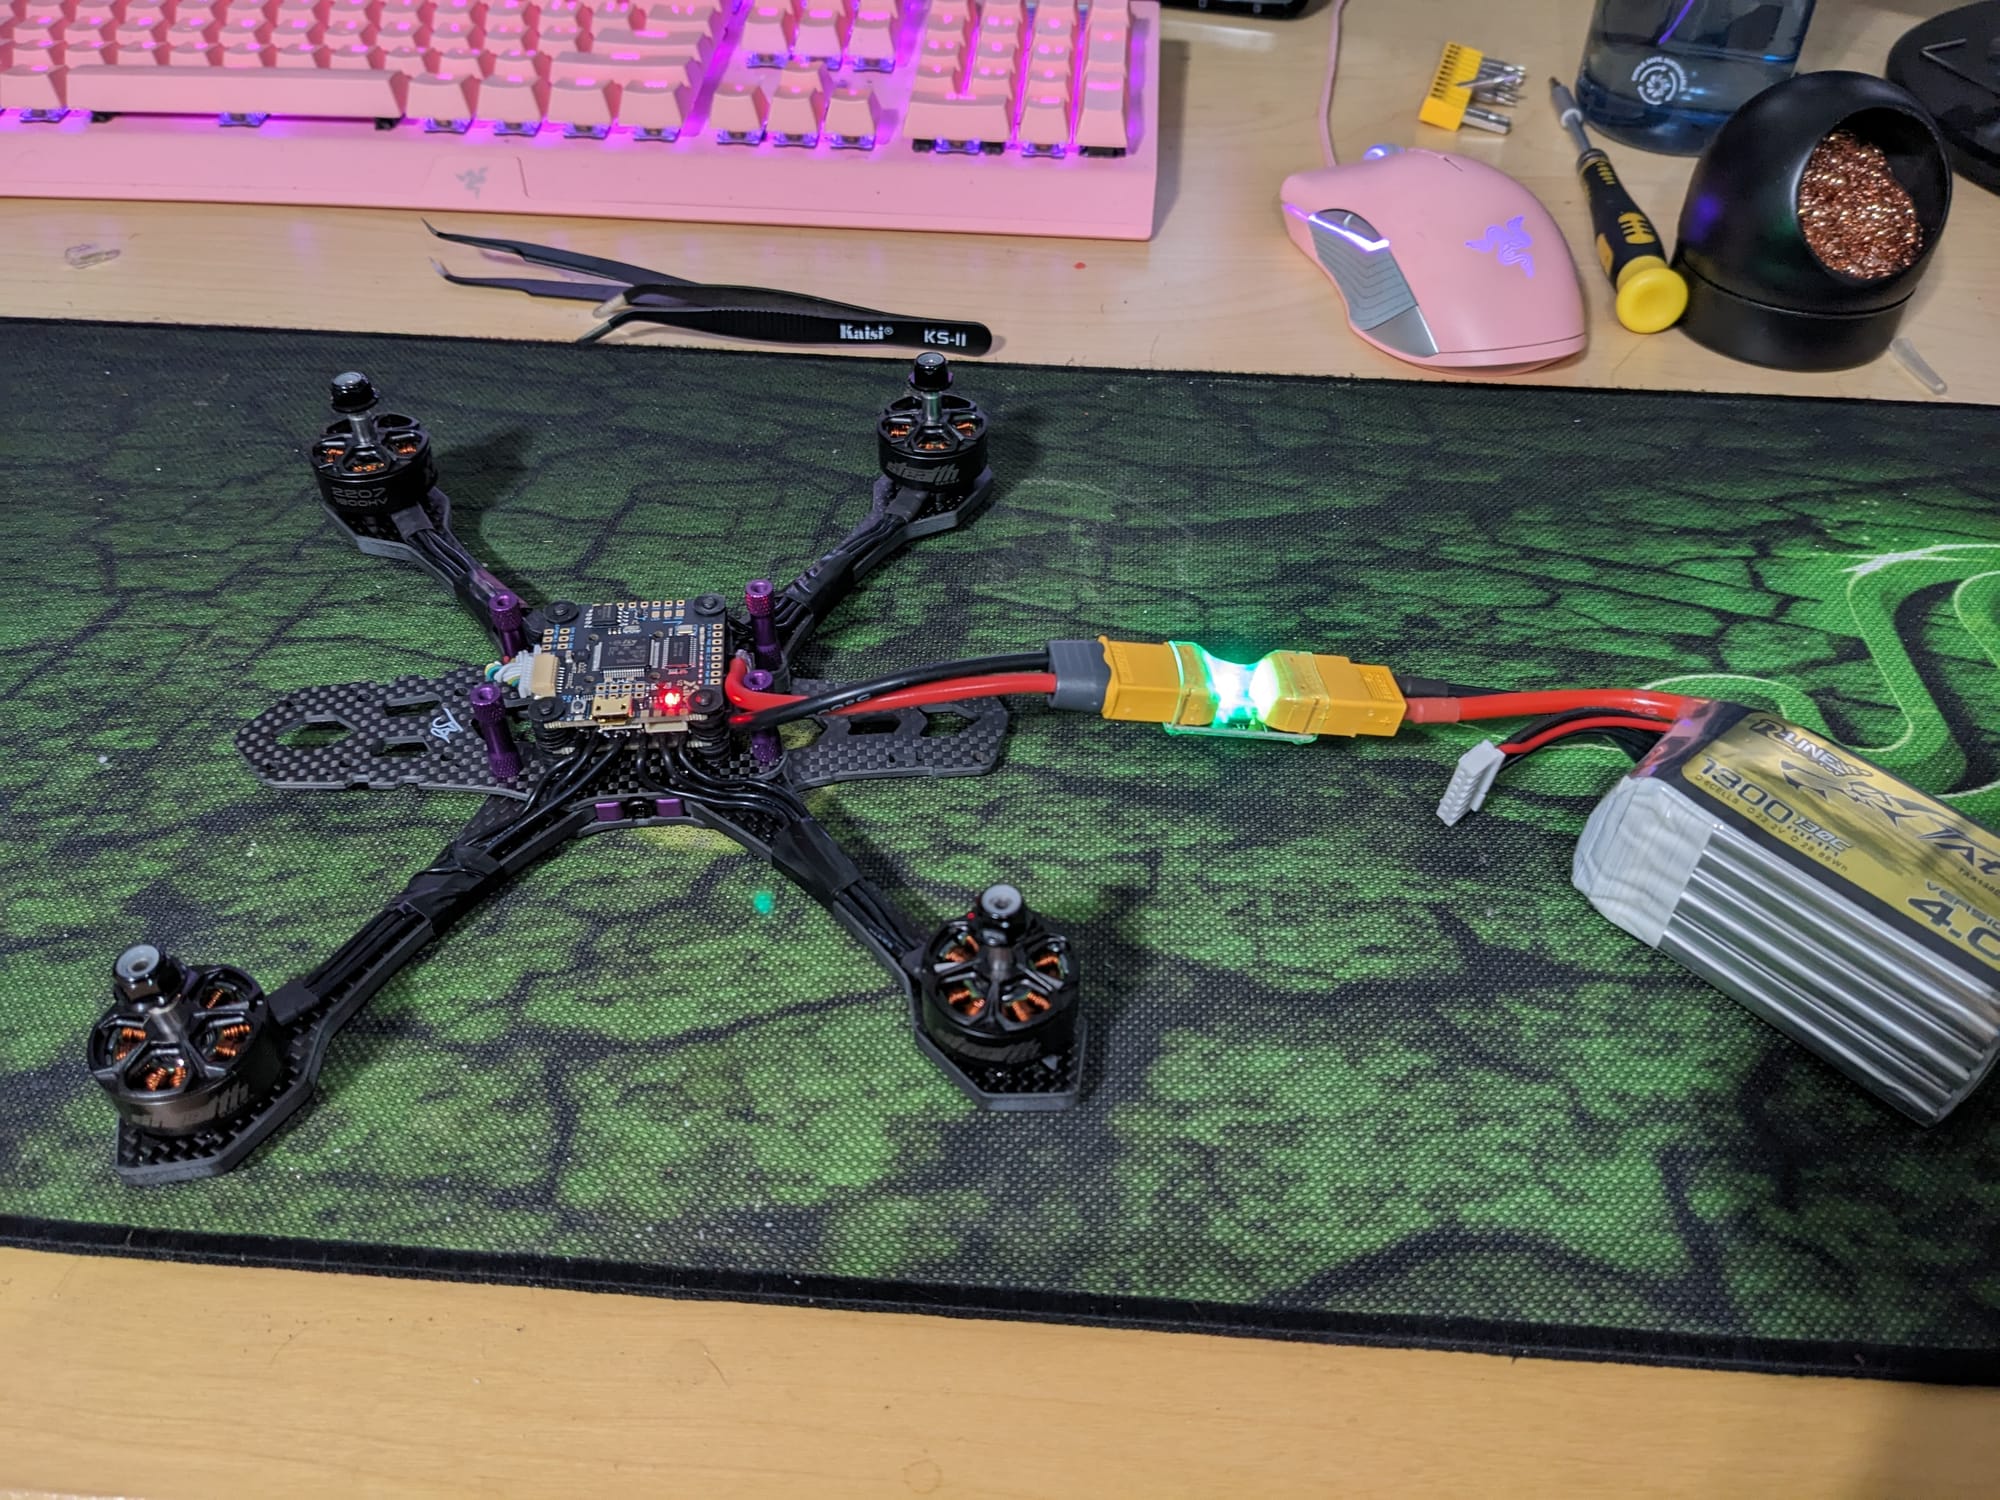
Next Bardwell had me adding gummies, hooking up the Flight Controller (FC) to the ESC and adding it to the stack. After doing the continuity checks, I did my first smoke check. I was confident after the multimeter but the smoke stopper was nice to have for peace of mind.

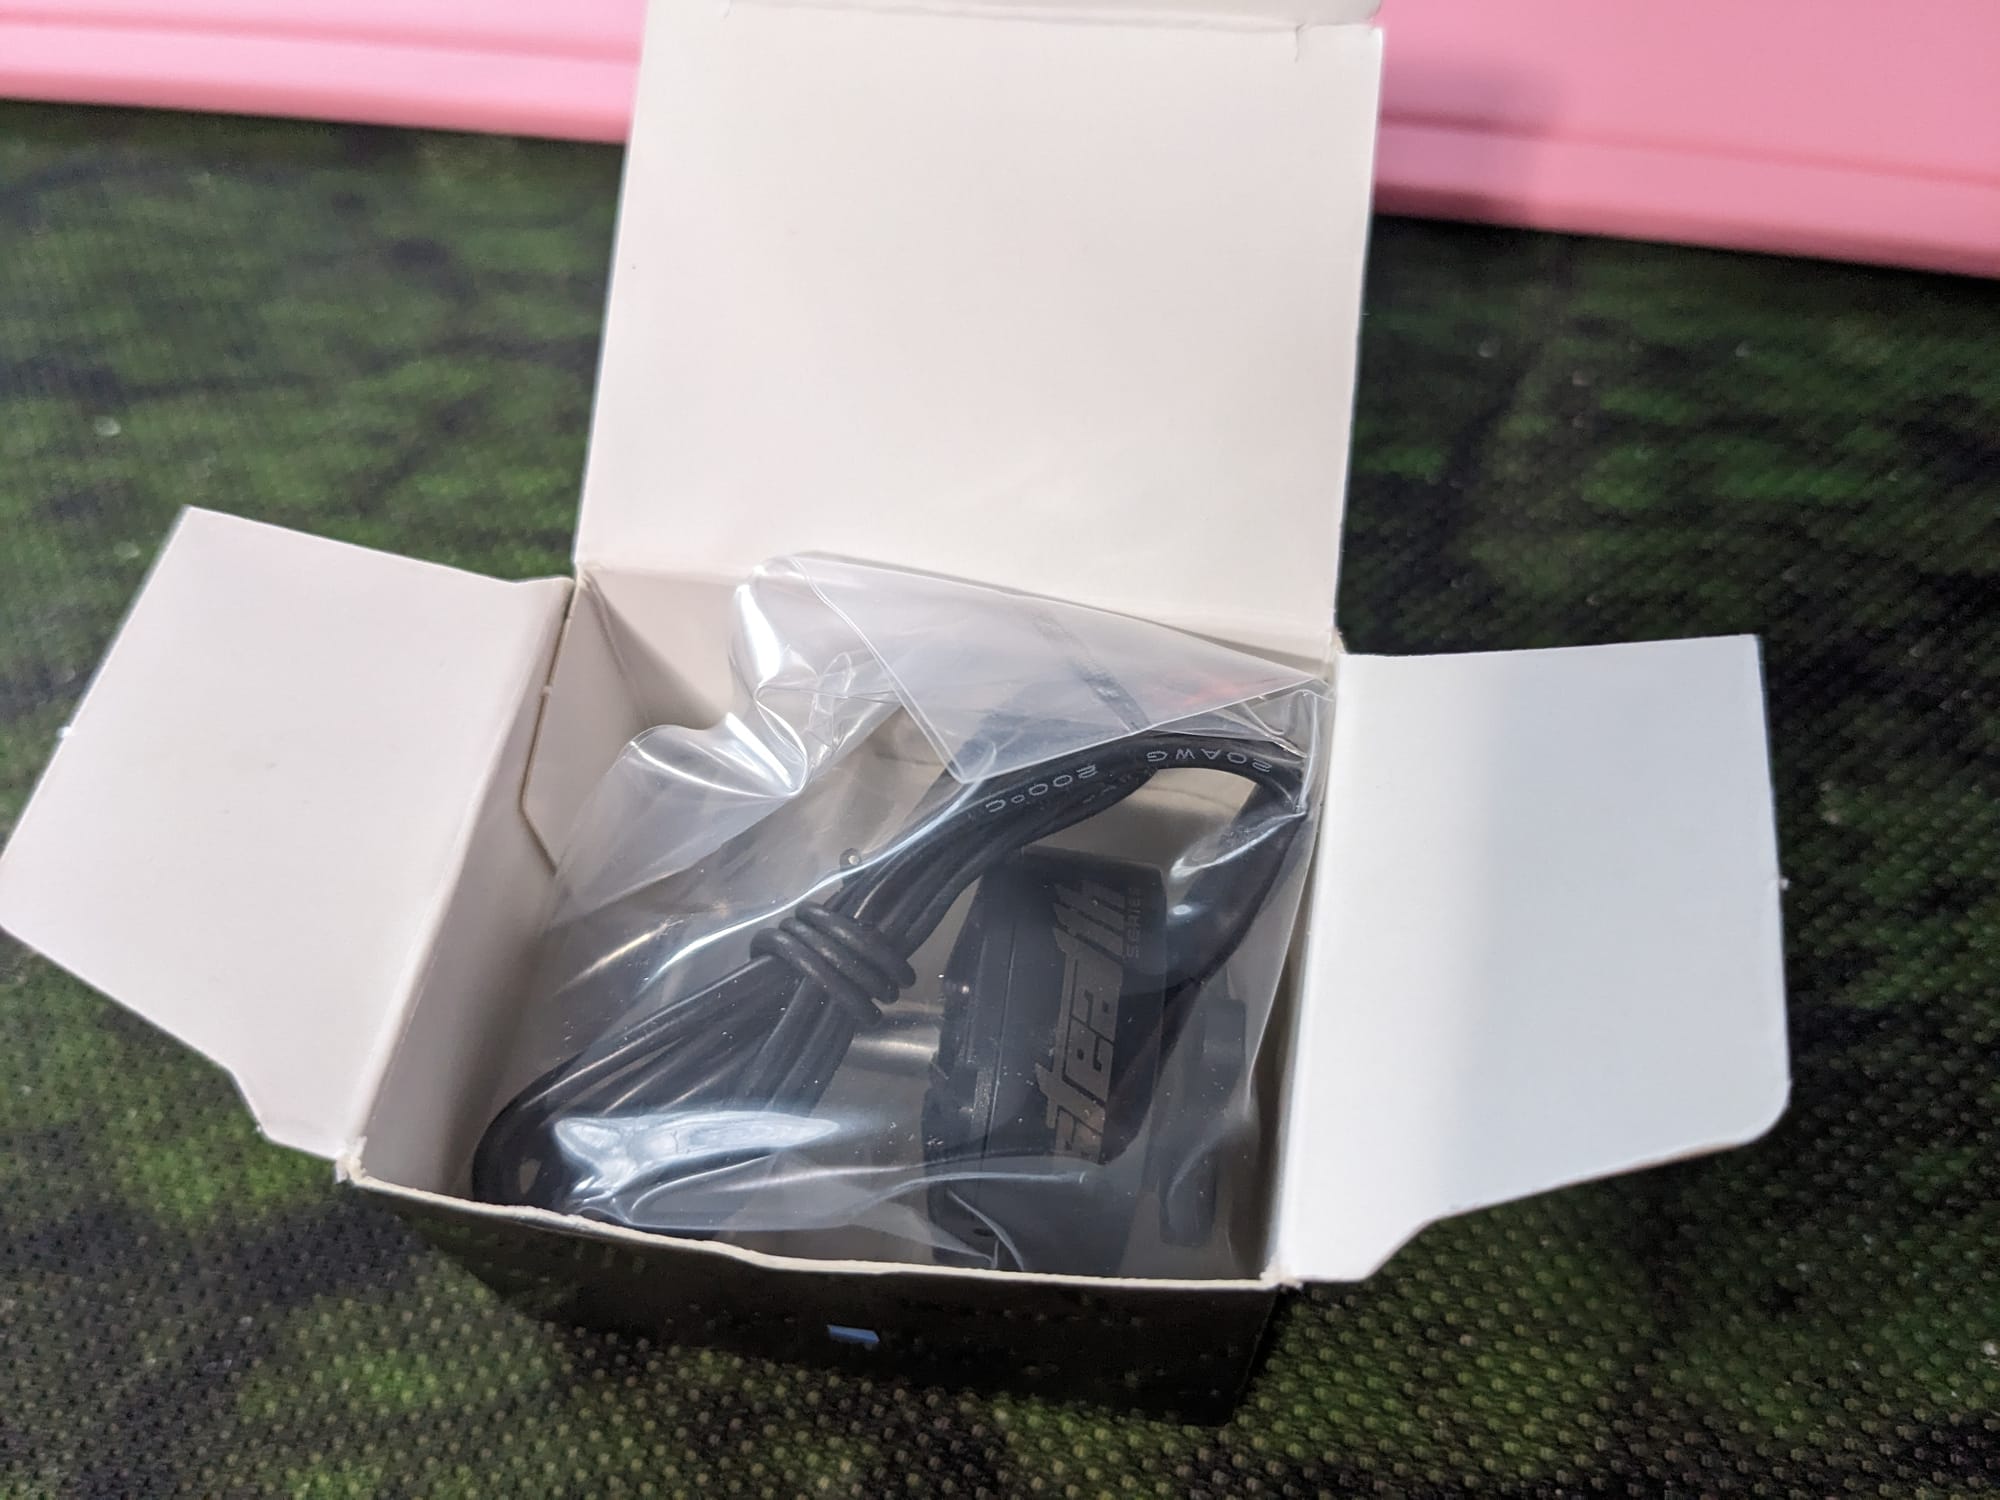
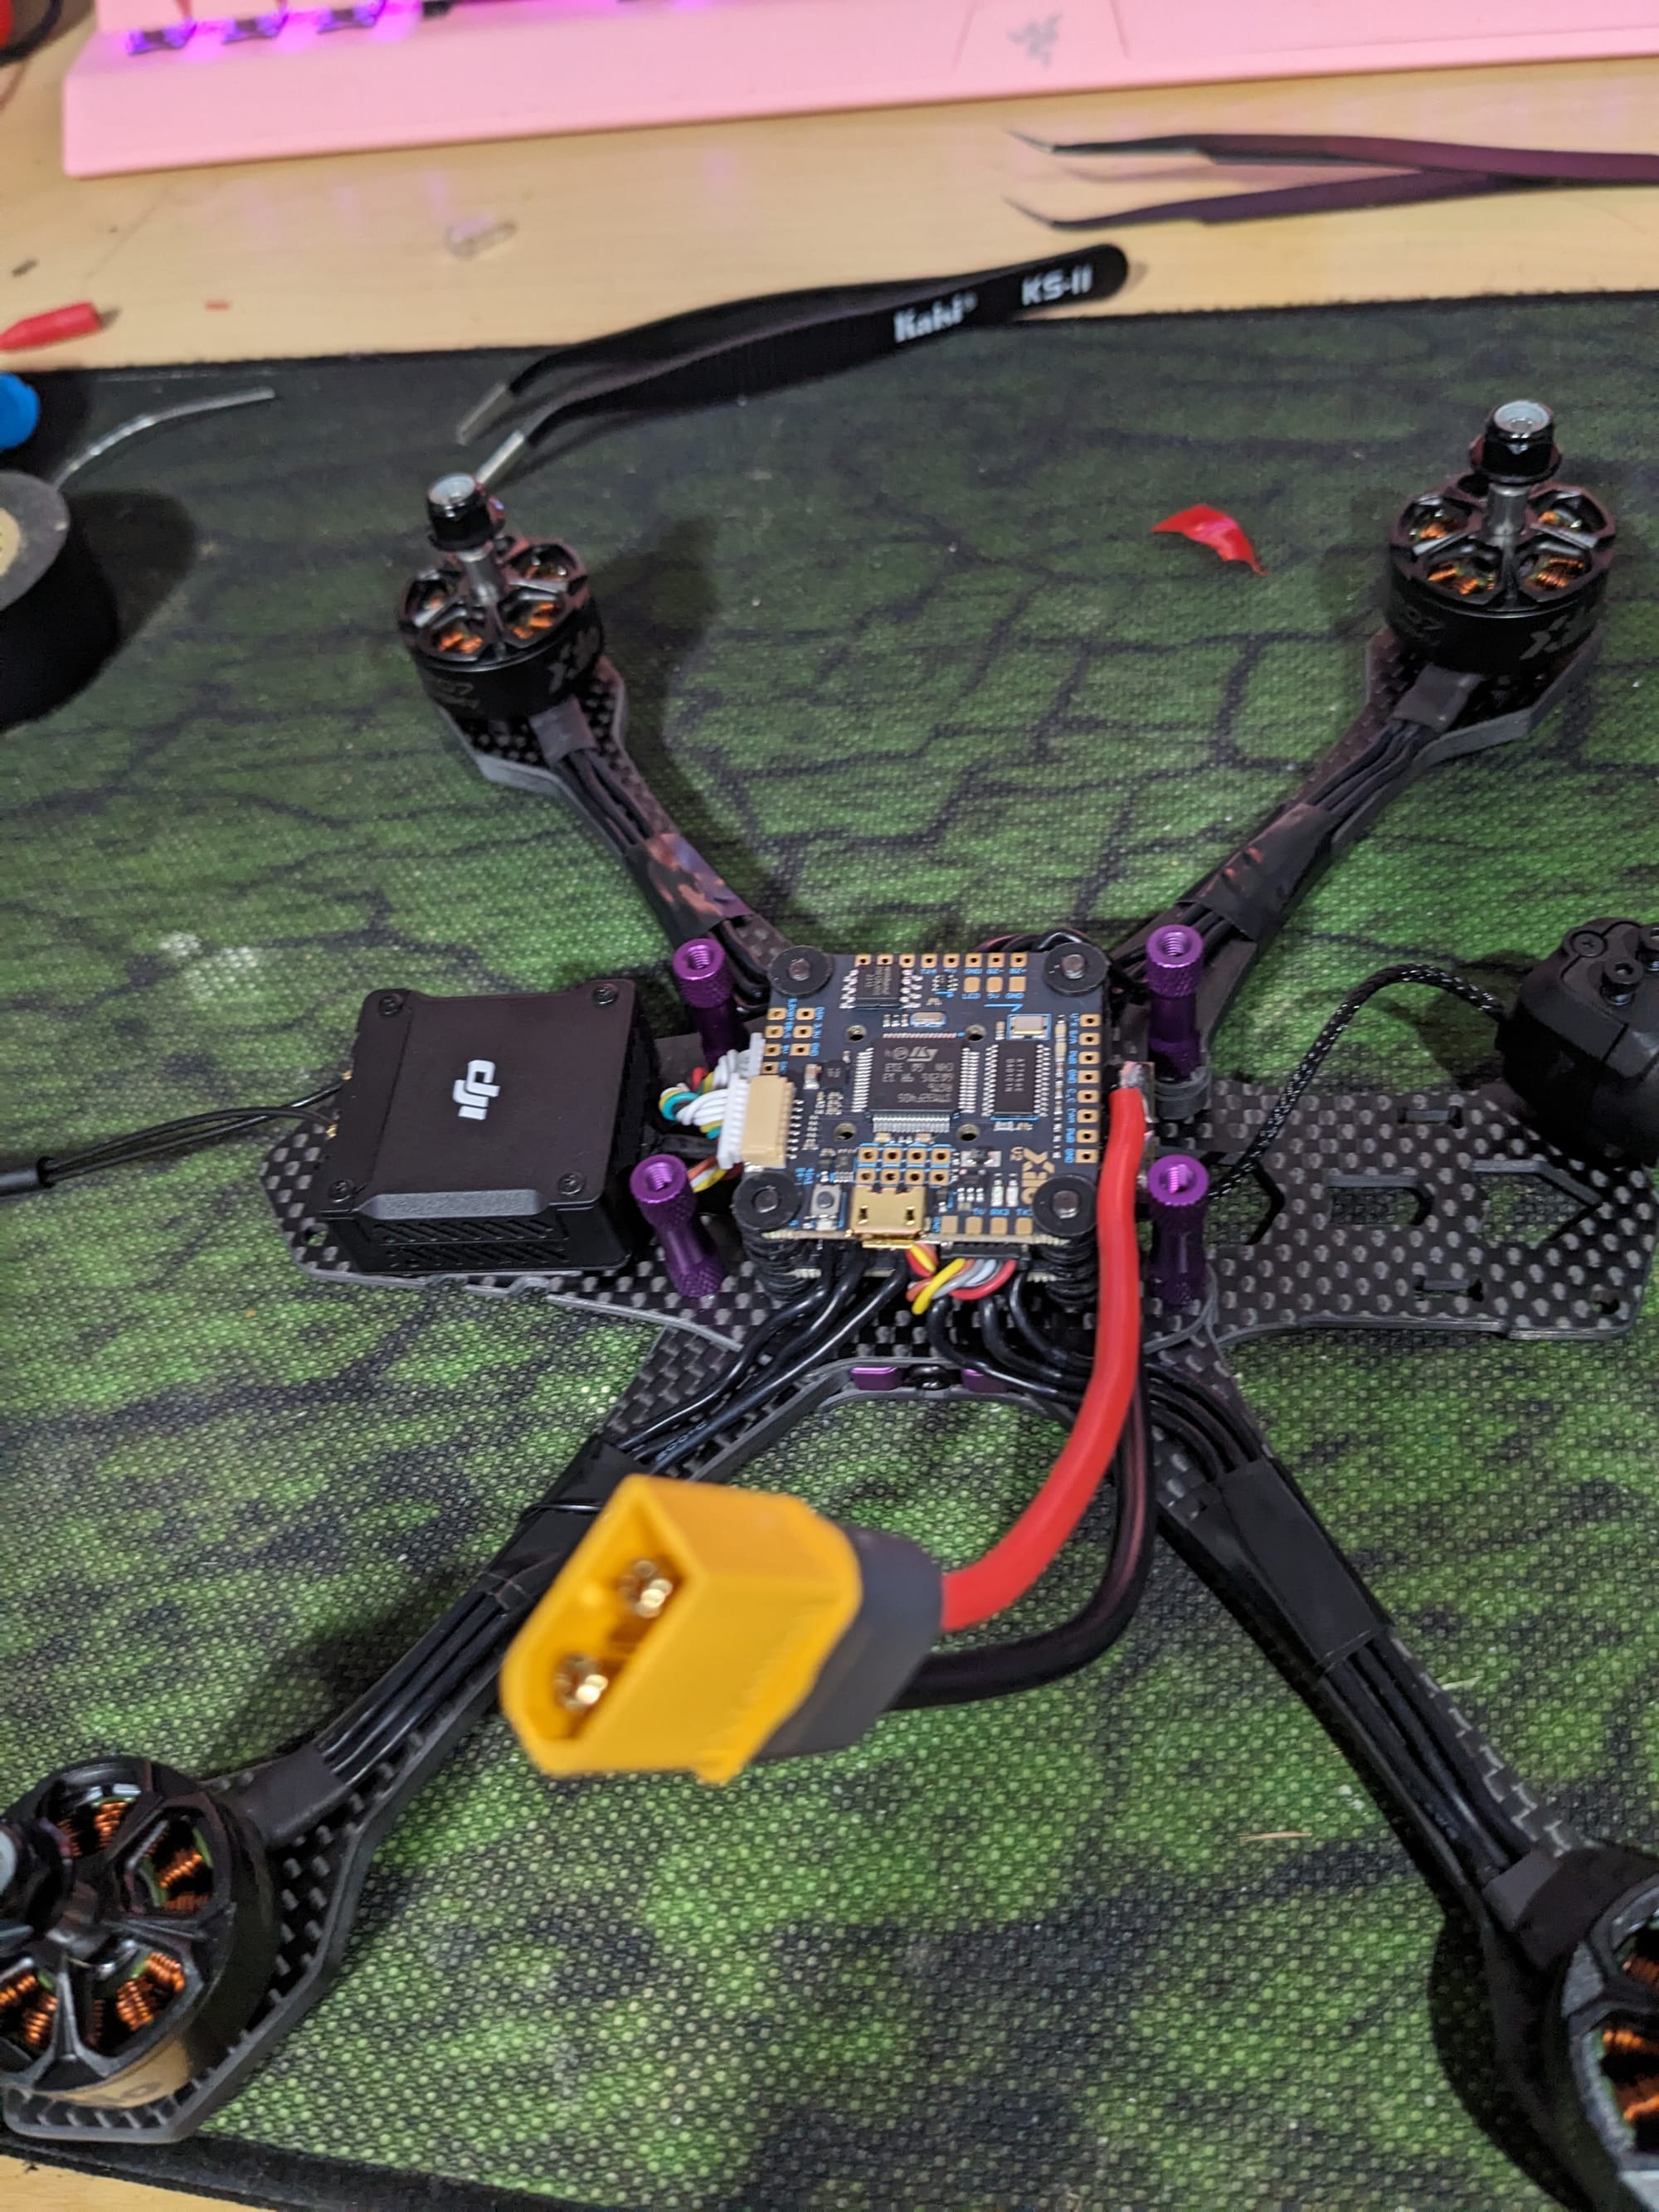
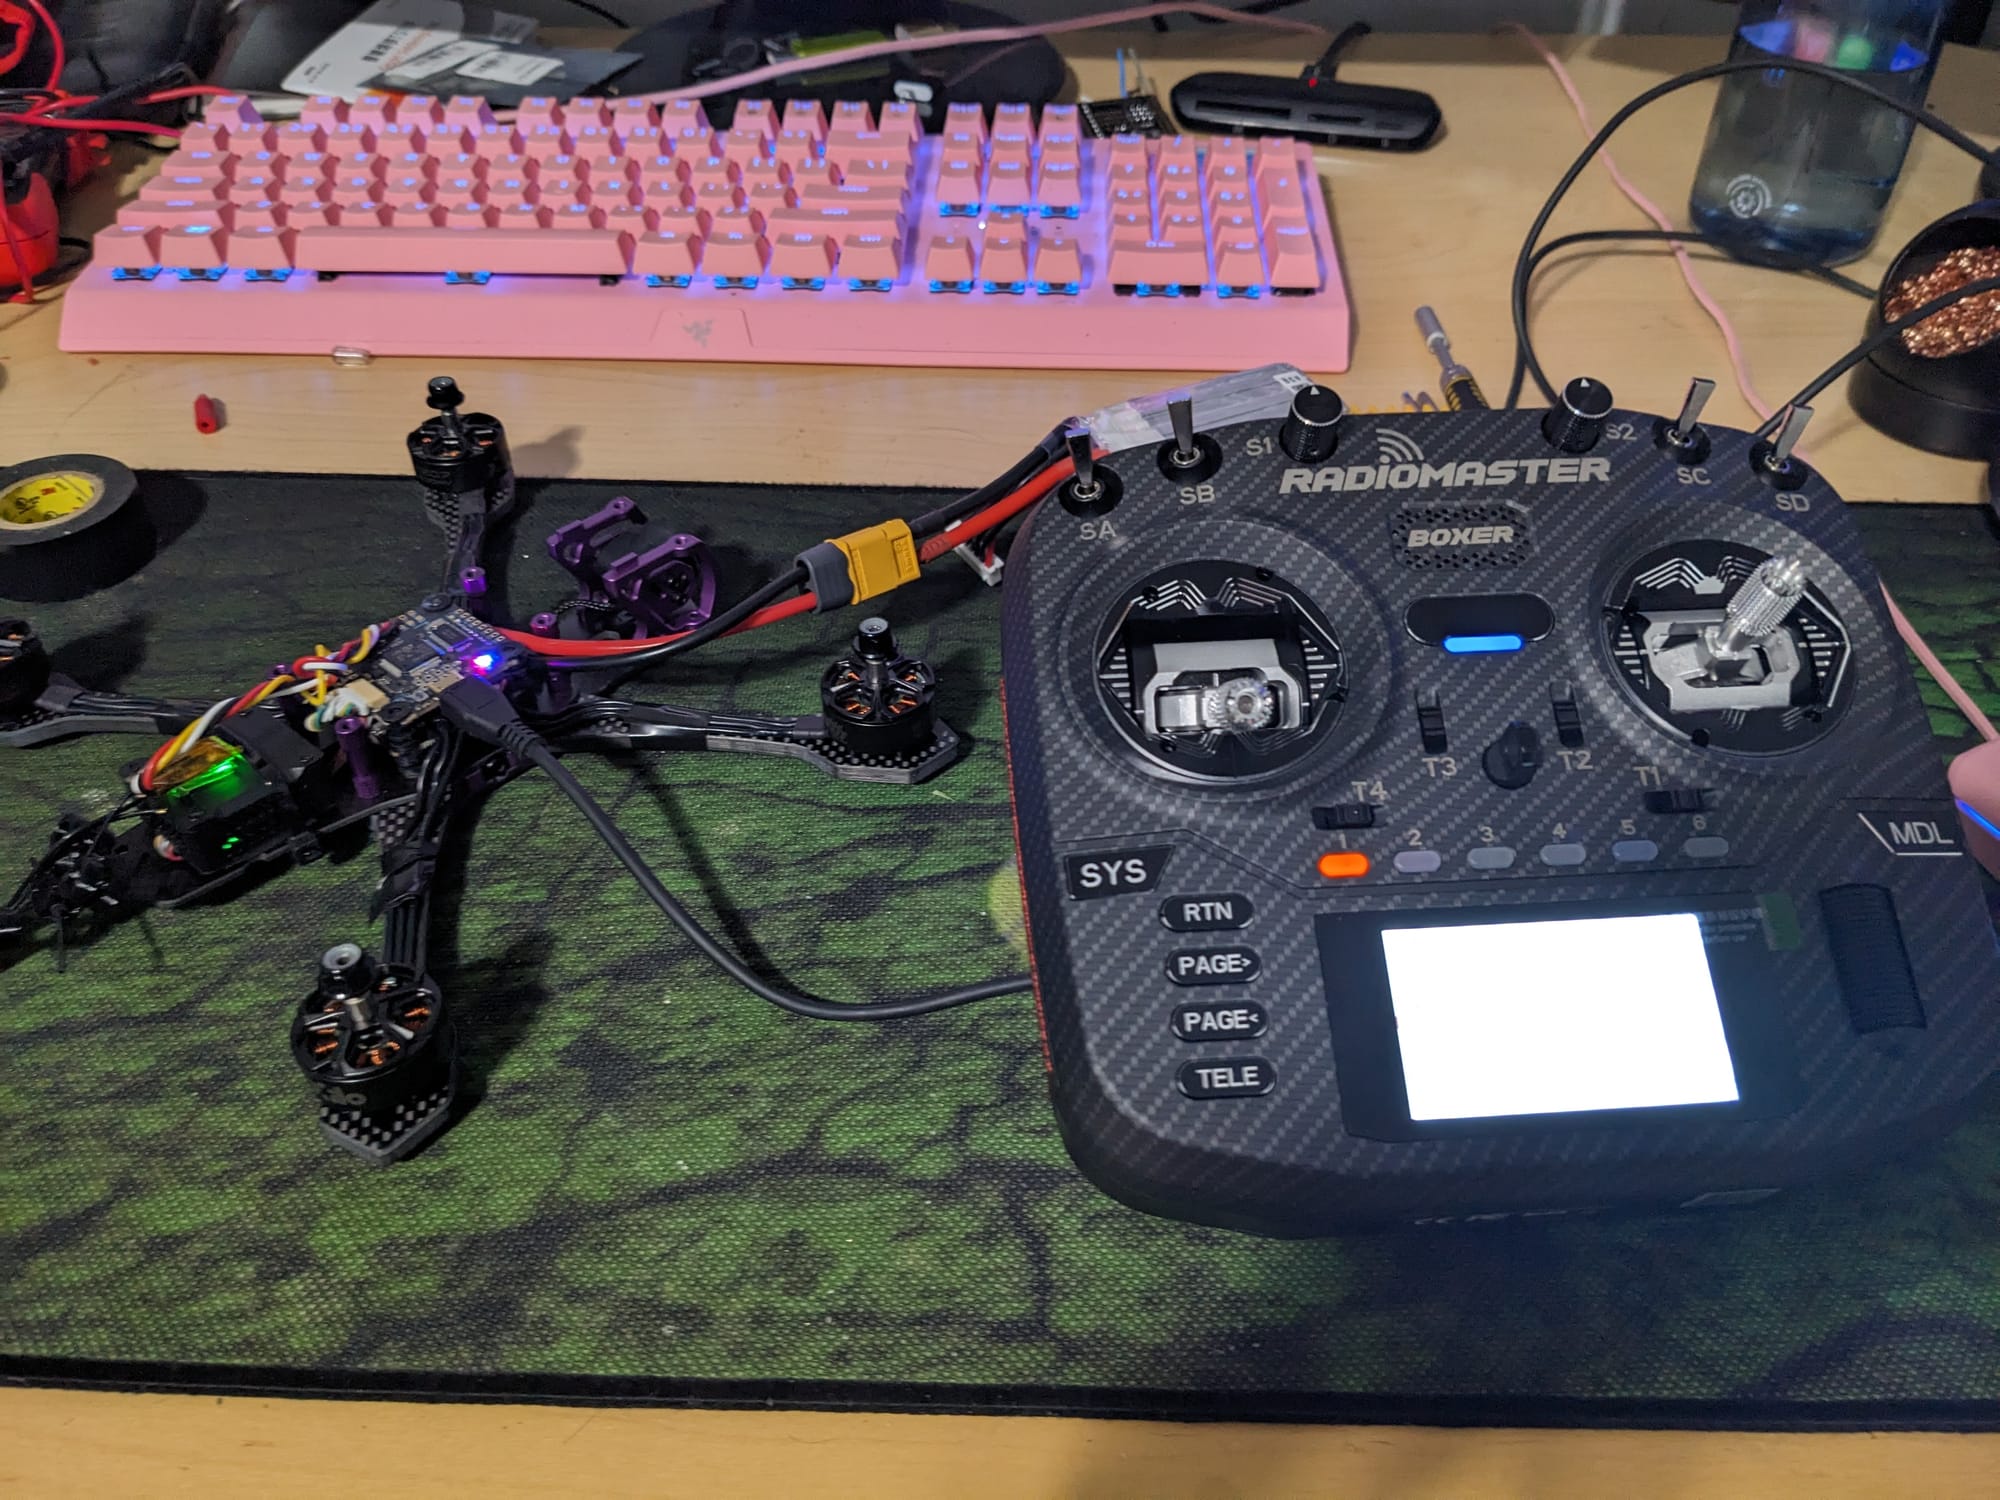
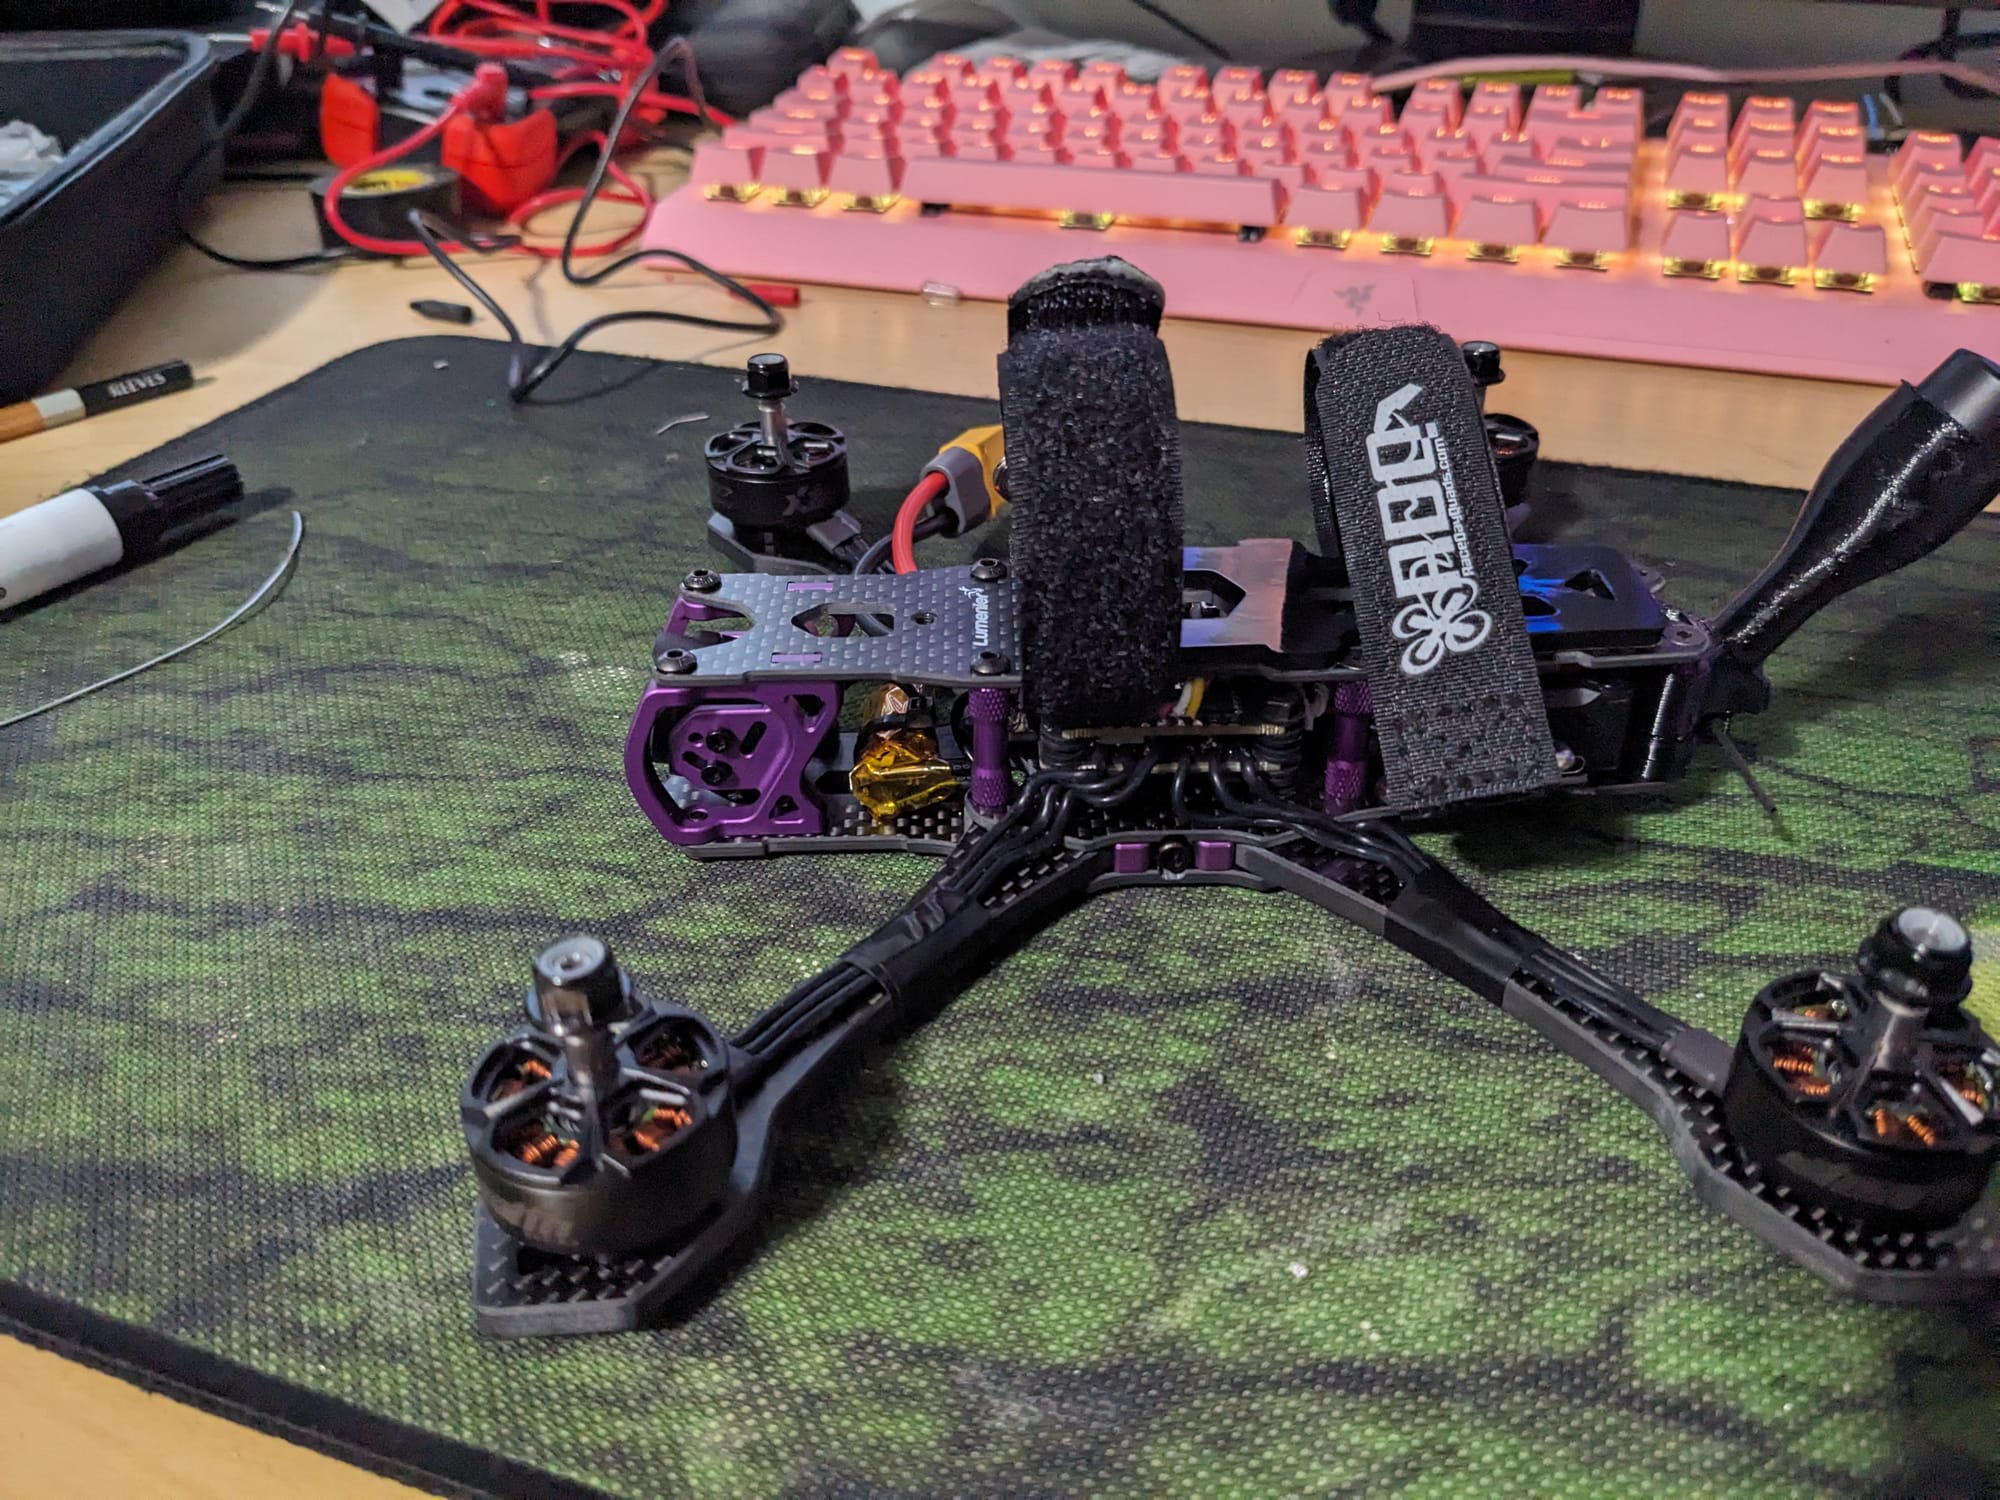
Then we had to install the VTX, I watched all three of the build videos, and I'm pretty sure the rest of them all screwed into/through the frame into the VTX, maybe I just overlooked the screws in the packaging but Bardwell had me mounting it with dual pieces of 3M mounting tape, which I have seen done in other build videos. I in my beginner wisdom would have liked to have seen it screwed in, maybe ill look more into it in the future, for now I used the tape and routed the cable under the unit to the FC. Bardwell had me take the arms off to route the camera to the front under the stack.
I added a ziptie for good measure, we'll see if it holds. Next was to wire/solder up the Receiver and solder it to the FC.
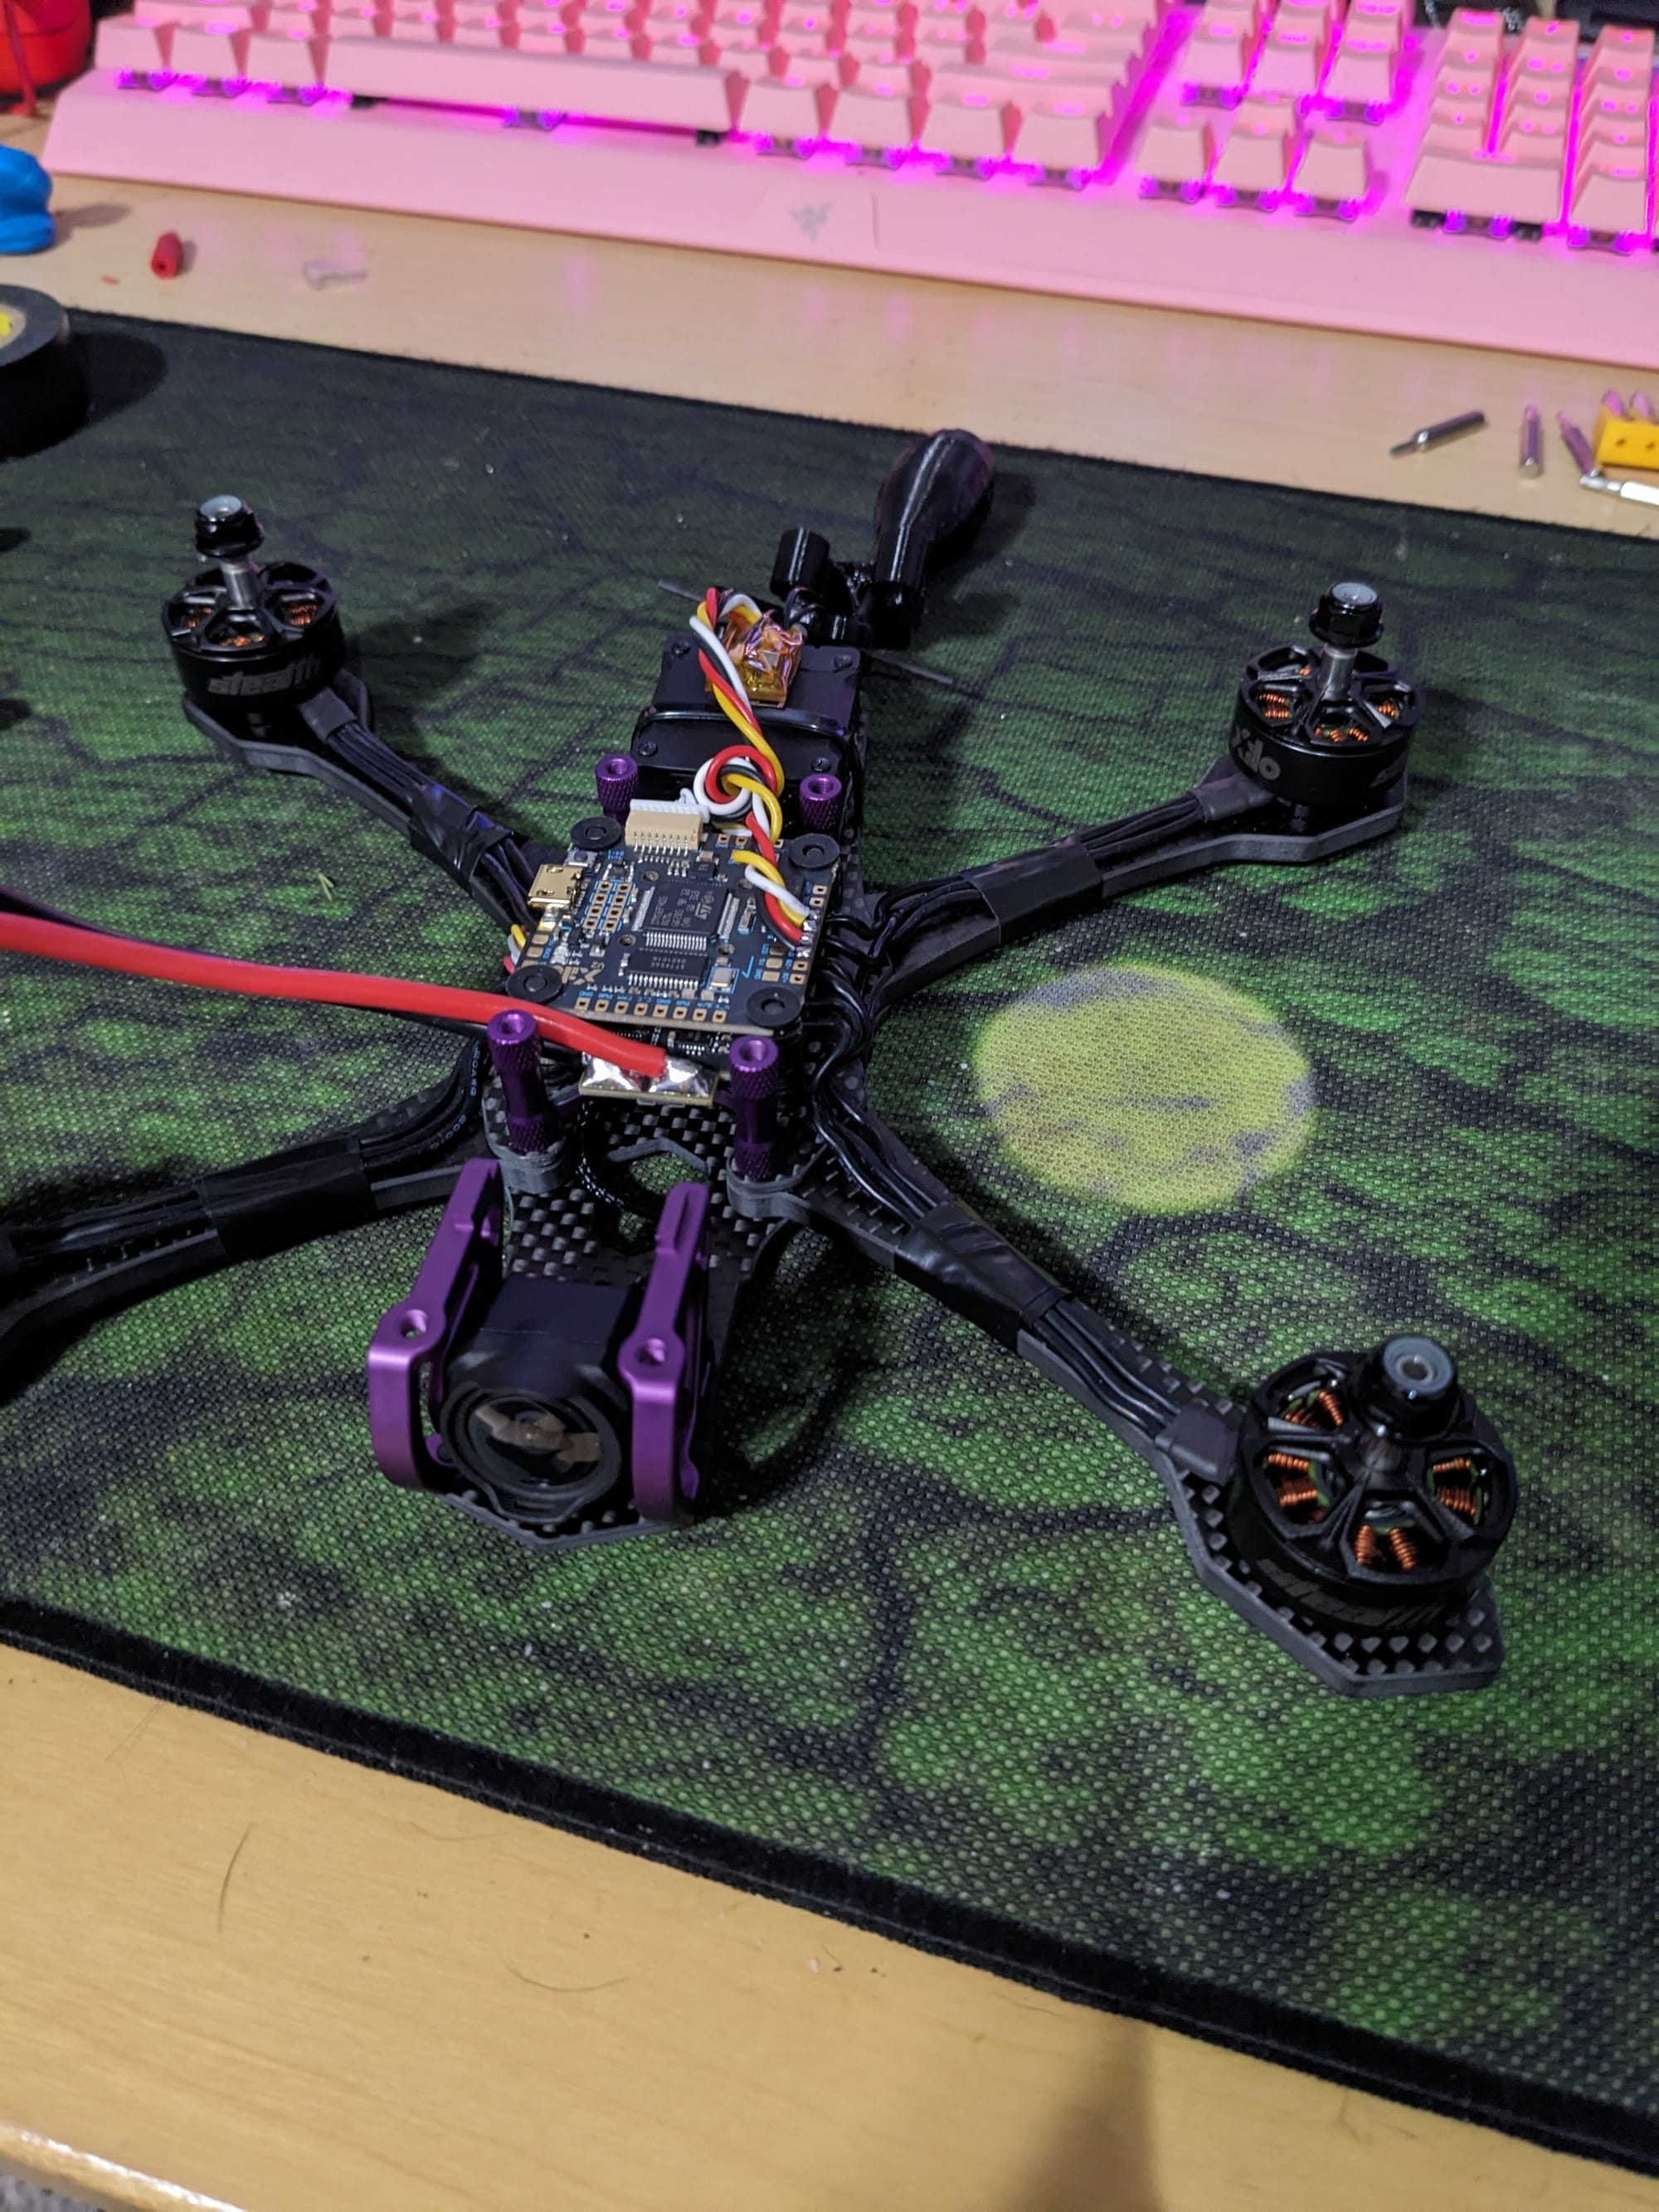
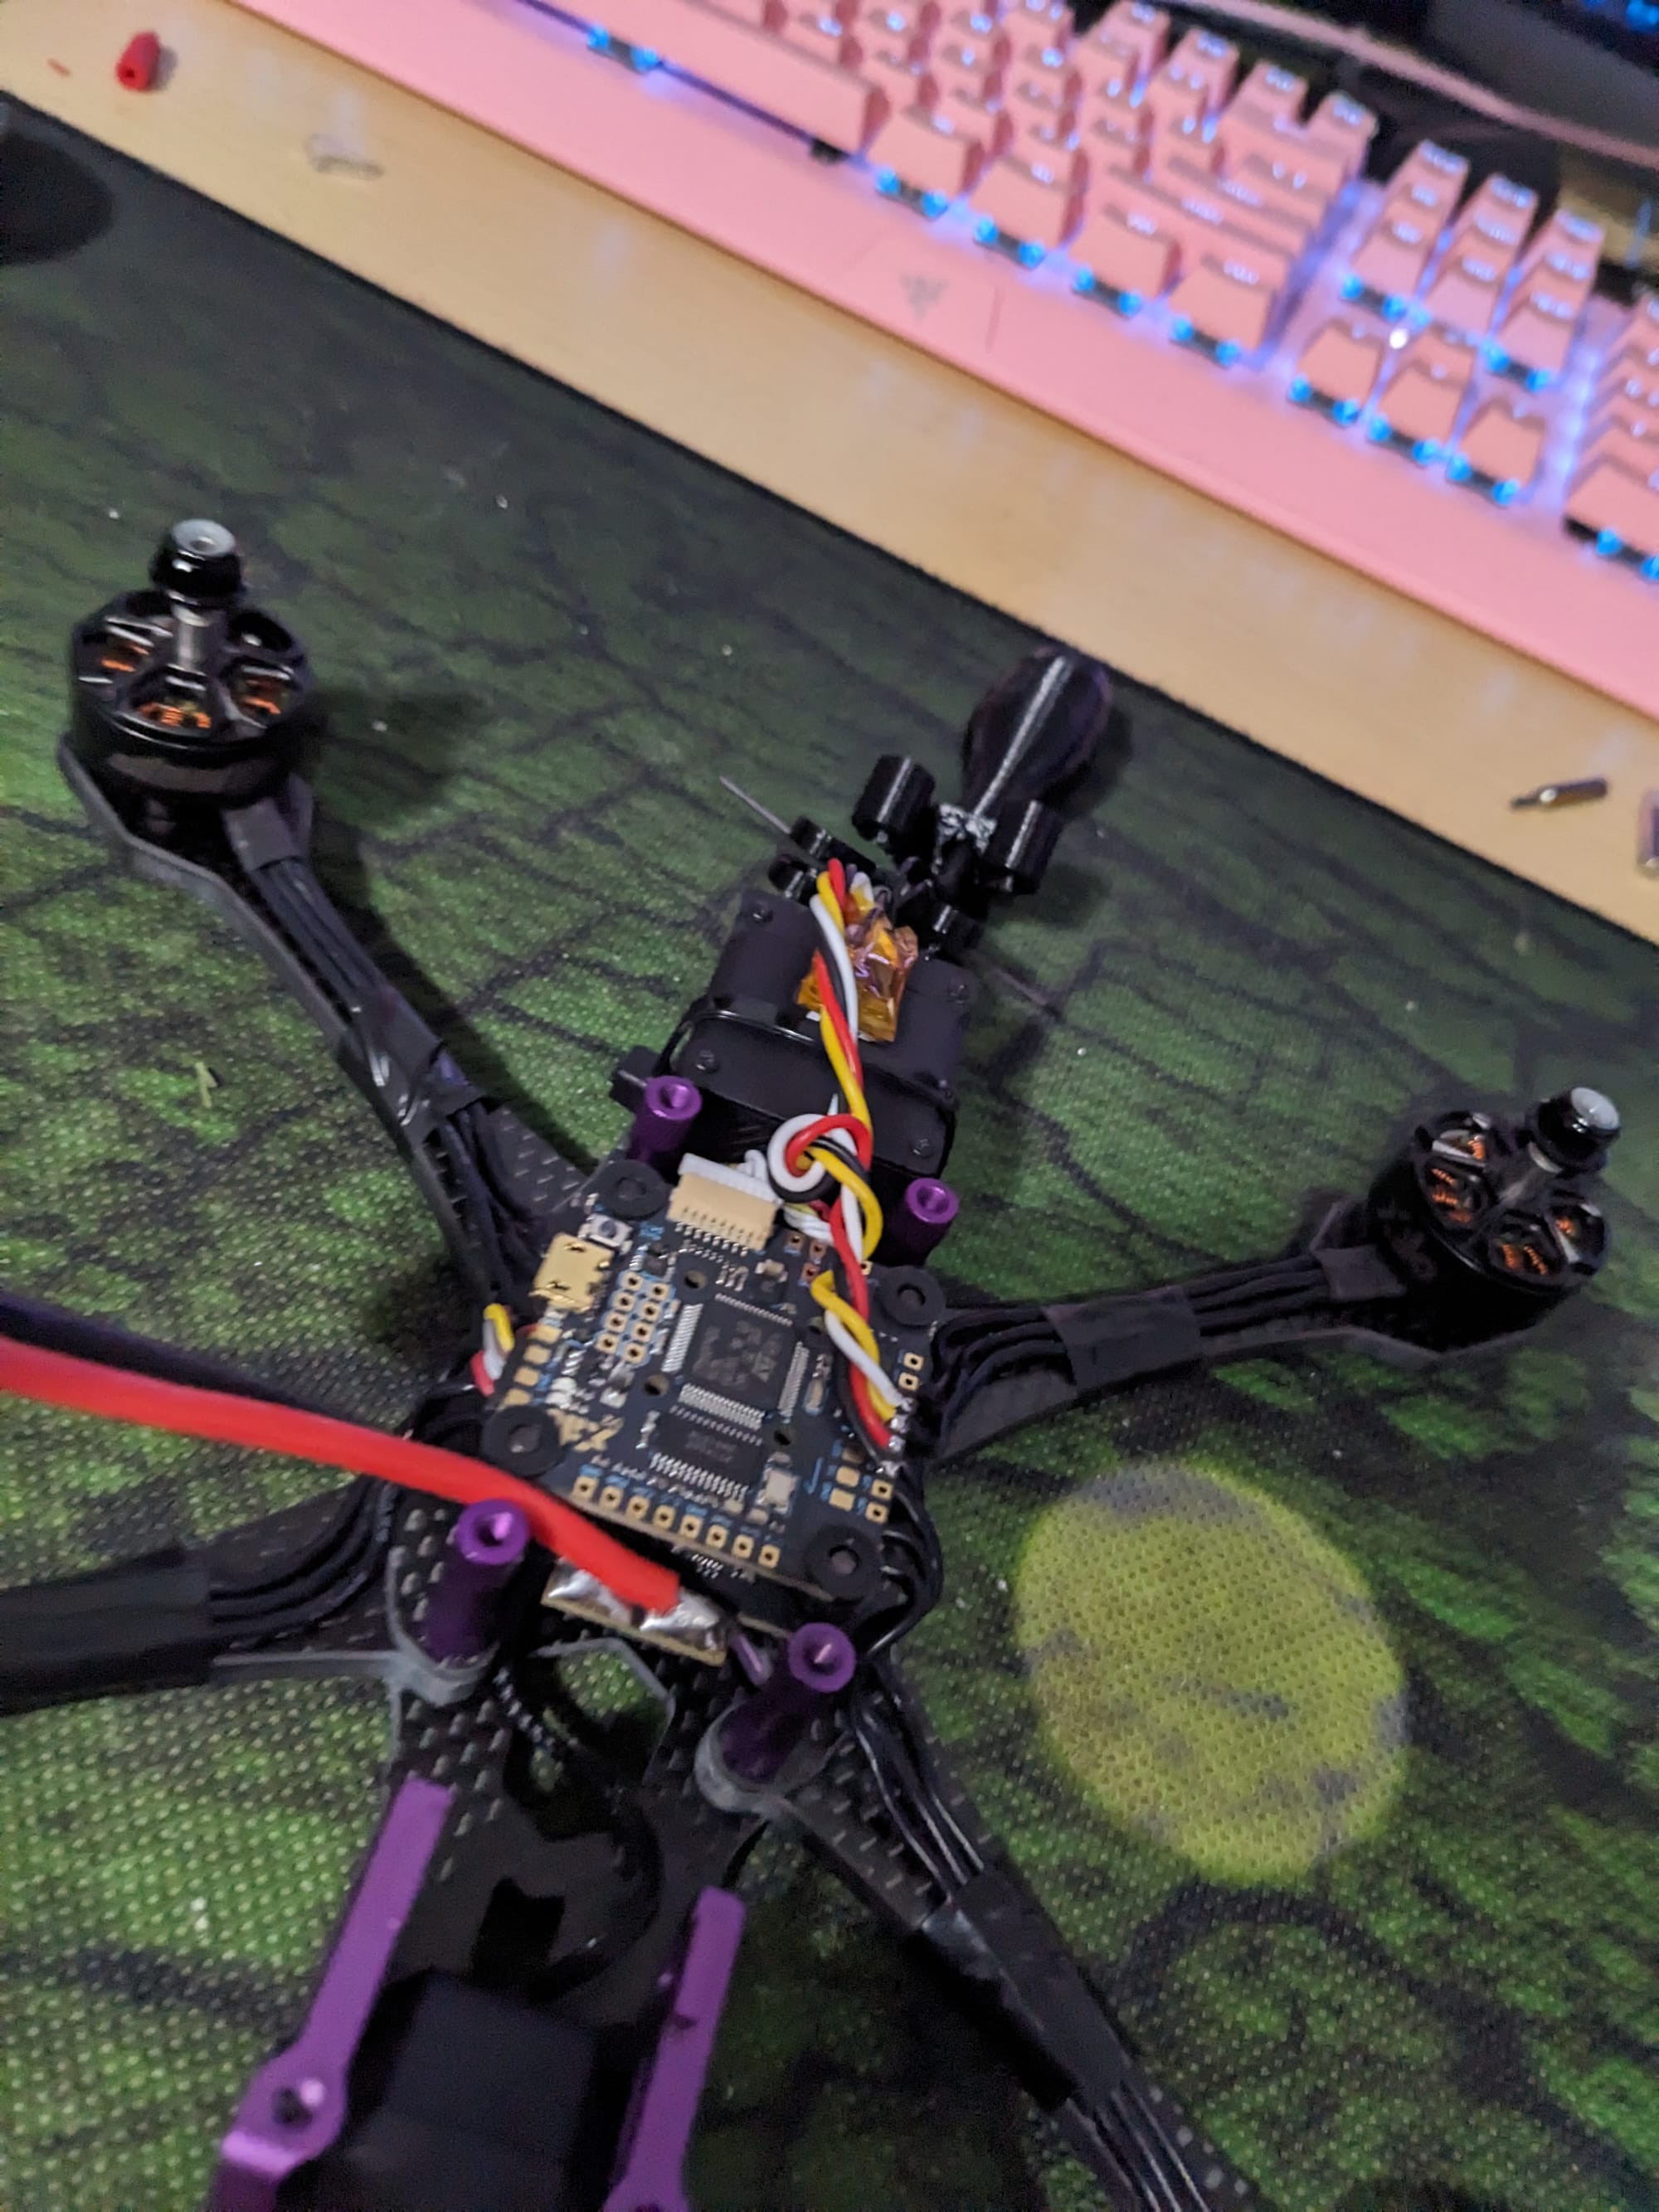
Bardwell then had me activated the o3 and update the firmware, this all went smoothly but even though my goggles were connecting to the o3 air unit I was not receiving video, I refreshed the 03 unit and double checked my goggle firmware, i then remembered these were new batteries and were probably at a storage charge.
I figured the low voltage was the culprit as I had watched something about digital systems dropping video with low voltage. After fully charing the battery, my hypothesis proved correct, I had video in the goggles.
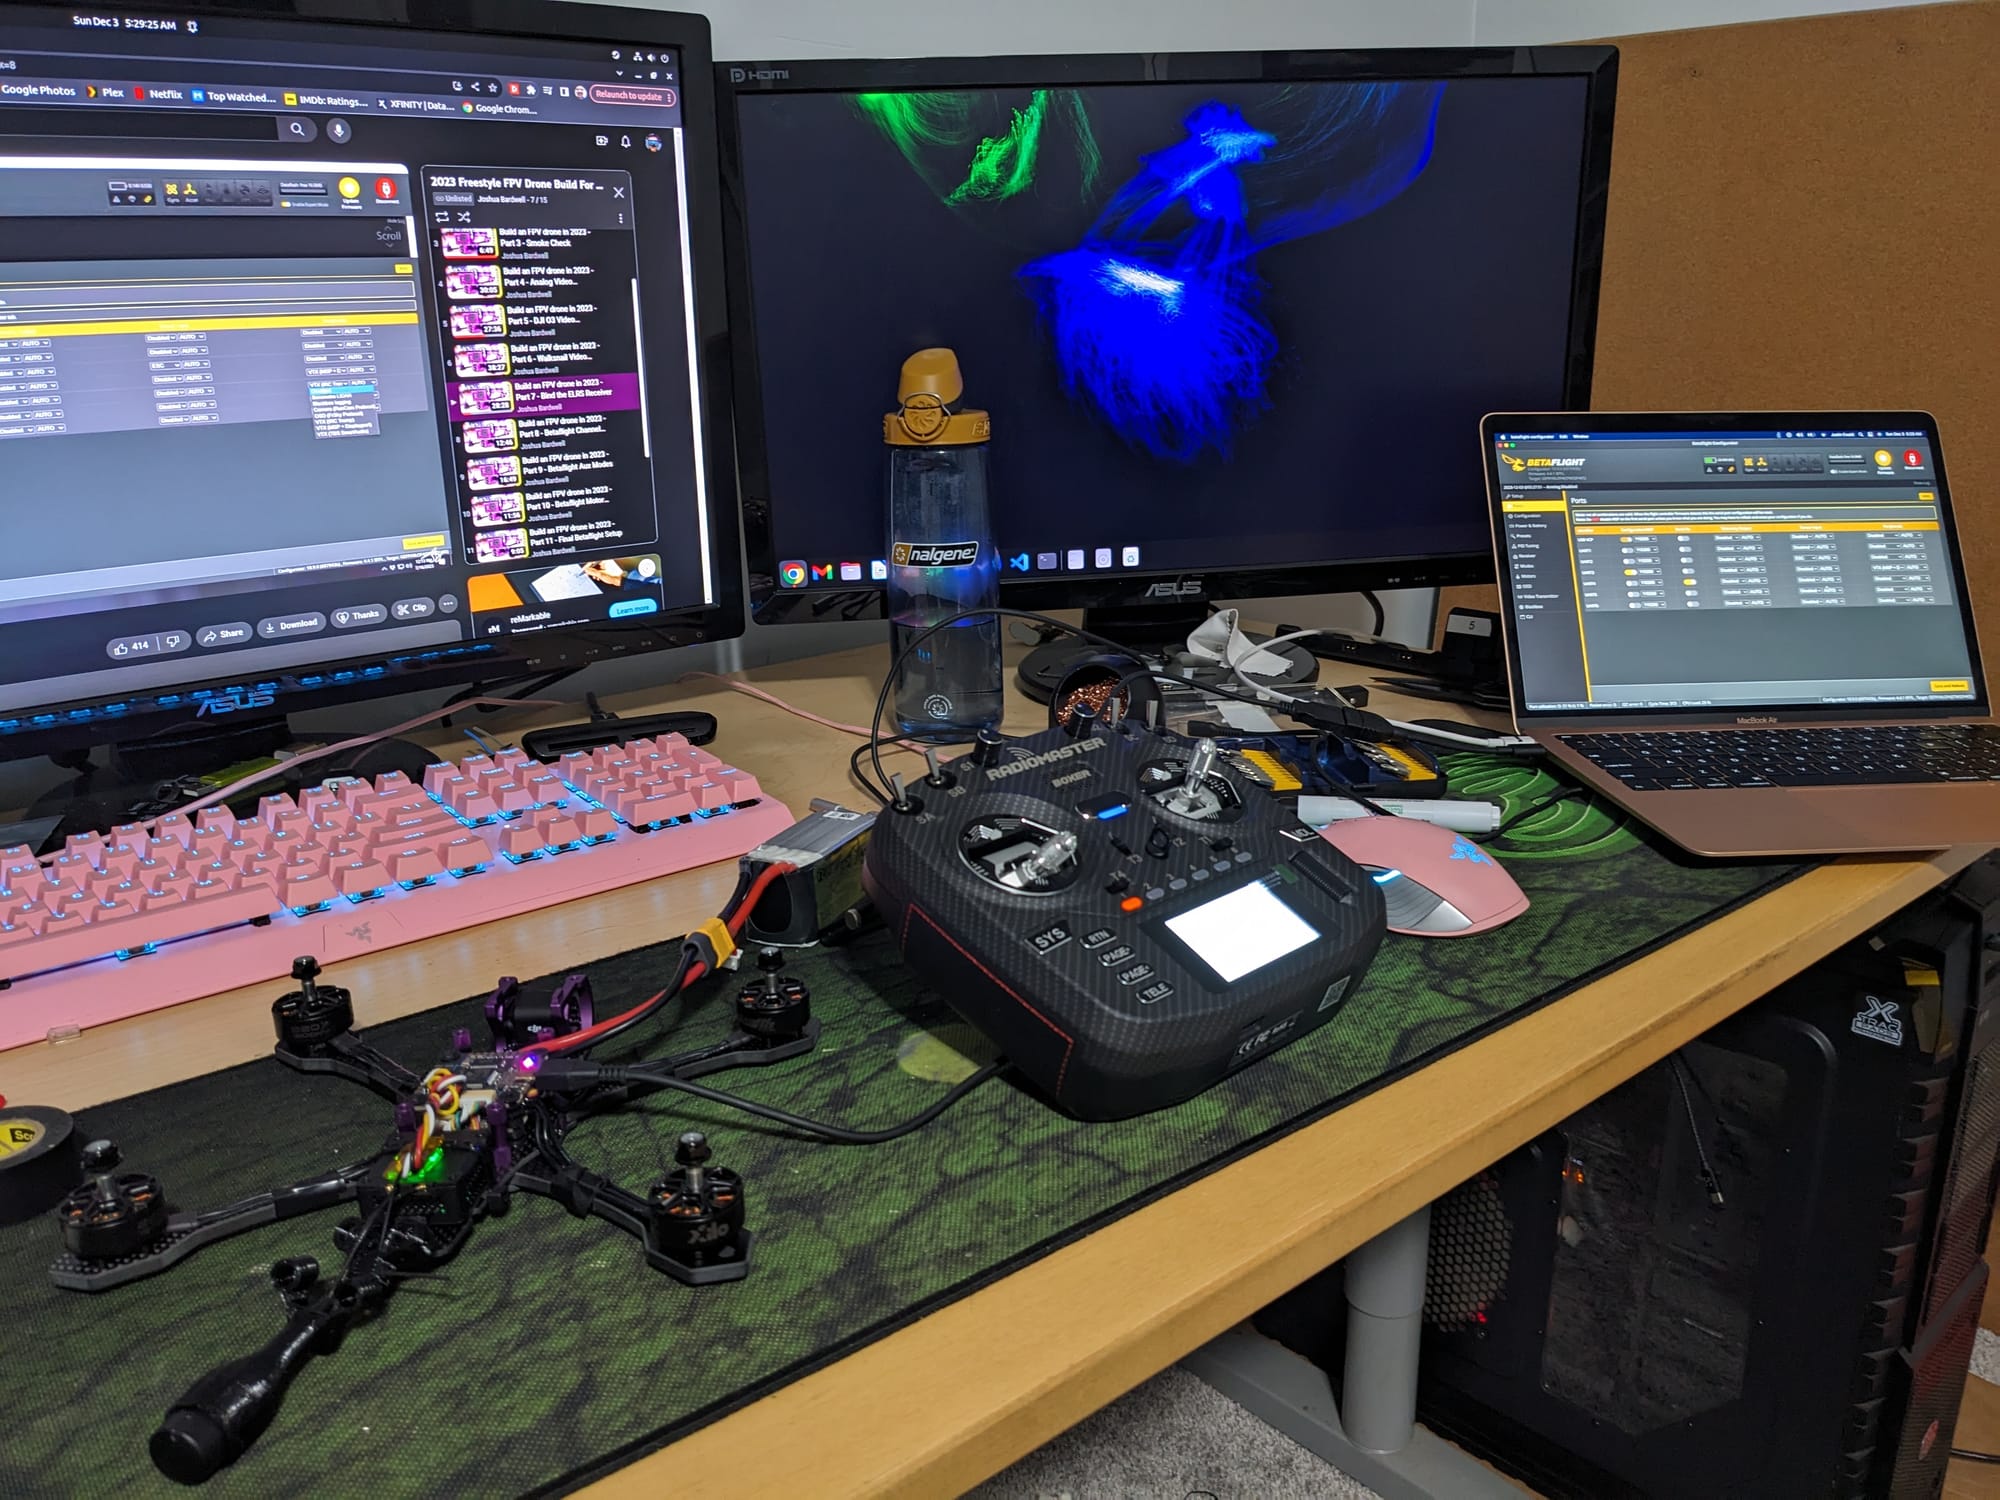
Binding and Configuring
Next after some radio configuration and beta flight setup, I came to my 2nd hiccup in the build, the 1st being the vtx camera cable and arms that Bardwell walks you through in the video. The 2nd issue was my radio wasn't responding to inputs.
I swear I followed the video to a T but I have the sneaking suspicion that Bardwell purposely includes these in his build videos to force you to do your own trouble shooting, in my case it was the suggested TX and RX wires being backwards, after quickly swapping them out we were on to final assembly.
I had another minor issue in that during the build video Bardwell mounts the receiver on the top of the VTX and with the tape recommended i couldn't mount the top plate without squishing it. I had to minimize the tape and spread it out to allow it to fit, it also made adding the 2nd strap neat the antennas sort of a pain.
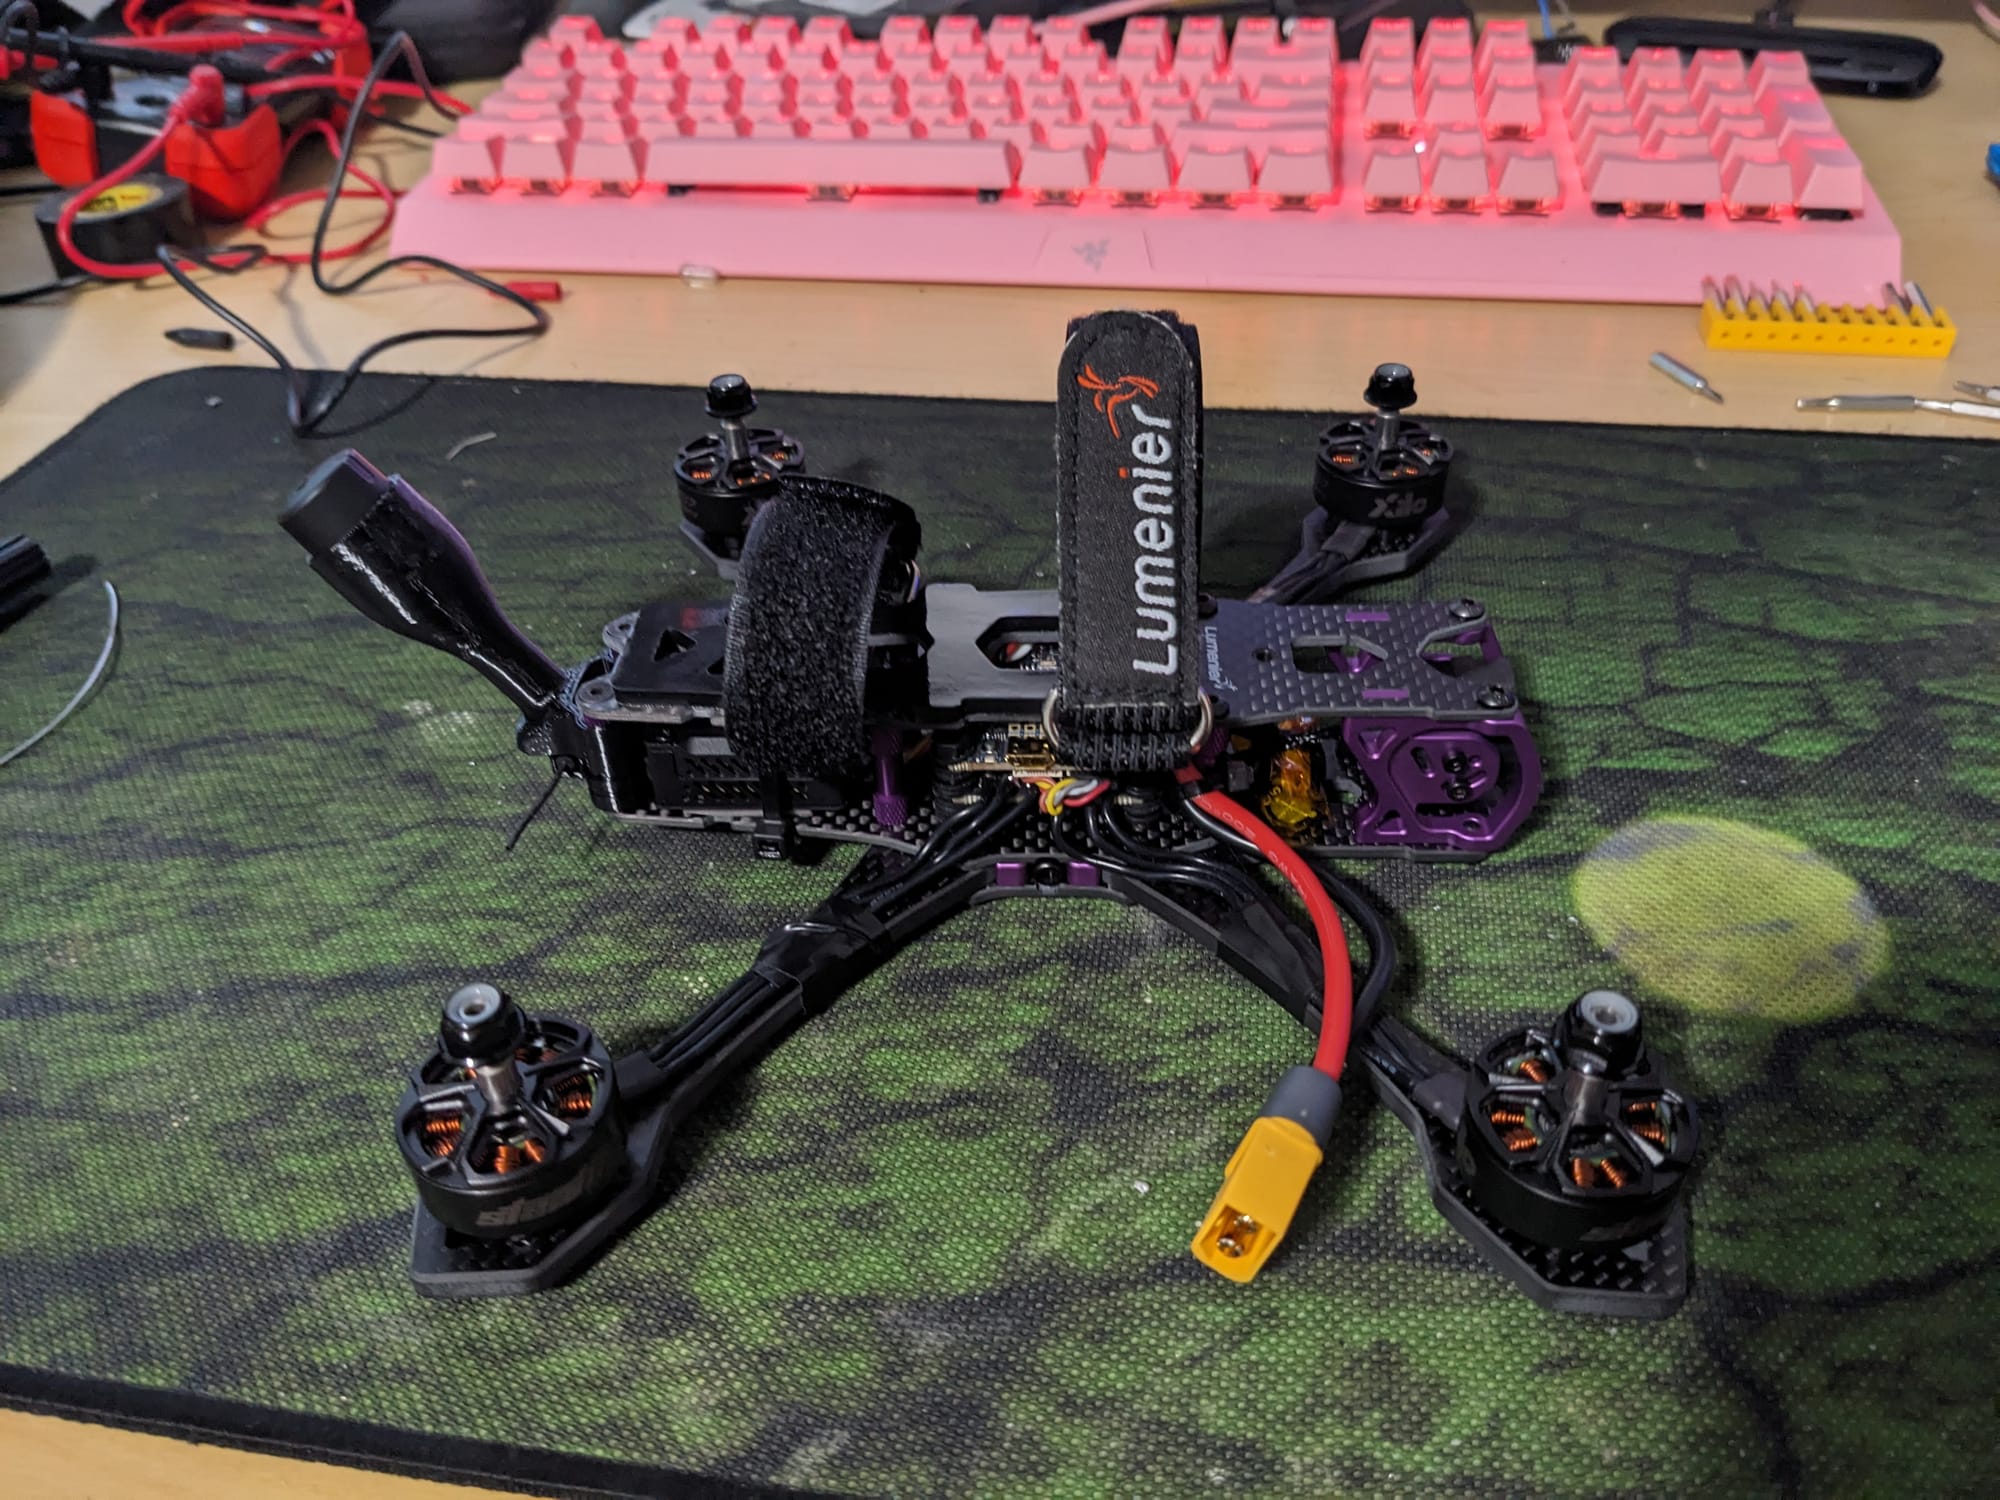
I opted to forgo the action cam mount, I have a Brain 3D FPV one that i will me mounting I'm just waiting on some longer M3 x 8mm button top screws to arrive to be able to mount it.
The capacitor soldering was kinda of a pain, in the future I might look for frames with included capacitor locations, the Quadmula Siren F5 Split is one I'm currently looking at thanks to MurdersFPV.

During performing my pre flight checklist alongside Bardwell, I realized something was wrong, my drone was fine on my yaw axis but my pitch and roll both were completely backwards. This caused the drone to tilt incorrectly. I had a sneaking suspicion it was props. Another YouTubers build video mentioned having the props on wrong.
After swapping the back two props, the quad was behaving as it was supposed to. I quickly grabbed some photos and my Goggles 2, I was ready for takeoff.
Maiden Flight
Maiden Flight Goggle DVR
It was a wet and hazy day a light drizzle but i couldn't wait, the flight felt great i could already feel the immense difference in power coming from the DJI Avata, the rates Bardwell had me preset seemed close but a little faster than i was used to, but there was alot different coming from the Avata (radio, size, weight, rates). Sadly the weather didn't seem like the best to continue flying in so i stopped quickly. My next flight I will be taking it out to a larger park setting to really give it a good feel.
Overall I highly recommend the kit to anyone looking to start building these amazing machines, I'm completely confident I can fix it and can't wait to rip until i have to. Bardwell did an amazing job putting together this set of videos to accompany this kit and his channel is filled with similar great content. Thank you Joshua Bardwell for guiding me along this journey. I can't wait to see what i can do with this quad we built.